This garden experiment/hobby/passion has shown me that the research never stops.
I thought I had enough information to have a flourishing garden, with a dozen tinctures, infused oils, and teas in the making.
But no.
Right now, I have one oil and about half an ounce of tea. I do have some other herbs drying, and I’ve had much better luck with the culinary herbs, but a lot of my medicinal herbs are looking kind of done for the year.
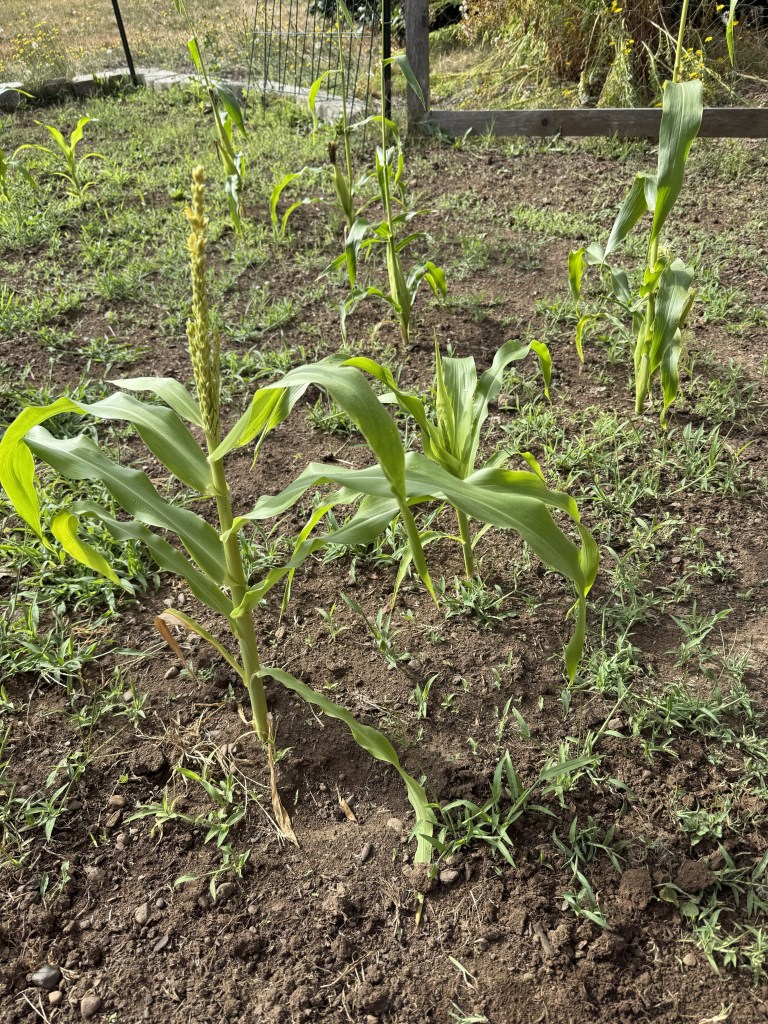
I planted 16 corn seeds, but I messed up the timing. When I measured the soil temperature, it was warm enough, but I failed to wait until after the last frost date. So I have a few small stalks that have produced ears, but the ears are tiny and I probably won’t be able to do anything with them except save the seeds.
I did plant some other corn later as an experiment, and those plants seem to be doing better. There are no ears yet—which is probably a good thing, because the stalks are still pretty short.
The jury is still out on the tomatillos. I have dozens of husks, but so far, no fruit inside. I need to do more research to figure out whether they’re still going to fruit or if I’m just getting a magnificent crop of empty husks this year.
However!
The tomatoes are looking pretty good. I have, I think, 12 plants, and only a couple of them don’t have fruit. The tomatoes are getting pretty big, and about seven of them are starting to turn orange.
So I think that in a week or two, I’ll be asking myself what the heck I am going to do with two dozen tomatoes that ripened at the same time.
And I will not complain about that!
And now it is time for me to log off and continue planning next year’s garden.
One of the things I am most excited about is making paper to add to my shop. For now, I am using scraps straight from the paper shredder until I get better at this.
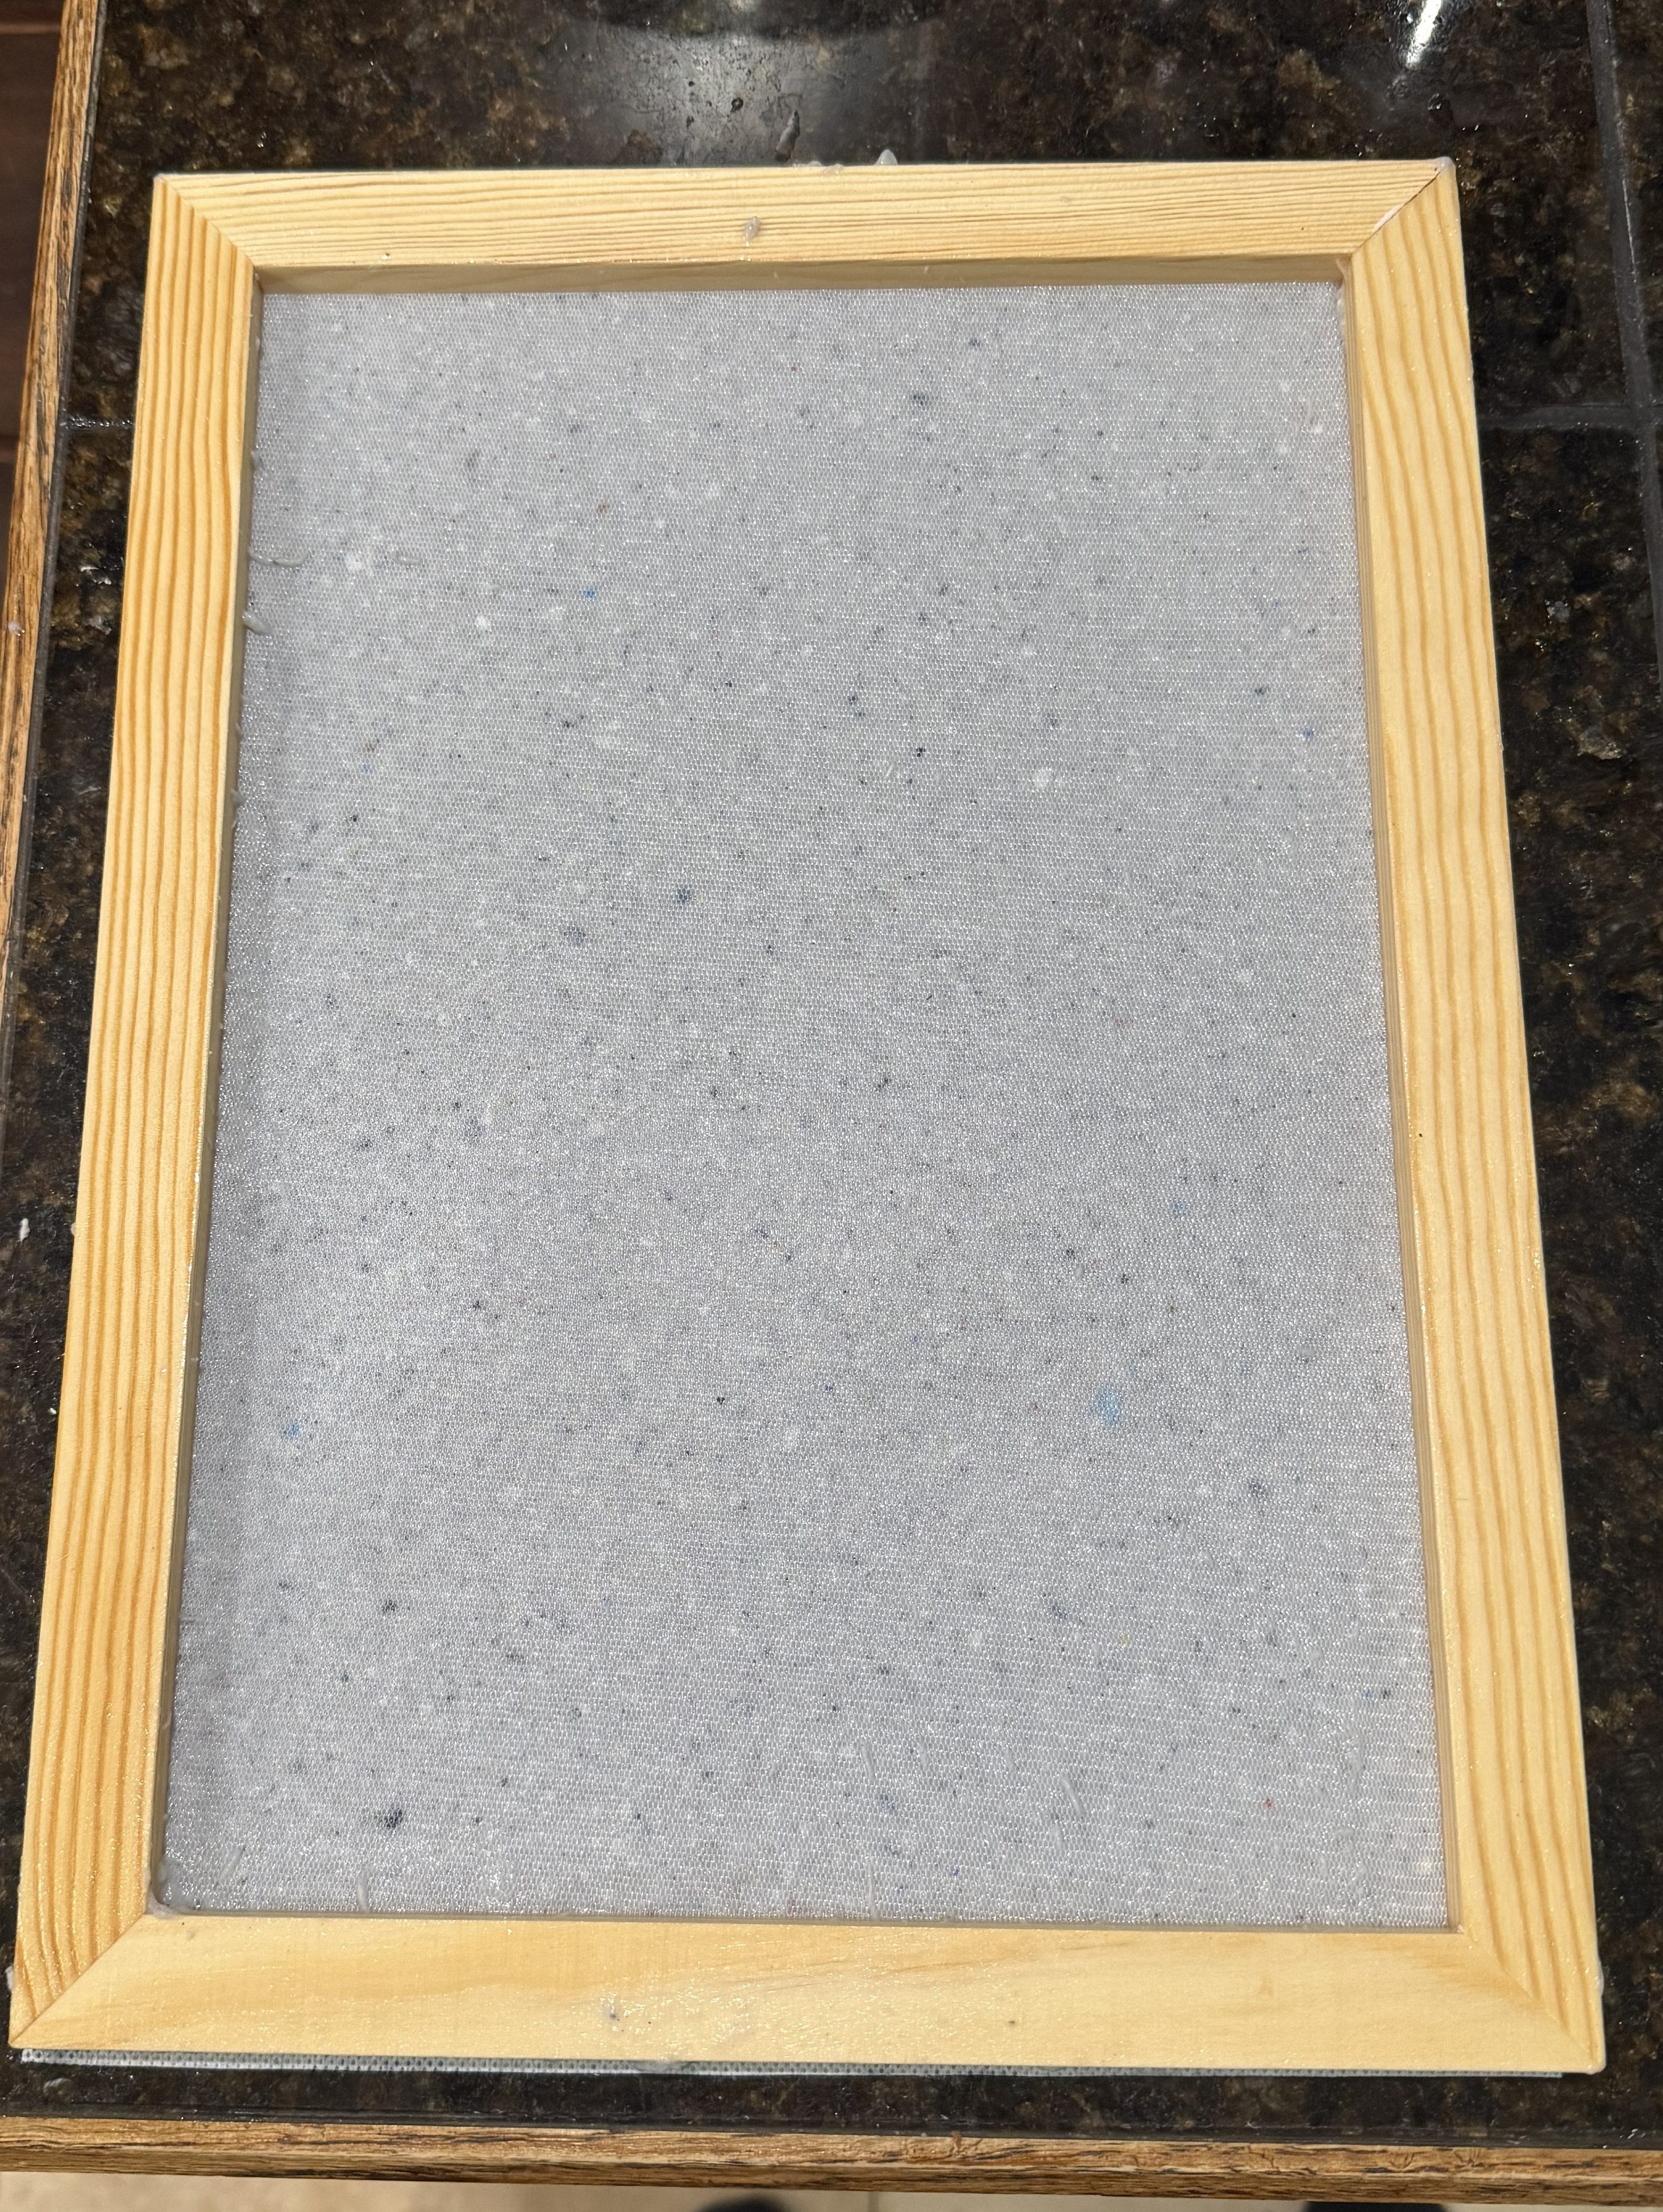
First, I bought a cheap papermaking kit online. It is A4 size and came with a mold, a deckle, couch sheets, a couple of loose screens, and a small sponge.
The mold has a fine mesh that catches the paper fibers from the water slurry. The deckle is a frame without a screen that helps define the size and edges of the paper. The loose screen can be placed between the mold and deckle to support the wet pulp and allow water to drain. The couch sheets are used to transfer the wet paper and absorb moisture, while the little sponge helps remove even more water before the paper is laid out to dry.
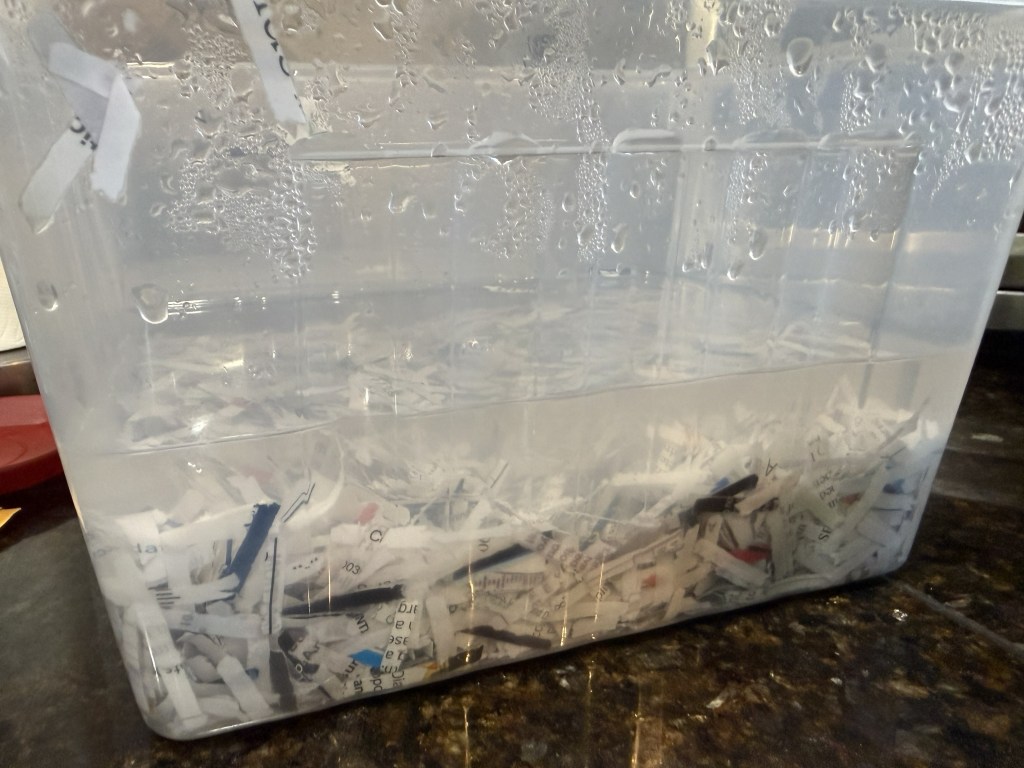
The first thing you need to do is soak your scraps. Having a paper shredder is very handy here; otherwise, you have to tear everything up by hand. Put however much paper you want to use into a container, then add enough water to completely cover it.
Let the scraps soak for a few hours to make sure they are soft. I soaked mine overnight so I wouldn’t have to worry about whether they were ready.
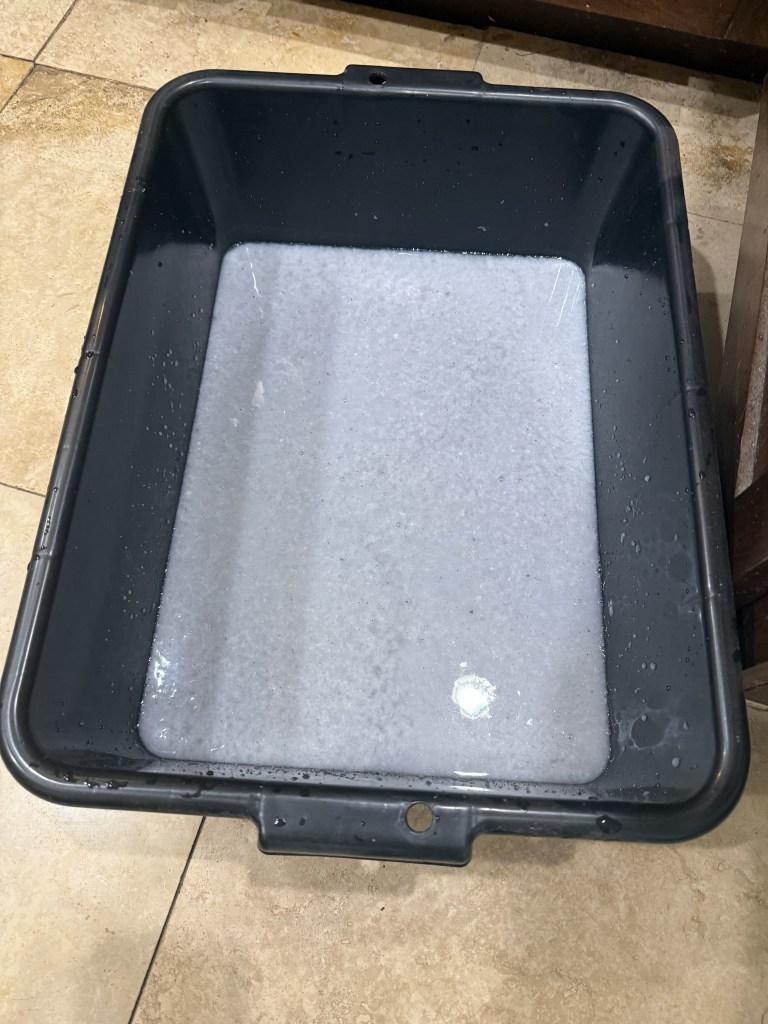
Small amount of scraps that I soaked overnight.
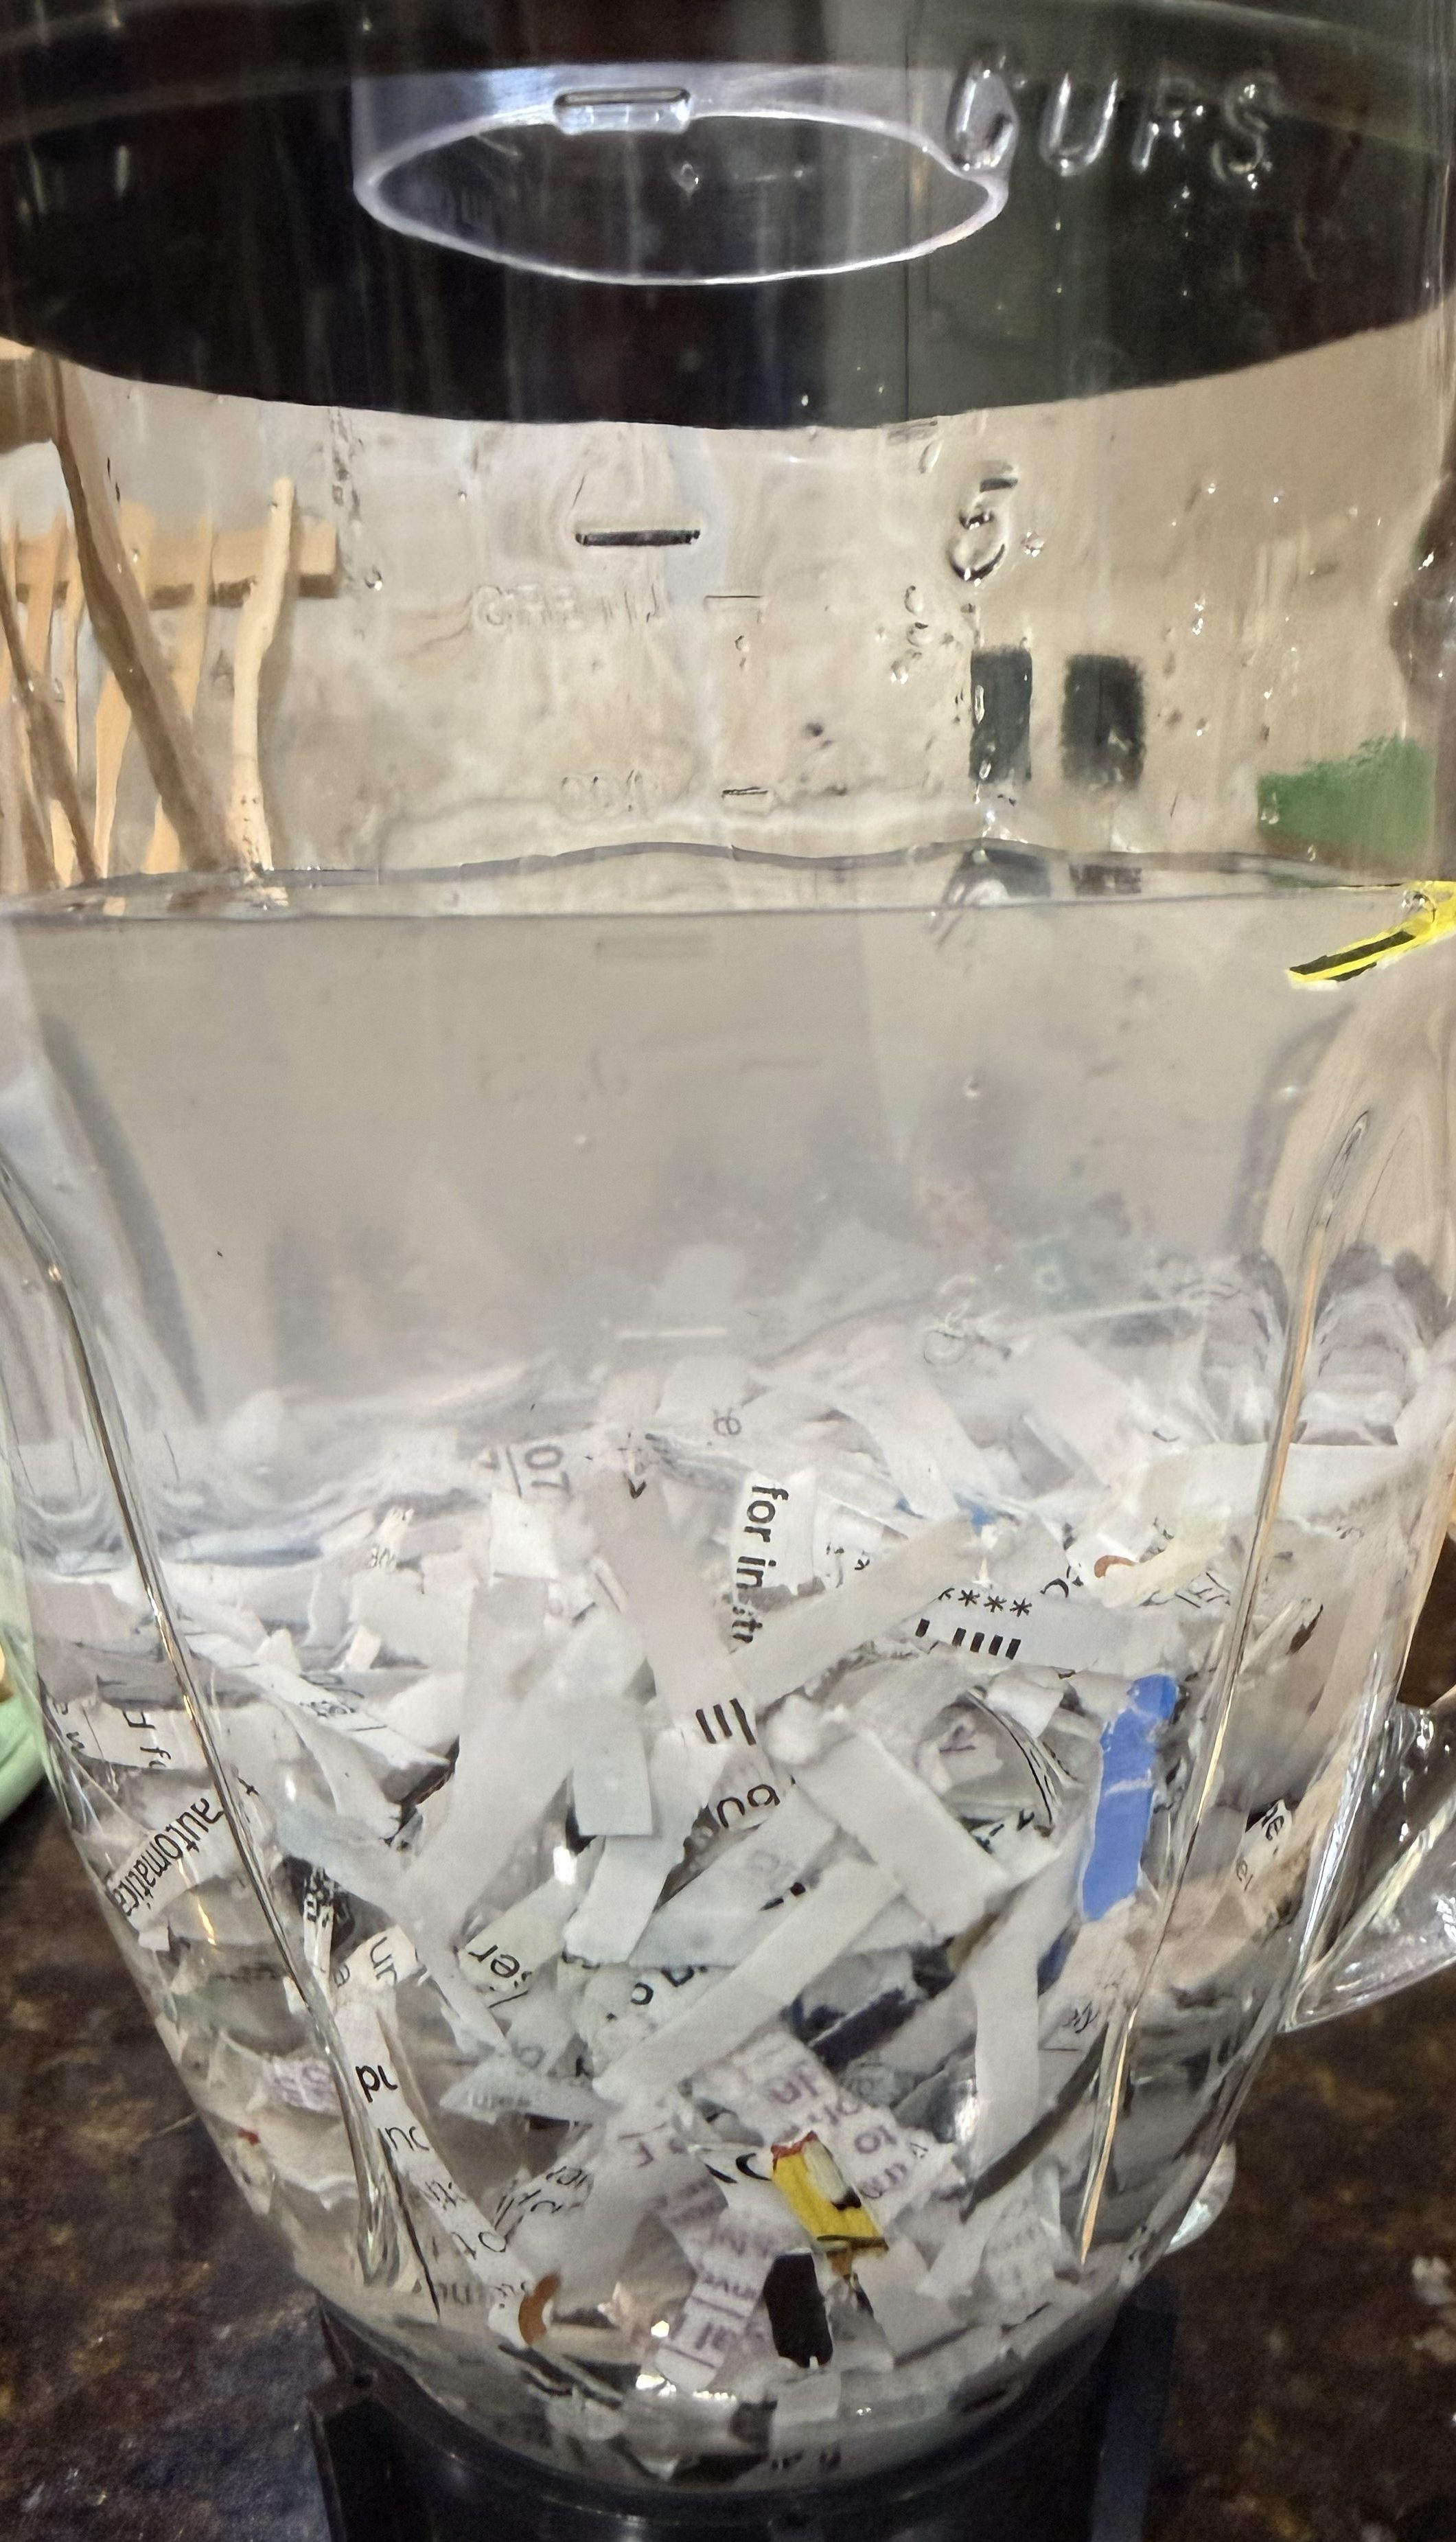
Once you feel the paper has soaked enough, it is time to turn it into pulp. I had a blender we weren’t using anymore, and using a blender is by far the easiest way to do this. Other suggestions I came across included using a potato masher or even a mallet.
Put a small amount of the soaked paper into your blender and add water until the blender is about three-quarters full. I recommend using a small amount of paper at a time so you don’t gum up the blades.
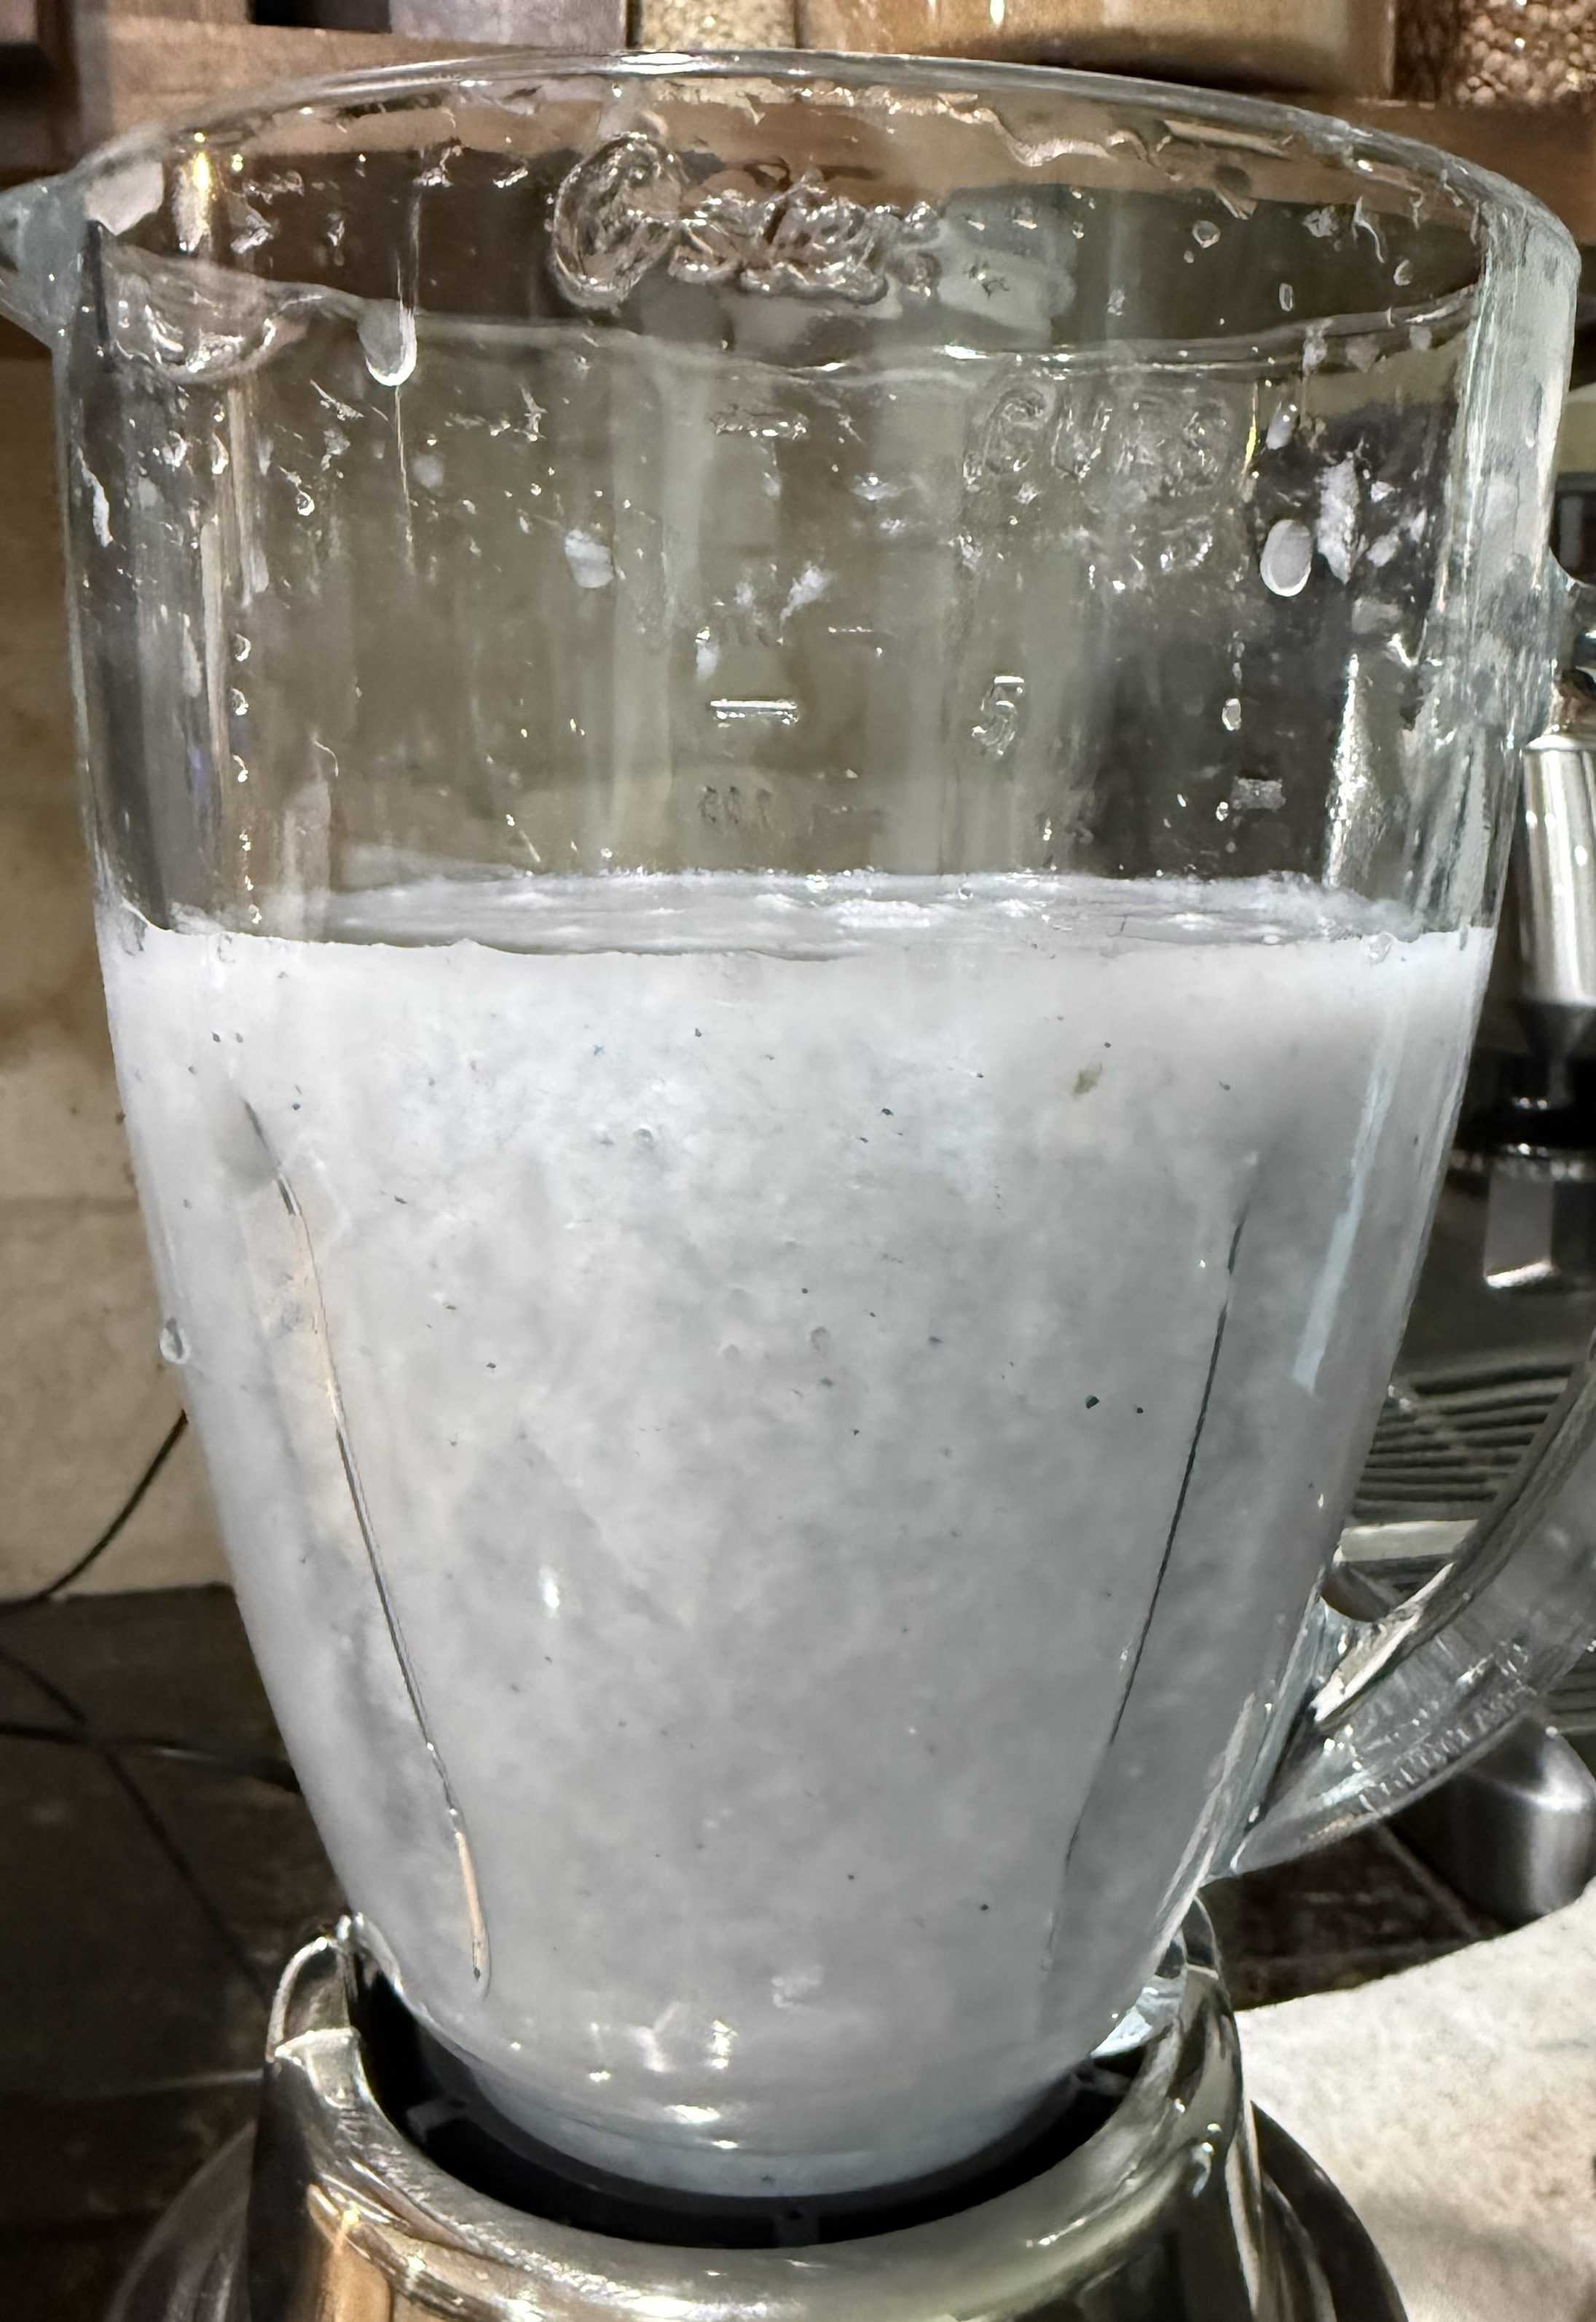
I set the blender at its lowest speed and pulsed it for about 30 seconds. You want the finished pulp to look kind of like oatmeal.
I had an empty dish bin that I decided to use as my papermaking vat. This turned out to be a little too small, but I made it work. As I blended each batch of pulp, I dumped it into the bin. Once all the scraps had been turned into pulp, I was finally ready to try making an actual sheet of paper.
The ChatGPT instructions had me put the deckle over the mold, then scoop the whole thing through the slurry. This leaves what will eventually become a piece of paper sitting on the mold. You can shake it gently from side to side, almost like you’re mining for gold, to distribute the pulp evenly.
I was a bit too heavy-handed with this part and had to do it multiple times before I managed to get the pulp to cover the entire mold.
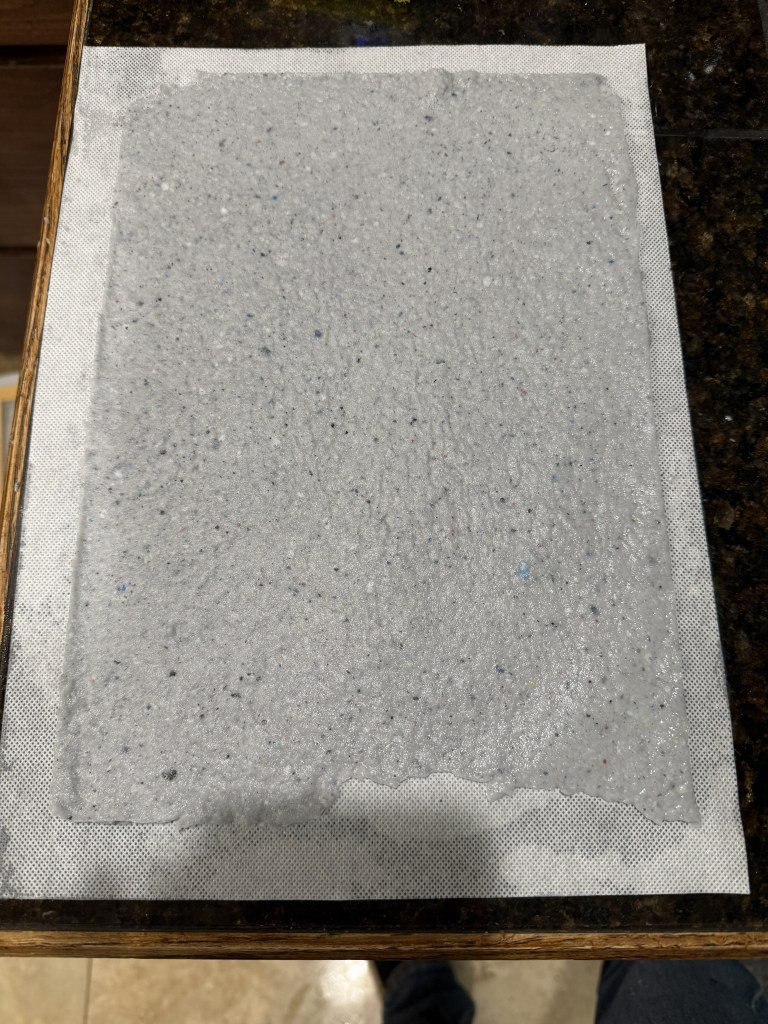
Once I finally had a decent sheet, I set the mold on the edge of the bin until the water slowed from flowing to dripping. Then I laid a couch sheet on top and flipped the whole thing over so the couch sheet was against the counter. I gently used the sponge to remove as much additional water as I could.
These instructions had me put one of the loose screens between the mold and deckle, but otherwise the scooping process was basically the same.
As you can see, that attempt left a bubble in the middle.
Silly me, I decided I could fix it with my finger.
I could not.
Instead of a bubble, I now had a hole.
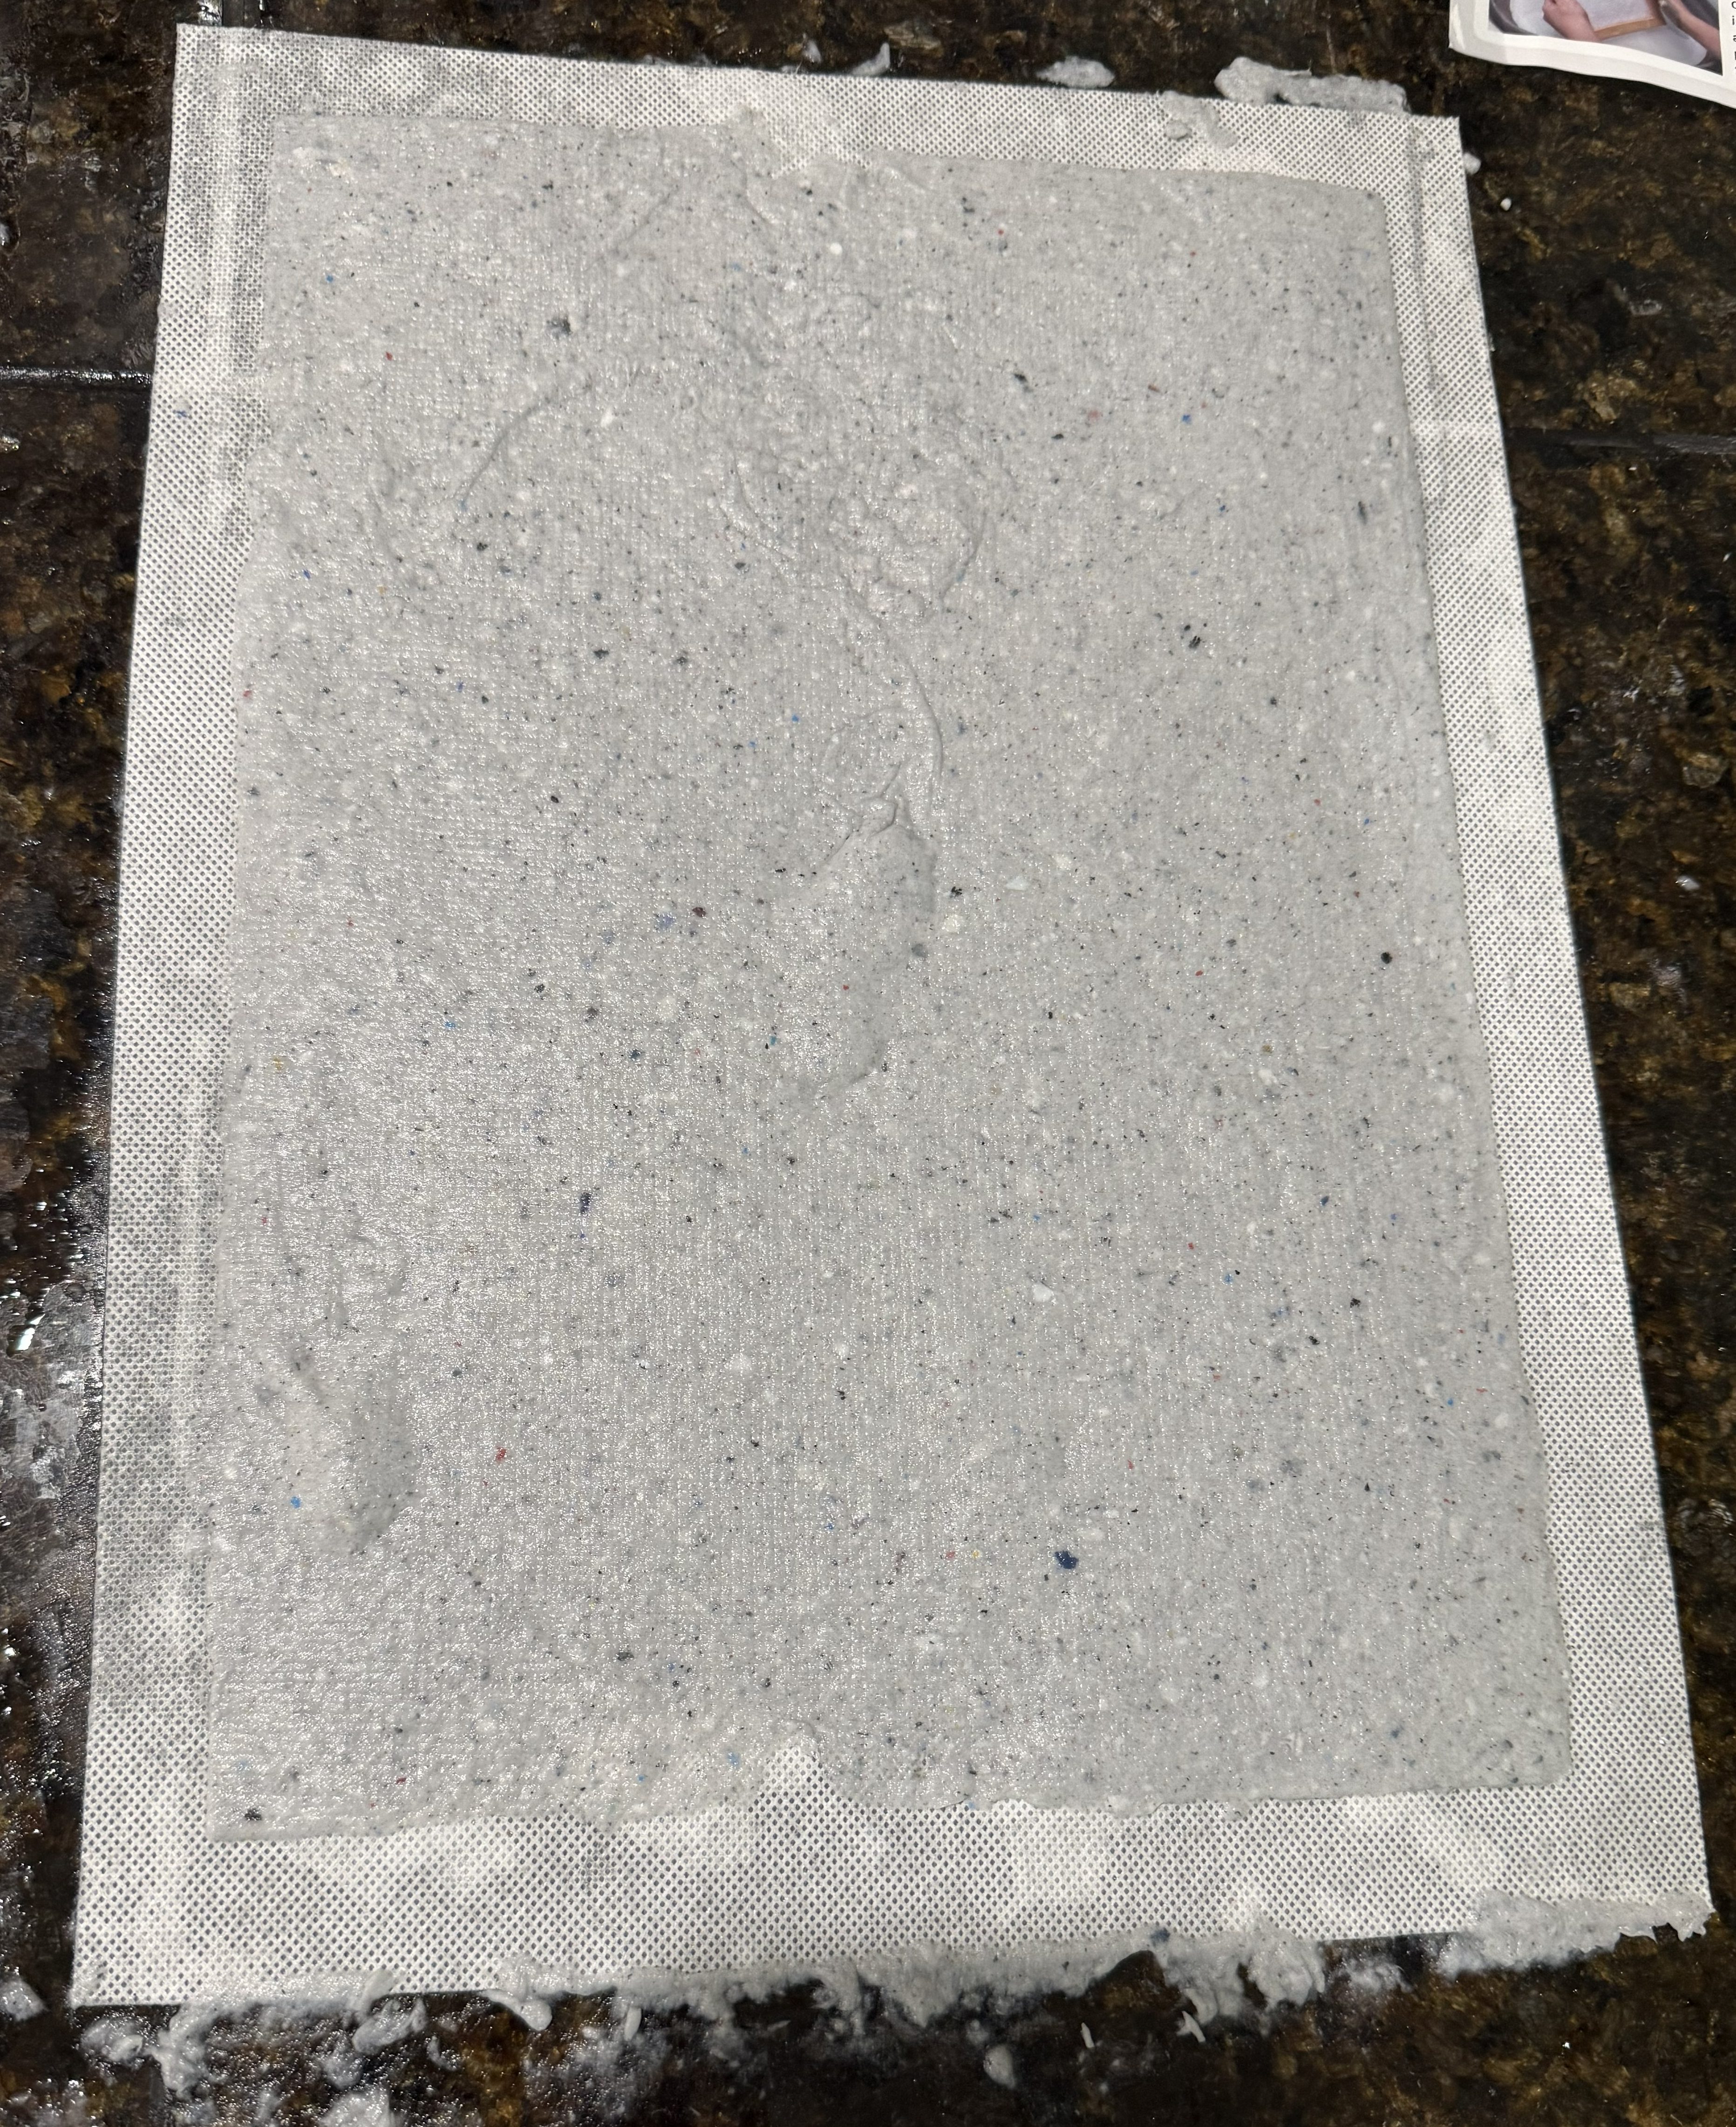
I grabbed some pulp that was stuck to the frame, filled the hole back in, and pressed it down. You’ll see the results of that little repair later…
I took both sheets, still attached to their couch sheets, outside to dry. Unfortunately, it was a bit windy. Once everything started drying, I heard, “Hey, something just flew away outside.”
Luckily, I had set up a wind block, so the paper didn’t get far.
It was, however, definitely not flat anymore.
I brought both sheets back inside and laid them under some books to finish flattening.
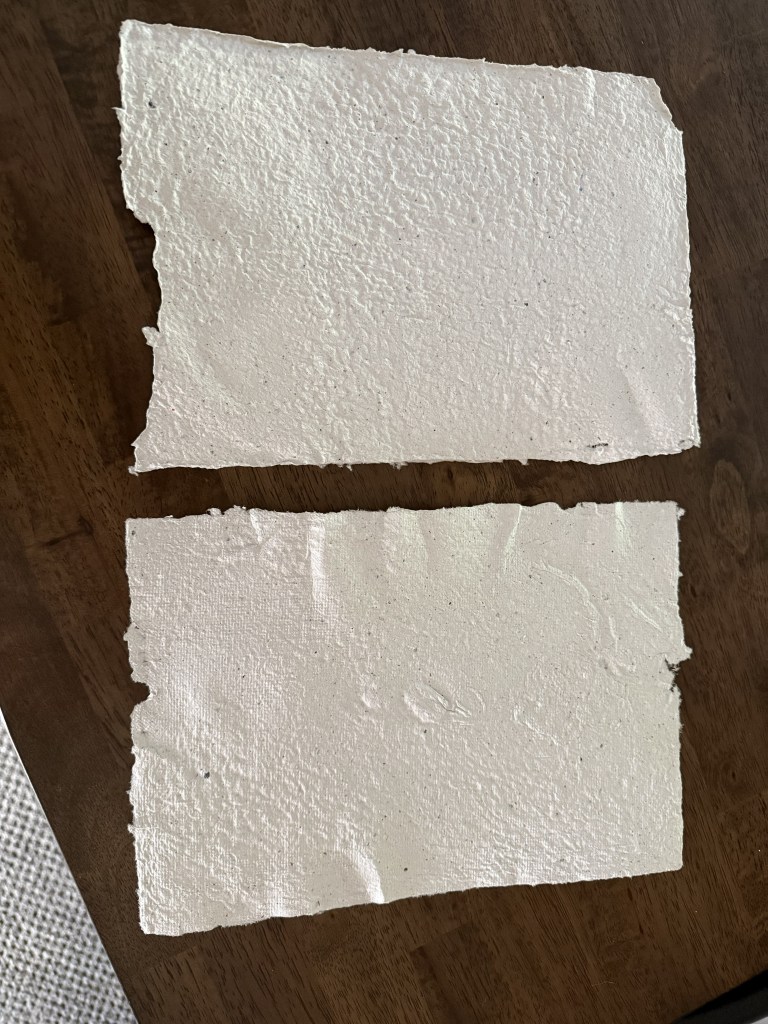
So…here is the final result:
Overall, I am really pleased with how this turned out—especially for my first attempt. Neither sheet is perfect, but that’s part of why I wanted to start with shredded scrap paper instead of anything special.
Now that I know I can actually make paper, I can’t wait to try again with some of the other paper I have lying around!
I bought cashews months ago because I wanted to make cheese. My favorite cheesemaker was ousted from her own company and they’ve decided just to stick to basic cheese spreads and butter.
Just here for the recipe? Scroll down to “The Recipe.”
So why not make my own?
I took a basic recipe I found and added my own little twists along the way. First, I boiled the cashews for 20 minutes because I was too impatient to soak overnight.
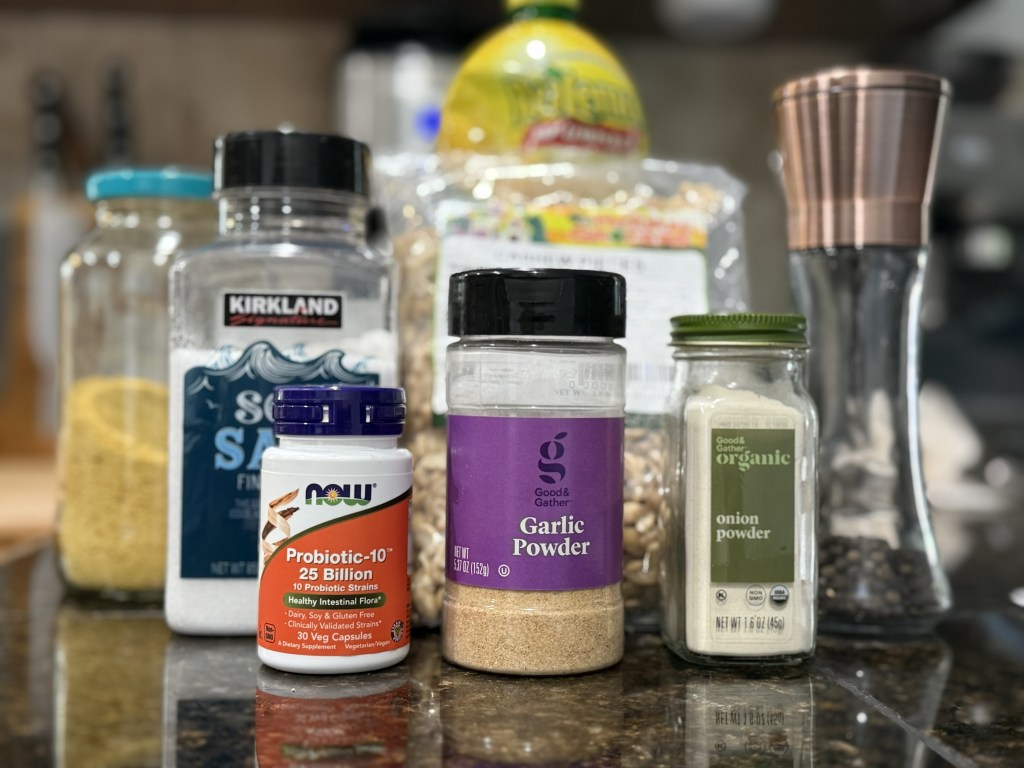
Then I got out the trusty Vitamix and got to work. The cashews went in, then some nutritional yeast, garlic powder, and onion powder. I blended it until it was smooth and then added the insides of two probiotic pills (I don’t recommend putting the whole pill in there…I feel like it wouldn’t end well).
After adding the probiotics, I blended just a little. For a reason I don’t know yet, you don’t want to blend those in too much.
It took forever to scrape out the cheese mix, but I finally got it into a cheesecloth-lined strainer, which was then laid over a bowl. Since I have cats, I put the bowl into a cabinet and set a reminder to check it in 20 hours, since my house tends to be pretty warm.
Twenty hours later, I tasted it. It still tasted a lot like nutritional yeast, so I left it for a few more hours. It could have fermented longer but again, since my house is warm, I decided my first attempt could be a milder cheese.
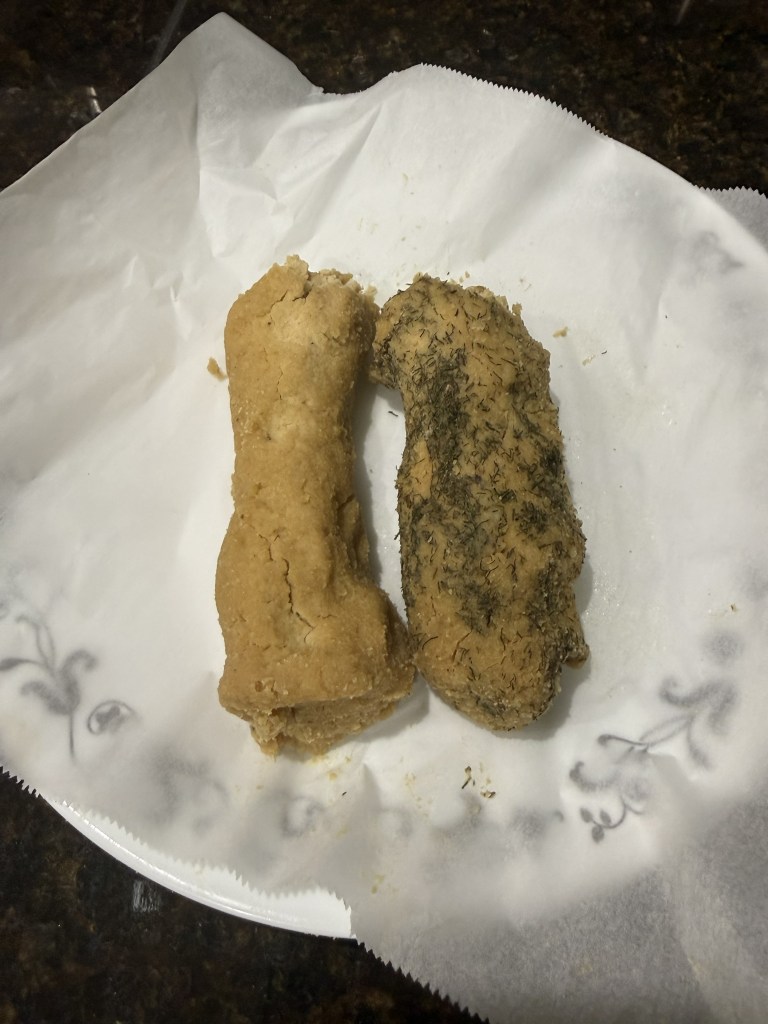
I divided the cheese in half so I could make one regular and one with an herb crust. I rolled both into a log (it was so sticky…), then rolled one through a layer of dill (unfortunately not dill I grew myself, but hey, I can’t do everything). Finally, I laid the logs on a piece of parchment paper laying on a plate and stuck it in the back of the fridge.
Five days later…
I was nervous.
It smelled amazing, but until I actually took a bite, I wasn’t convinced I’d made anything that tasted remotely like cheese…or even anything edible. I’d also somehow managed to shape the logs into something that looked like my very first Play-Doh project from kindergarten.
But it was good.
Really good.
Final Thoughts
The household approved both versions, but the dill-coated cheese won. Next time: longer fermentation, white miso, and significantly better-looking logs.
The dill-coated cheese was my favorite. And even better…the household liked both.
Ready to make your own?
The Recipe
This is the recipe I used for my first successful batch. I already have a few ideas for improving it, but it turned out well enough that I’m writing it down before I inevitably start tinkering.
Soak: soak cashers 4-8 hours or boil 20 minutes. Drain and rinse.
Blend: Blend cashews with nutritional yeast, lemon juice, salt, optional garlic and onion powders, and 2 tbsp water until very smooth and thick. Add a little more water only if needed.
Add probiotics: Open capsules and stir or briefly pulse into the mixture. Do not blend for long after adding them.
Ferment: Line a strainer with cheesecloth over a bowl. Transfer mixture, cover loosely, and leave at room temperature for 24-48 hours. Taste after 24 hours; ferment longer for more tang.
Shape: Form into a wheel or log and roll in herbs or spices if desired.
Age: Refrigerate uncovered or loosely covered on parchment or a rack. Flip daily. 3 days = soft and sliceable; 5-7 days = firmer; 10-14 days = tangier and more aged.
Storage:
Refrigerate in an airtight container after aging. Best within 1-2 weeks. Freeze up to 3 months.
Serving Ideas:
Crackers, toasted sourdough, sandwiches, wraps, salads, stuffed mushrooms or peppers, bagels, or a vegan charcuterie board.
Lessons Learned
The next time I make it, I’ll let it ferment a little longer for a tangier flavor and figure out a better way to shape the logs (the preferred shape in this house). I’d also like to pick up some white miso, which is a common ingredient in cultured cashew cheese and should add even more depth. Eventually, I’m going to try recreating the volcanic ash cheese the household misses.
For a first attempt, though, I’m calling this one a success. Homemade vegan cheese has officially joined the list of things I never expected to make…right alongside growing my own herbs, saving seeds, and making infused oils.
Since I just opened an Etsy shop—with one product so niche that most people would never think to search for it—I have started applying for small business grants. I have a slight advantage as a female veteran, but that only gets my foot in the door. A strong application still has to stand on its own.
One of the biggest hurdles will be the fact that I don’t have any revenue yet. Convincing a committee that my business has the potential to grow—and eventually become profitable—won’t be easy. Such is life.
That said, I have a business plan that I genuinely believe in. My budget projections are also refreshingly simple because, at the moment, I have virtually no overhead. I work from home, and my current products are digital. Even when I begin selling physical products, I’ll be starting with materials and equipment I already own, including some supplies that I’m literally growing in my garden.
One thing that gives me confidence is that I’ve written an RFP (Request for Proposal) response before. An RFP is how government agencies and other organizations request bids for a specific product or service. Writing one requires answering a lot of detailed questions, but it also results in a substantial library of material that can be reused. By the time I finished mine, I had about fifteen pages, and roughly twelve of those could be adapted for future proposals.
I’m hoping that experience will pay off with grant applications as well. My contracts professor always said, “Why invent the wheel?” As long as I build a strong foundation now, each new application should become a little easier than the last.
My goal is simple: secure enough funding to purchase professional equipment for the physical products I want to make. I think having the right tools from the beginning would dramatically shorten the learning curve and allow me to produce higher-quality work much sooner.
I don’t know that grant applications will become a regular topic here. They’re not exactly thrilling reading. But if I ever receive one, you can be sure there will be an extremely excited post about it.
Now, if you’ll excuse me, I’m off to read Small Business For Dummies.
The garden compendium was originally meant to be a catch-all. It included medicinal herbs with drawings, uses, and recipes; planting, care, and harvest instructions for all of the herbs and vegetables I planted; a diagram of this year’s layout; a planting calendar; and a journal of what I did, what happened, and how I could fix my mistakes.
That plan hasn’t changed. The notebook will continue into next year, or however long it takes me to fill 300 sheets.
What has changed is everything else.
Originally, I wrote herb recipes on the back of each herb page. It didn’t take long to realize that a tincture is a tincture, my handwriting was getting messier, and my fountain pen was ghosting through onto the drawing on the other side. So the recipes are getting their own section, but only for the preparations I’ve actually made with herbs from my own garden. The herb pages themselves will stay as a high-level overview with drawings and uses.
Then there are the medicinal herbs.
I have become fascinated by them and have been researching them like crazy. That rabbit hole is deep enough to fill 300 sheets all by itself, which wasn’t the original purpose of the compendium. I wanted this notebook to be something I could leave behind someday—a record of the garden that my descendants could flip through and (hopefully) ooh and ahhh over.
So, naturally, I’m making another notebook.
Medicinal herbs deserve one of their own. The subject is practically endless, and if you’ve been reading my blog for any length of time, you’ve probably noticed that I’m incapable of leaving well enough alone.
I’ve also started color-coding the page edges. The notebook only came with two ribbon bookmarks, which isn’t nearly enough anymore. By highlighting the edges of each page based on the section—herbs, vegetables, diagrams, journal entries, and so on—I can find what I’m looking for without even opening the book.
And finally…
I did the one thing I swore I wasn’t going to do.
I started an Excel workbook to track planting and care information for vegetables I haven’t even decided if I’m going to grow yet.
No matter how much research I did before planting my garden (and I’m certainly not finished), there were still plenty of surprises. Some things completely failed, while others did far better than I ever imagined.
I organized my garden into separate beds based on companion planting, water needs, soil type, and a handful of other factors. It definitely created more weeding than I would have liked, but I needed to see what worked and what didn’t.
In some beds, none of it seemed to matter. I planted starts at the right time, paired them with their companion plants, and they promptly died. I direct sowed whatever I could, and sometimes nothing came up at all. I even moved some of those stubborn plants into bins with fresh potting soil. A few are thriving, while others are either refusing to grow or have become an all-you-can-eat buffet for whatever animal keeps digging them up.
Then there are the pleasant surprises.
The borage is so big that I’m honestly not sure what to do with all of it. I’ll keep tossing the flowers into salads, and the rest will probably go to seed. It’s one of the best bee attractors in the garden, though, so it’s earned its place. It also doesn’t hurt that it’s gorgeous.
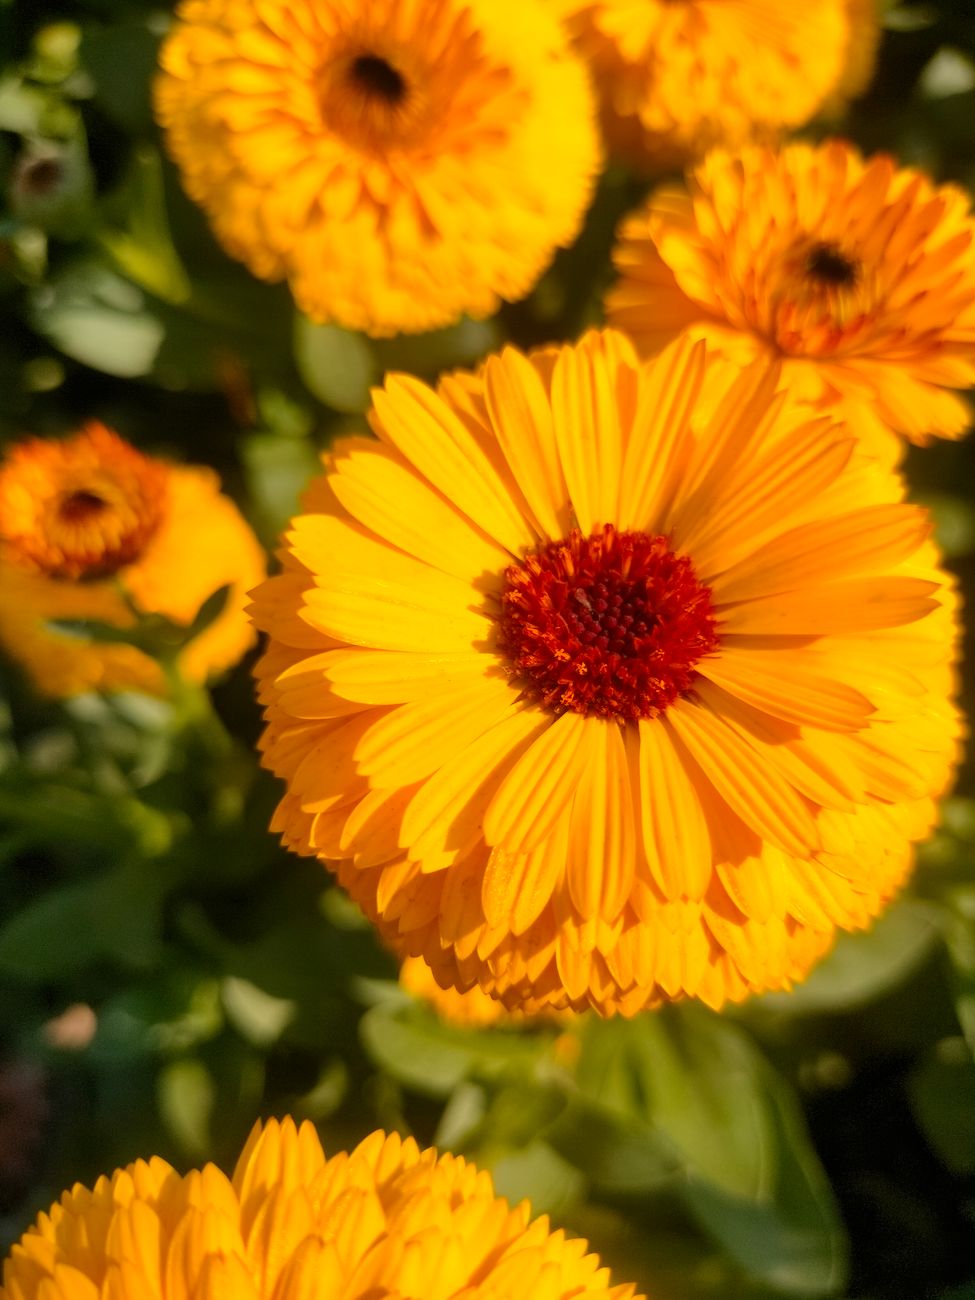
The calendula is massive. I’m drying flower heads for a future tincture, chamomile for tea, and I have dill coming out of my ears. The lettuce just keeps producing, and the carrots have done far better than I expected.
All that being said, the garden has been a fruitful learning experience. (Fruitful. Get it?)
As the season goes on, I’m no longer fighting the garden. I’m letting it show me what works, what doesn’t, and how I can make next year’s garden even better.
And as the universe is my witness, I will not let the quince from hell win.
One of the things I’ve realized this year is that I don’t really collect hobbies.
From the outside, it probably looks like I bounce from one thing to another. Gardening. Bookbinding. Norwegian. Citation templates. Herbs. Cocktails. Ancient history.
They’re all over the place.
To me, though, they’re all the same hobby.
I like understanding how things work.
The garden has made that clearer than anything else. Before this year, companion planting was something I’d read about. Soil composition was something I’d heard people discuss. Medicinal herbs were mostly names in books.
Now I get to watch it happen.
I’m seeing why one bed dries out faster than another. Why some plants seem happier next to certain neighbors. Which herbs attract pollinators and which ones don’t. Which vegetables struggle through a heat wave while others barely notice. It’s no longer just biology in a textbook. It’s biology happening in my backyard.
That’s probably why my garden is organized the way it is. It isn’t the most efficient layout, and I’ve certainly spent more time weeding because of it. But separating plants by water needs, companion planting, shade, and other variables lets me see what works and what doesn’t. I’m treating the garden as one giant experiment.
The same thing happens with my other projects.
I didn’t start making notebooks because I thought notebooks were too expensive. I started because I wanted to understand how books are made. Every mistake teaches me something, and every notebook gets a little better than the last.
I originally started learning Norwegian because I had a reason to. Somewhere along the way, though, the language became the reward. I enjoy the grammar, I enjoy listening to it, and I was ridiculously proud of myself for using it in Oslo, even if it was only a little.
The citation bundles might be the clearest example of all. I don’t enjoy formatting bibliographies. I enjoy solving problems, and I kept thinking about how much easier graduate school would have been if I’d had something like this on my desk.
Maybe that’s why all of these projects seem connected to me, even if they don’t to anyone else.
I first learned about commonplace books while reading the second book of A Discovery of Witches. It sounded like such a cool idea.
I immediately found an unused notebook in my inventory and started carrying it around.
I had been told that one simply writes down anything interesting. Unfortunately, I wasn’t finding anything interesting at first, and every time I wrote something down, it felt forced.
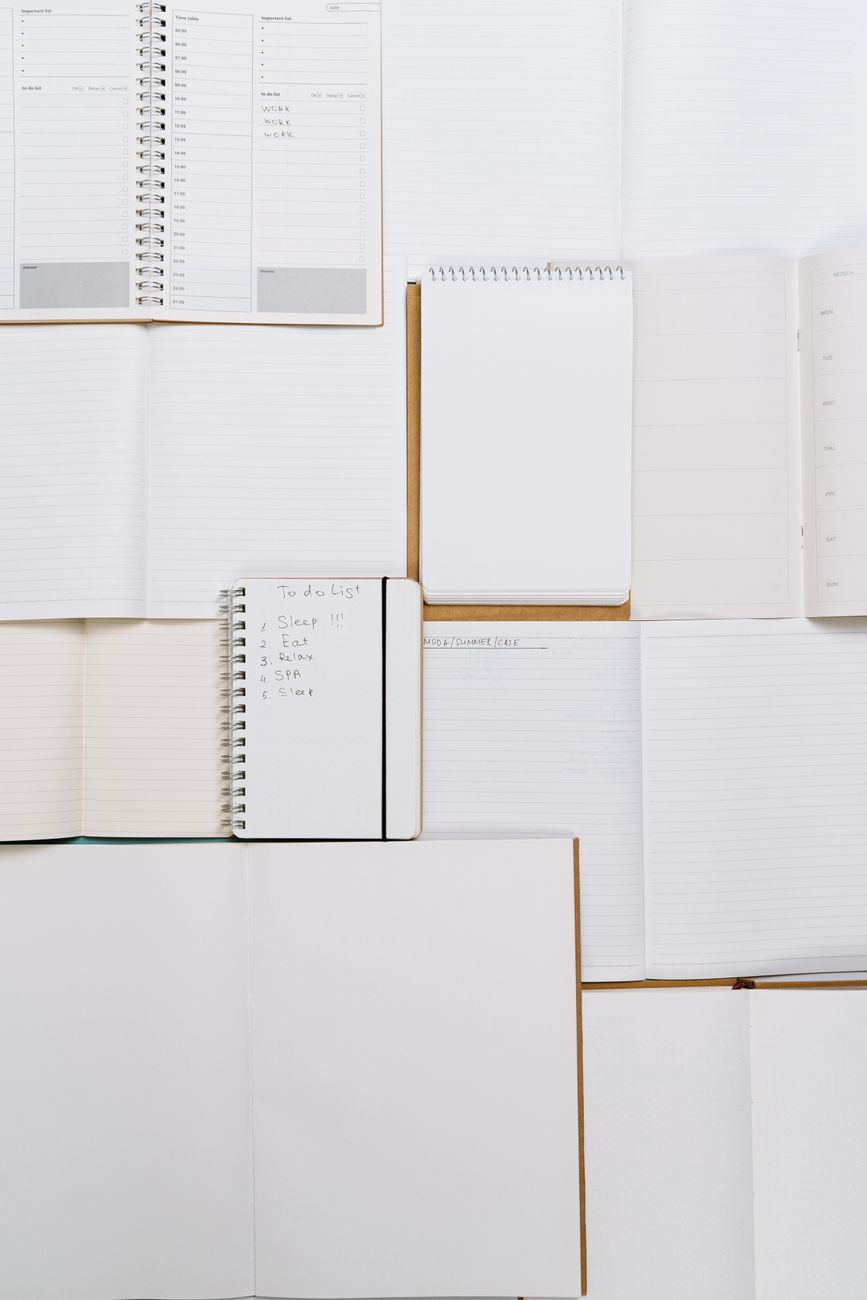
A few months ago—maybe a year, time has ceased to have meaning—I started a bullet journal again. Instead of writing down things I needed to do or making trackers, it slowly turned into a commonplace book.
I started devoting entire sections to things I was interested in: four pages on whisky, seven pages on Gàidhlig grammar, and assorted bits of trivia that appealed to me for reasons known only to my brain.
Eventually, I had to start making separate notebooks. I simply had too many interests to fit into one.
As far as I can remember, I currently have notebooks for:
Baseball
Gàidhlig
Norwegian
One for a game I am playing but refuse to admit to publicly
Religious studies
Gardening adventures (which covers enough topics to qualify as several notebooks by itself)
And I still have many blank notebooks waiting to be filled.
So how many notebooks is too many?
Like the question of how many licks it takes to get to the center of a Tootsie Pop, the world may never know.
I think a lot of us are taught that life follows a fairly straightforward path: go to college right after high school, find a career, and work forty or more hours a week until retirement. I never really followed that plan, and for a long time I felt like I had somehow done life incorrectly.
As I have gotten older, though, I have realized that the things I didn’t do made me different in a way that I actually appreciate. I have always been curious, and I finally feel like I have given myself permission to simply learn things because they interest me.
So these days I find myself learning crafts, bookbinding, languages, gardening, and even some homesteading skills. There is always some new rabbit hole waiting to be explored.
Not always having steady work has certainly been stressful, but it has also taught me that life is about more than giving decades of yourself to an employer who may never appreciate you the way you deserve. There is value in creating things, learning things, and following your curiosity.
At this point, if something sounds interesting, I want to try it. Some people may think that is strange, and perhaps it is. But I enjoy it, and I like the idea of keeping my mind active and open to new experiences.
Maybe I am making up for lost time. Or maybe I am finally becoming the person I was always meant to be.
I had an idea for an Etsy product several weeks ago, but life happened and I had to put it on the back burner for a bit. But! I finally finished it, created my Etsy store, and listed my first product.
I have felt very overwhelmed during this process. Yesterday, I decided that I didn’t need an entire shop. I didn’t need ten products, or perfect branding, or a grand plan stretching years into the future. I just needed one product. Just the first one.
And just like that, I took the tiniest step imaginable to share something I made with other people.
I don’t care if my shop goes viral. I don’t care if I become the next Martha Stewart, but with study guides. I simply wanted to take that first step.
Honestly, I think that’s the hardest part of any new project. Not becoming an expert. Not making hundreds of things. Just being willing to begin.
So today, I am celebrating one tiny step. The rest can come later.
And if anyone is curious, my little corner of Etsy can be found at Tartan Vegan. I welcome feedback, suggestions, and gentle corrections as I continue learning.