One of the things I’ve realized this year is that I don’t really collect hobbies.
From the outside, it probably looks like I bounce from one thing to another. Gardening. Bookbinding. Norwegian. Citation templates. Herbs. Cocktails. Ancient history.
They’re all over the place.
To me, though, they’re all the same hobby.
I like understanding how things work.
The garden has made that clearer than anything else. Before this year, companion planting was something I’d read about. Soil composition was something I’d heard people discuss. Medicinal herbs were mostly names in books.
Now I get to watch it happen.
I’m seeing why one bed dries out faster than another. Why some plants seem happier next to certain neighbors. Which herbs attract pollinators and which ones don’t. Which vegetables struggle through a heat wave while others barely notice. It’s no longer just biology in a textbook. It’s biology happening in my backyard.
That’s probably why my garden is organized the way it is. It isn’t the most efficient layout, and I’ve certainly spent more time weeding because of it. But separating plants by water needs, companion planting, shade, and other variables lets me see what works and what doesn’t. I’m treating the garden as one giant experiment.
The same thing happens with my other projects.
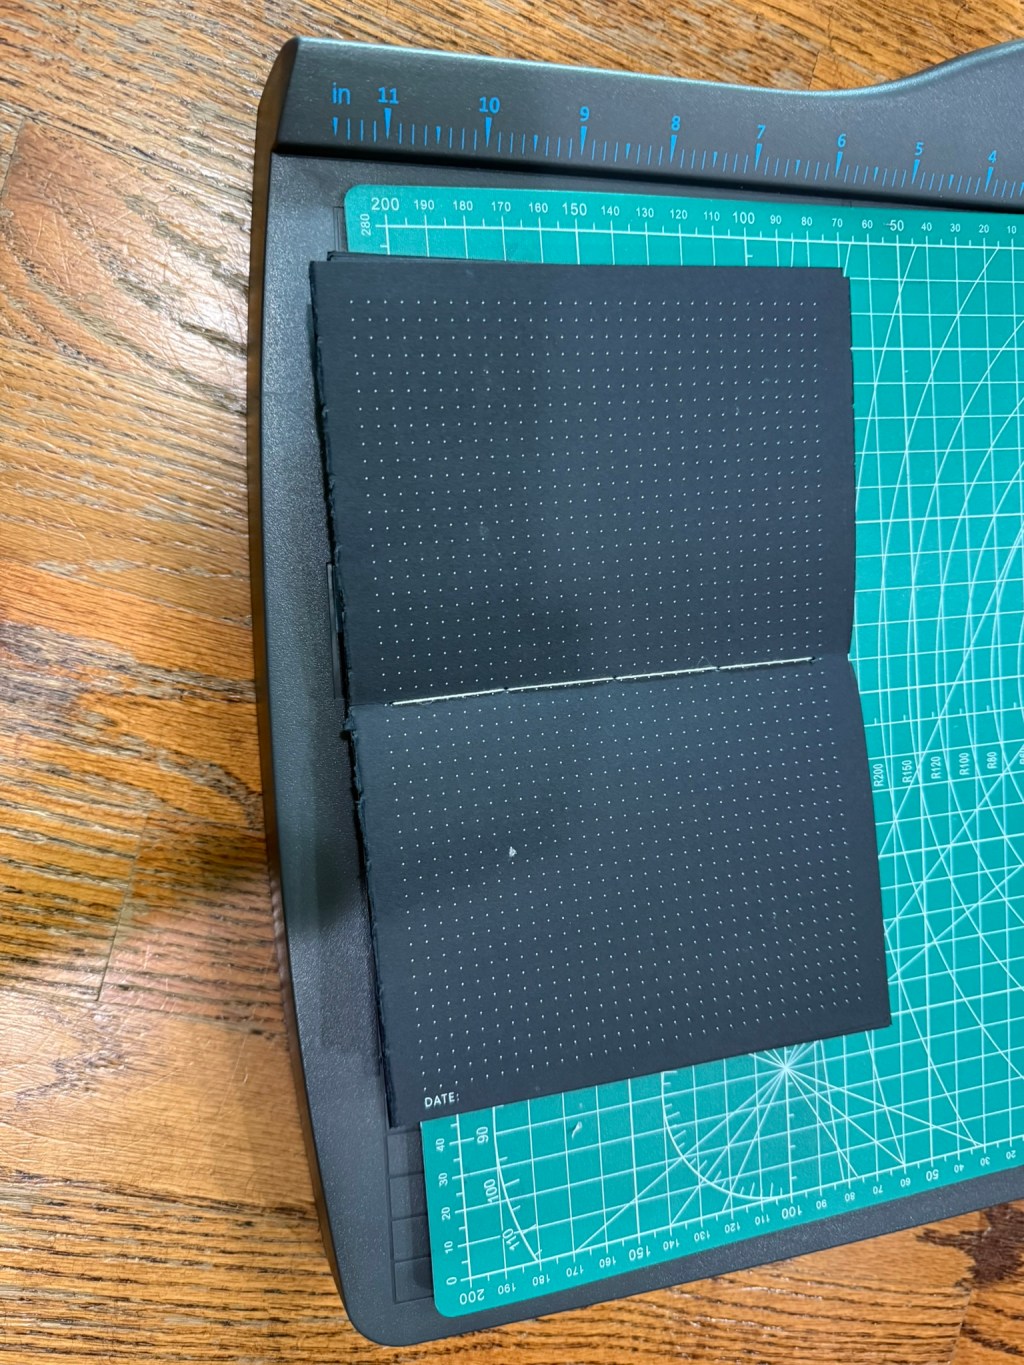
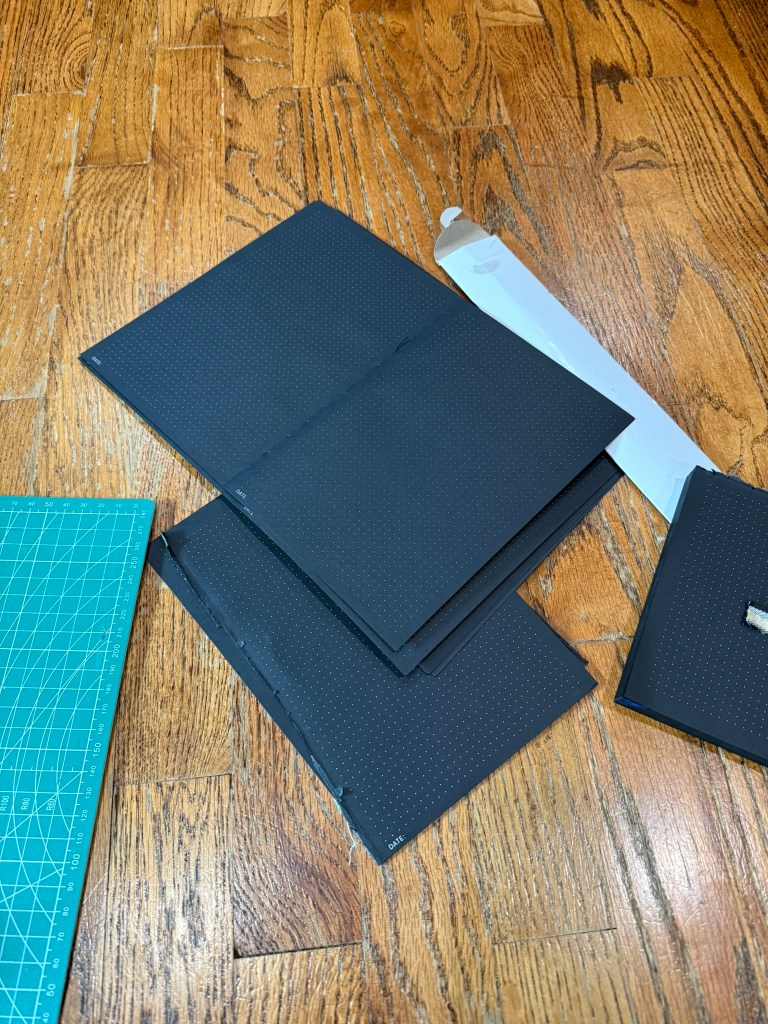
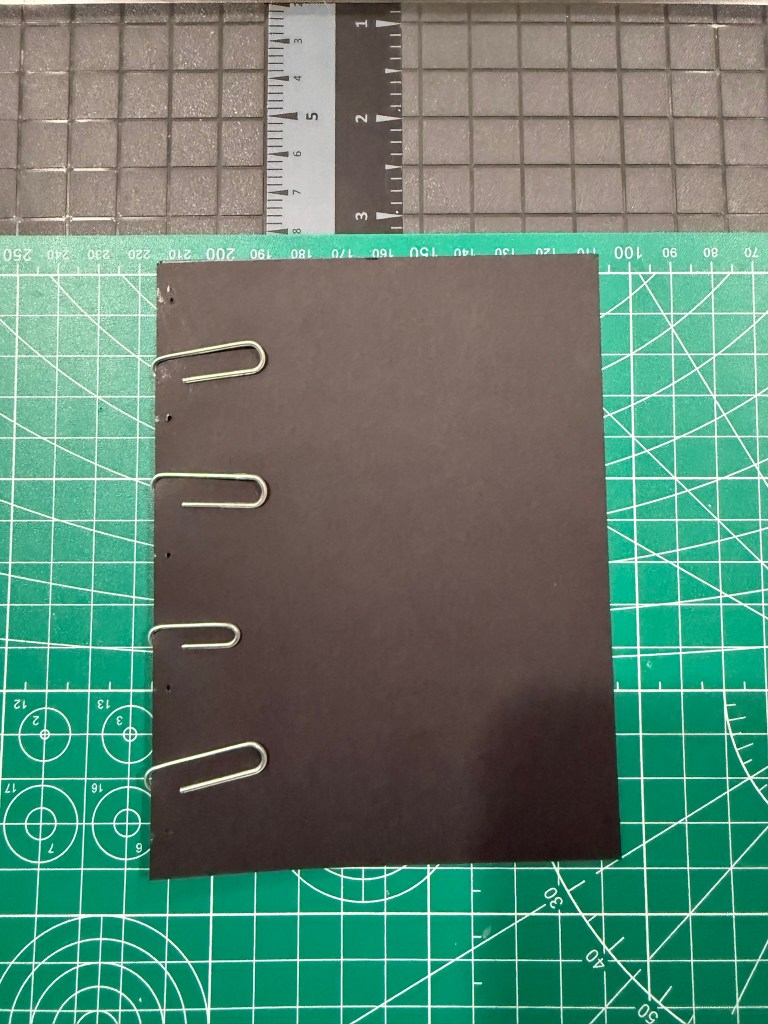
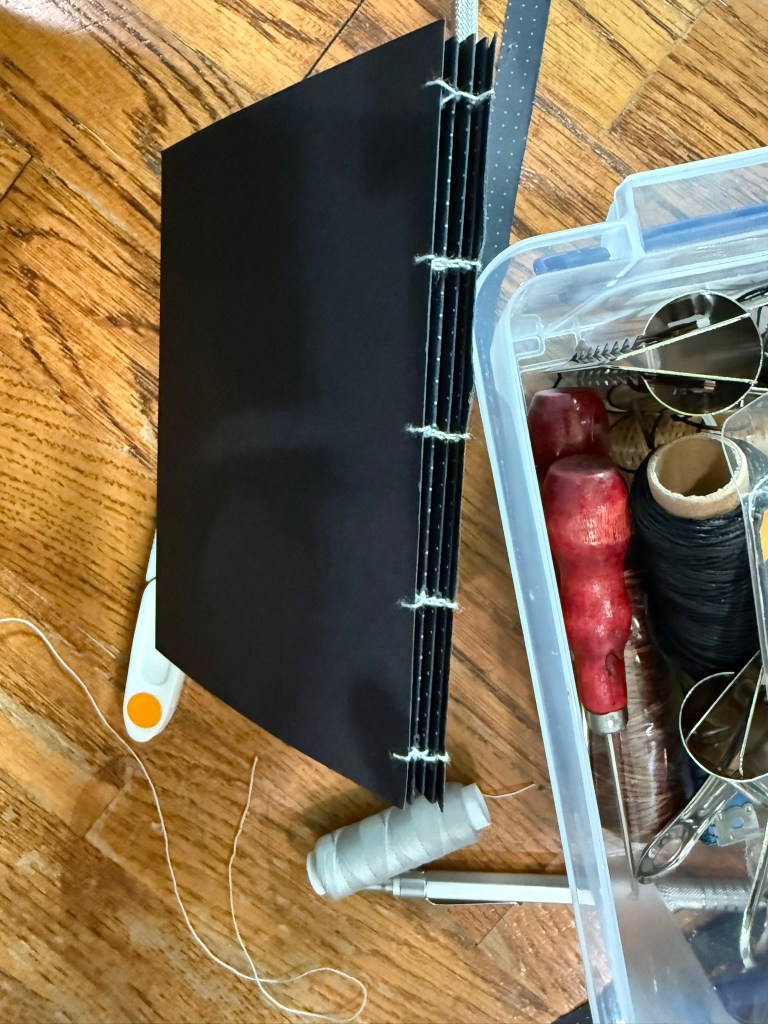
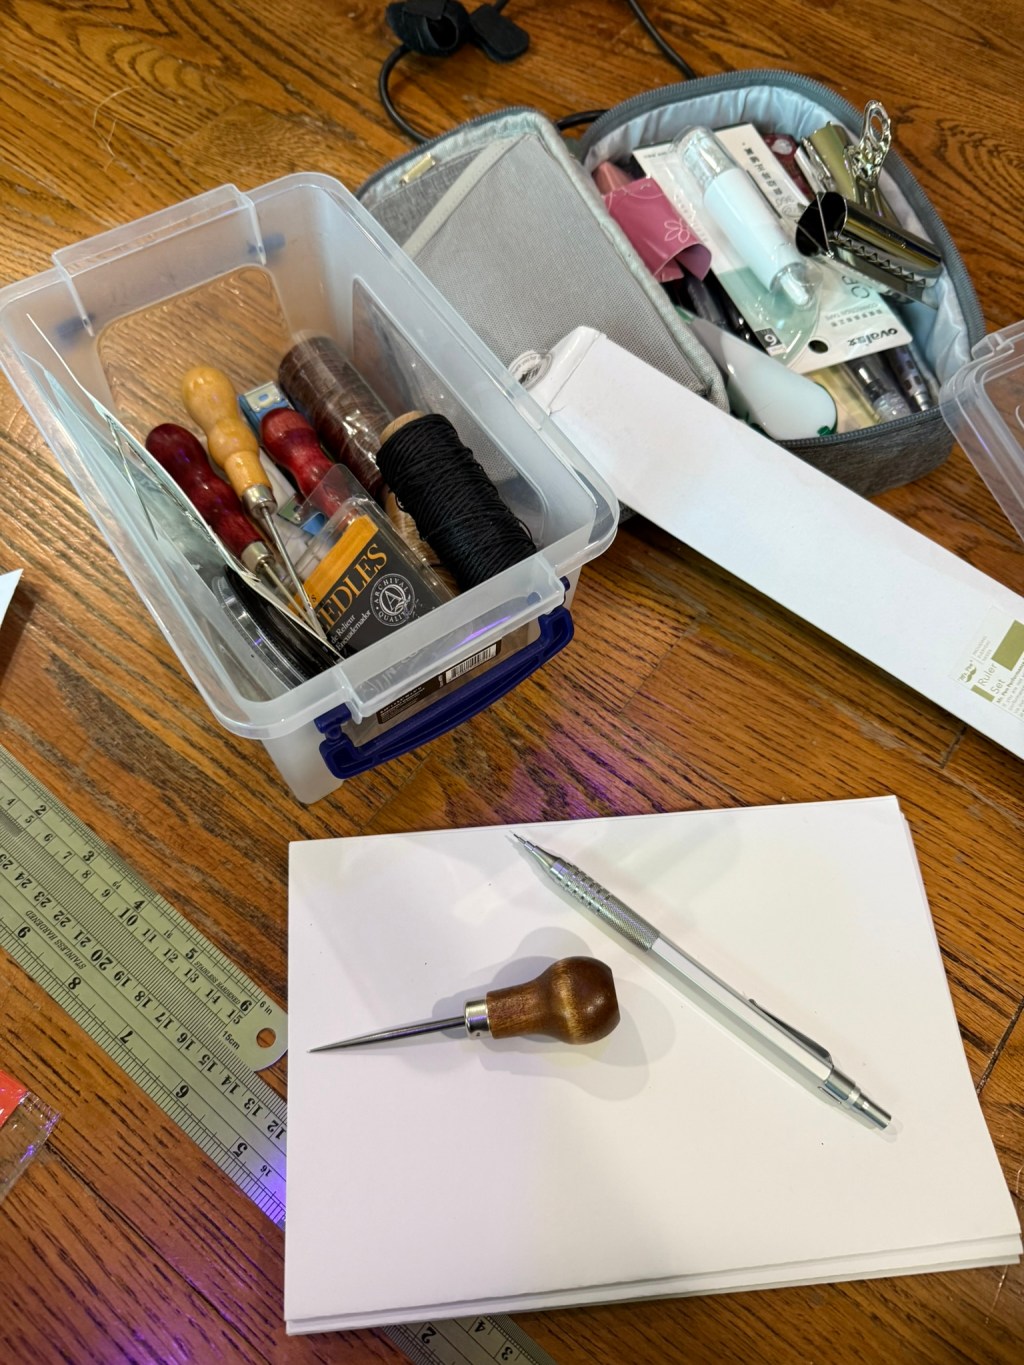
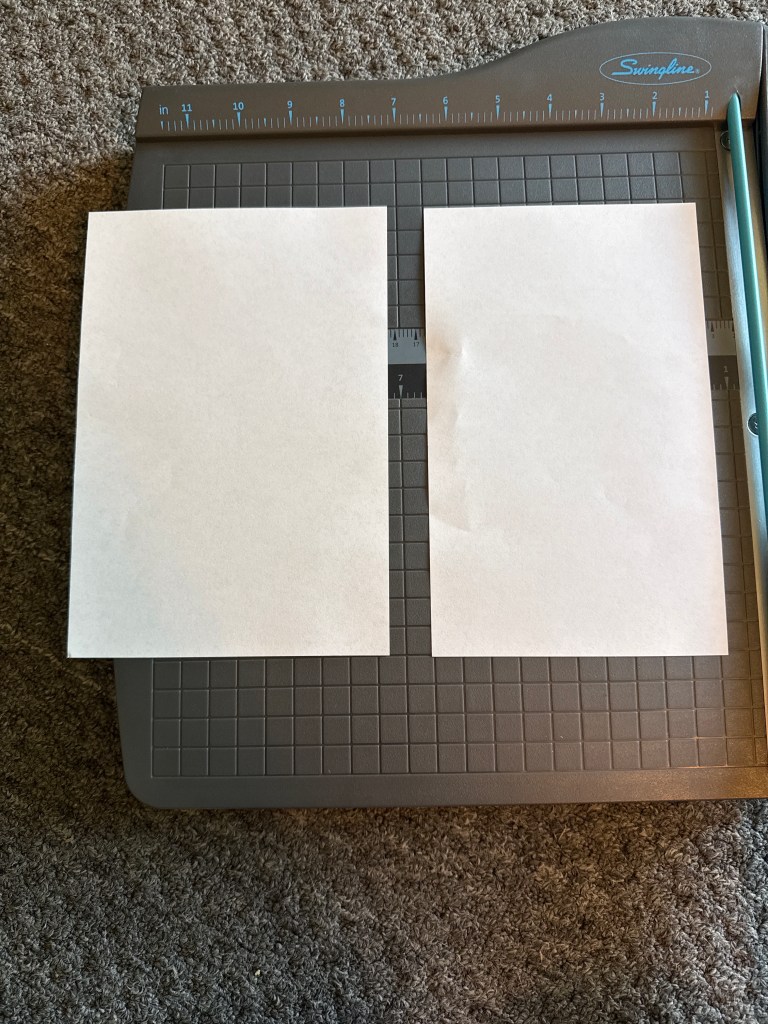
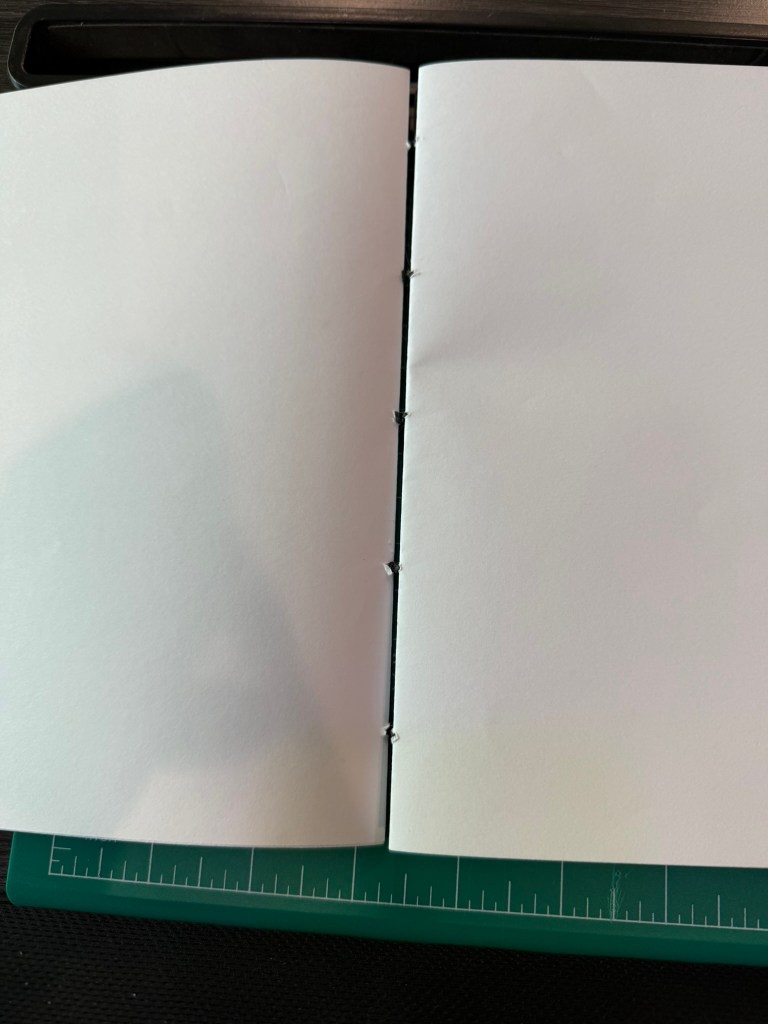
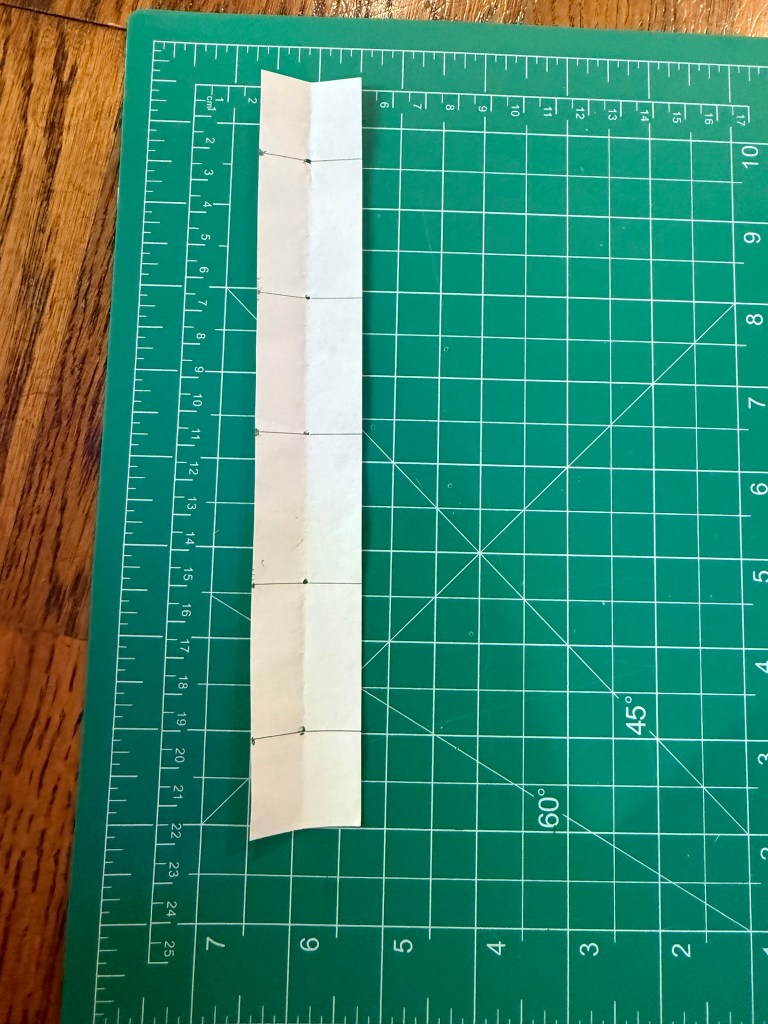
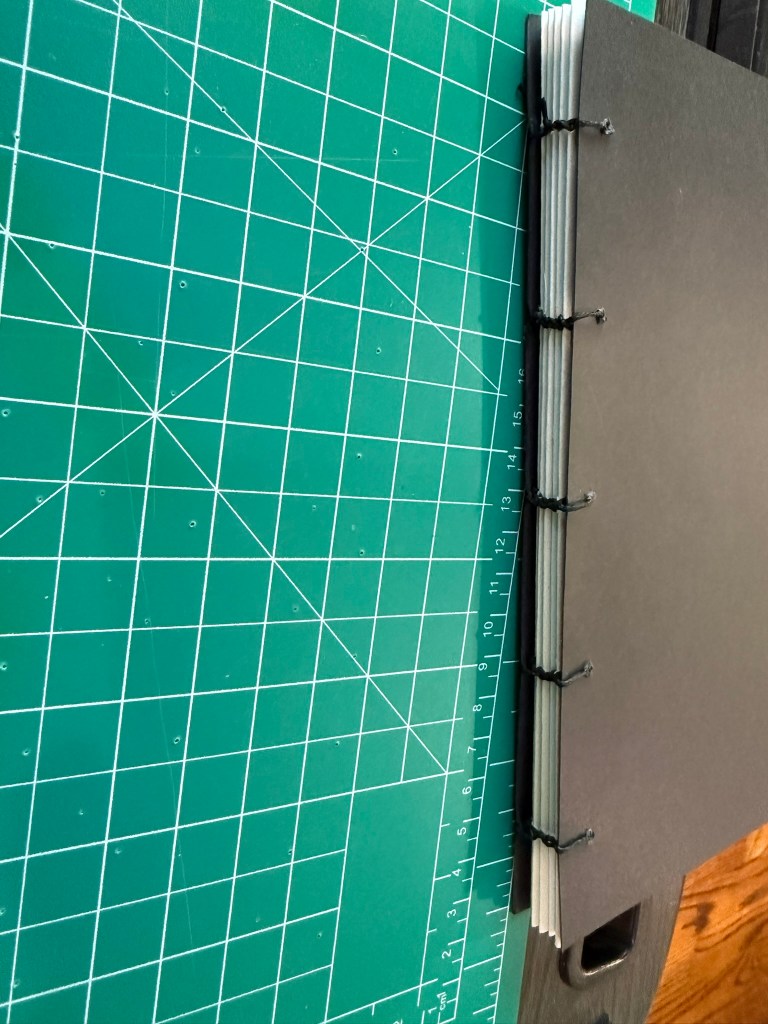
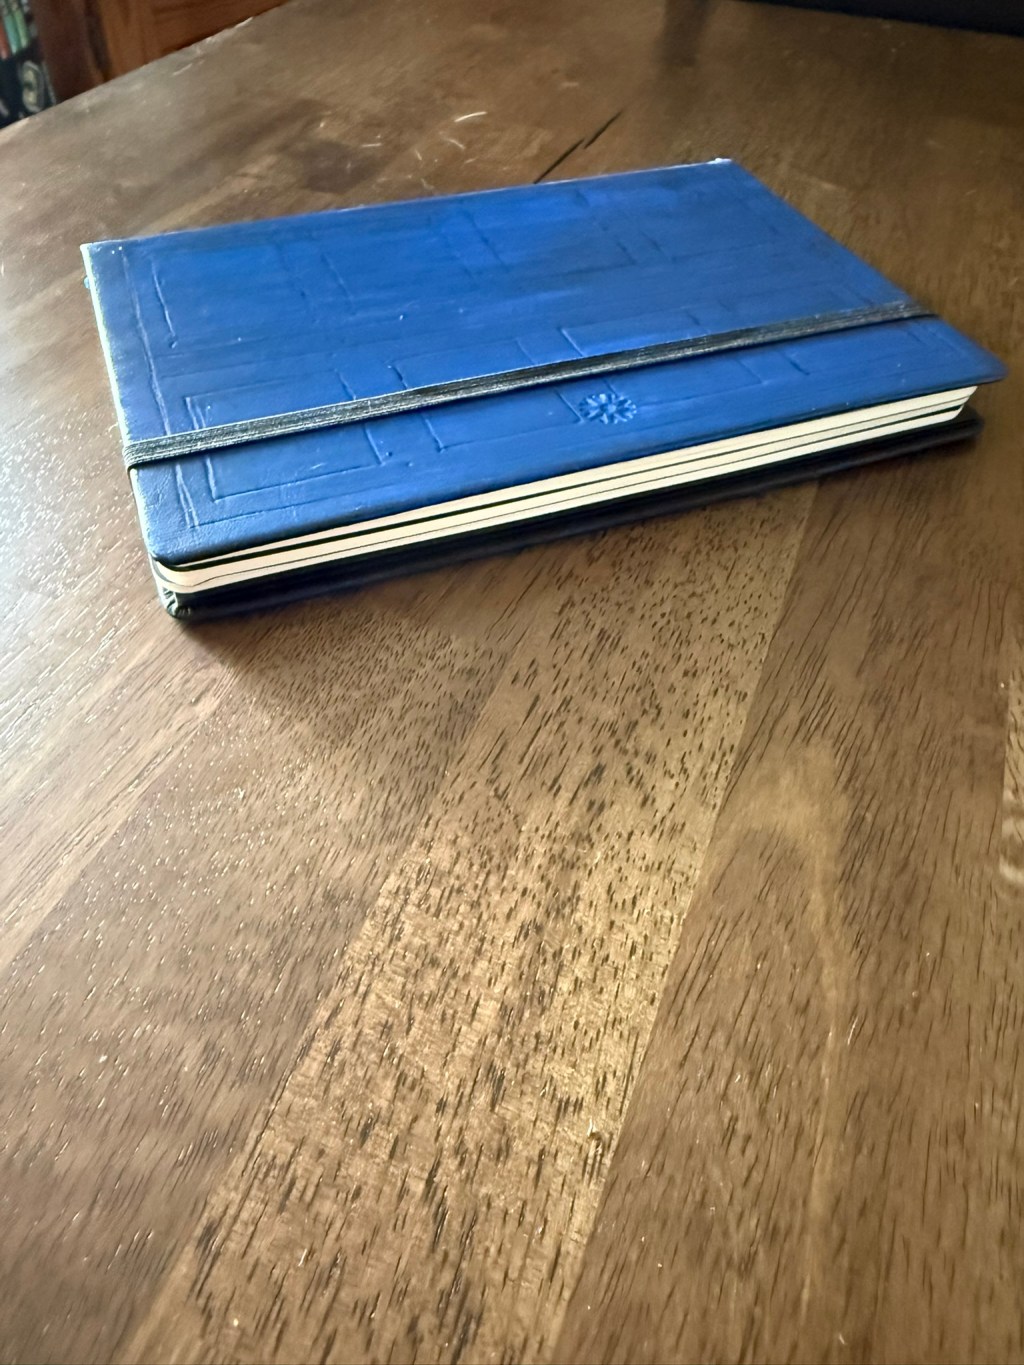
I didn’t start making notebooks because I thought notebooks were too expensive. I started because I wanted to understand how books are made. Every mistake teaches me something, and every notebook gets a little better than the last.
I originally started learning Norwegian because I had a reason to. Somewhere along the way, though, the language became the reward. I enjoy the grammar, I enjoy listening to it, and I was ridiculously proud of myself for using it in Oslo, even if it was only a little.
The citation bundles might be the clearest example of all. I don’t enjoy formatting bibliographies. I enjoy solving problems, and I kept thinking about how much easier graduate school would have been if I’d had something like this on my desk.
Maybe that’s why all of these projects seem connected to me, even if they don’t to anyone else.
I’m not really collecting hobbies.
I’m collecting understanding.