My last post discussed hitting a creative block, which in turn has caused a bit of an internal struggle. I want to keep creating, but I also don’t want to force myself—nothing kills my passion faster than feeling trapped.
Today, I told myself I had to do something. I decided to bind another pamphlet, since it really doesn’t take a lot of time or effort (at least, minimal effort for my current skill level).
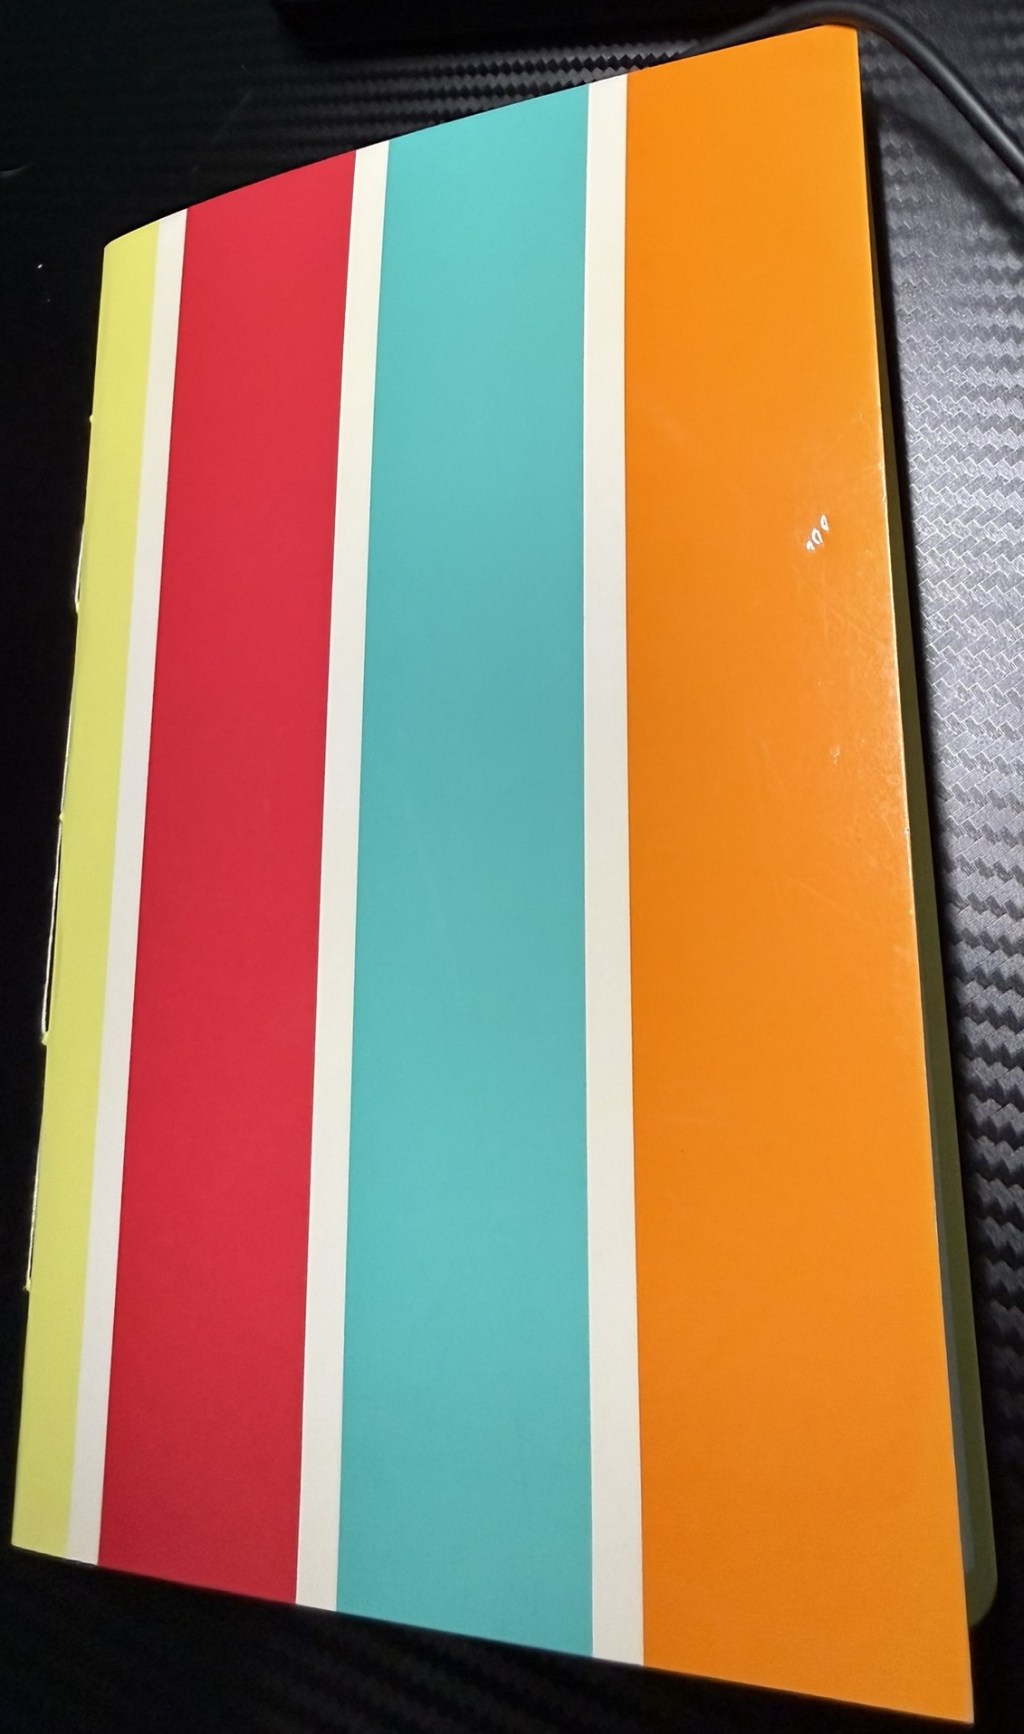
I had a file folder lying around that I thought would make a nicer cover than the card stock I had been using. I also wanted to try out my Teflon bone folder.
The folder was a little larger than the paper when folded in half, so that removed the “trim the paper” equation entirely. However, I have not mastered scoring yet, so when I folded the file folder, it still ended up with some weird creases.
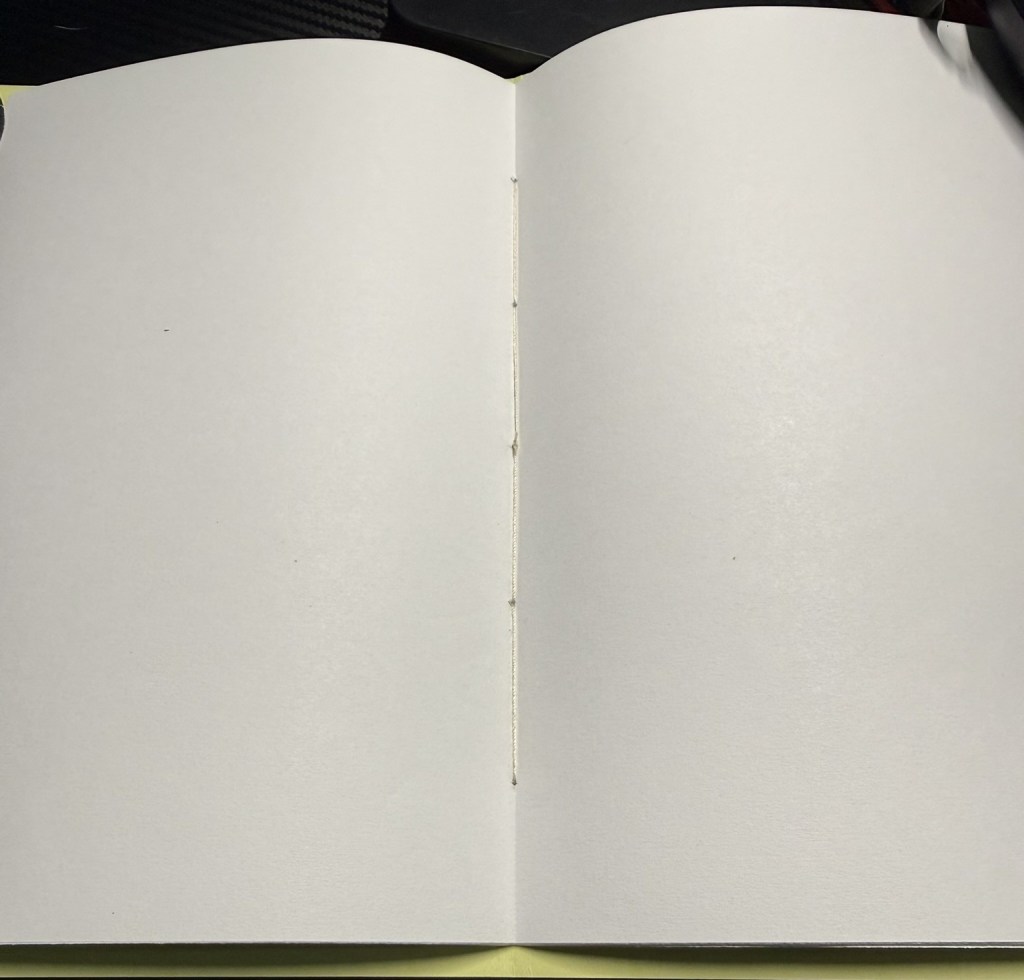
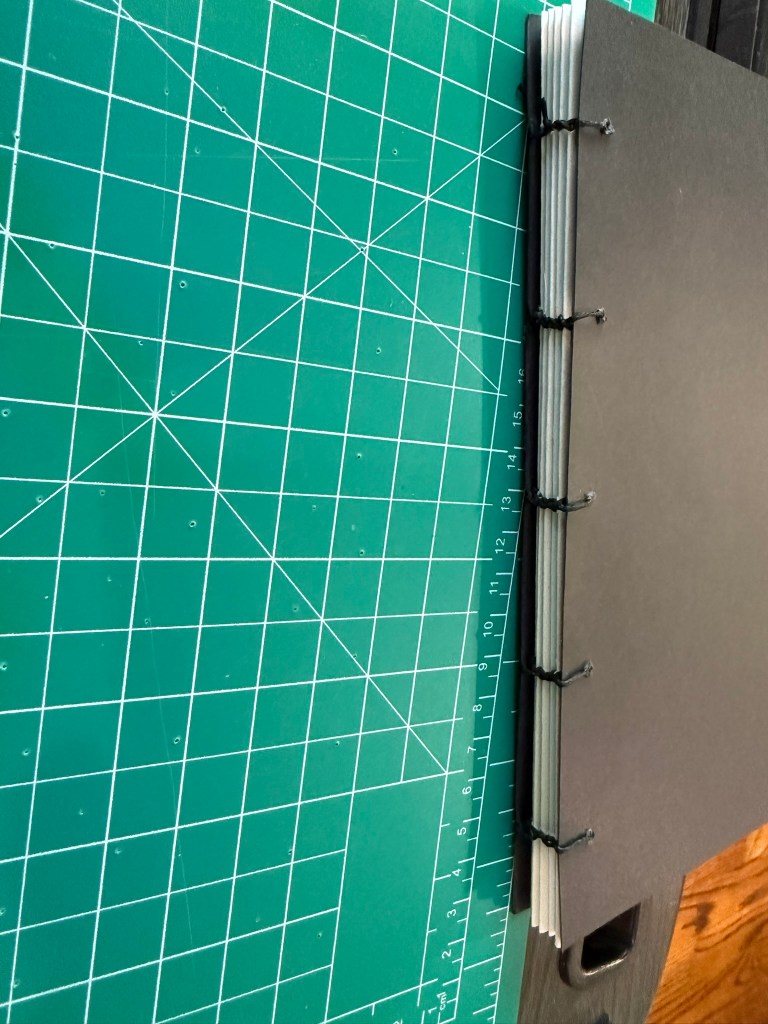
I also wanted to try the other thread that came with my upholstery repair kit. That thread is more like regular sewing thread, so I had to tread carefully. I had been using the thicker waxed thread, but it didn’t tighten well and ended up looking really messy.
I made the holes in the paper, and they were a bit off-center, as usual. I plan to make a book-piercing stand at some point, but since I am still practicing the binding itself, that can wait a bit.
The sewing went faster this time since it wasn’t my first try, and I am happy with the overall look.
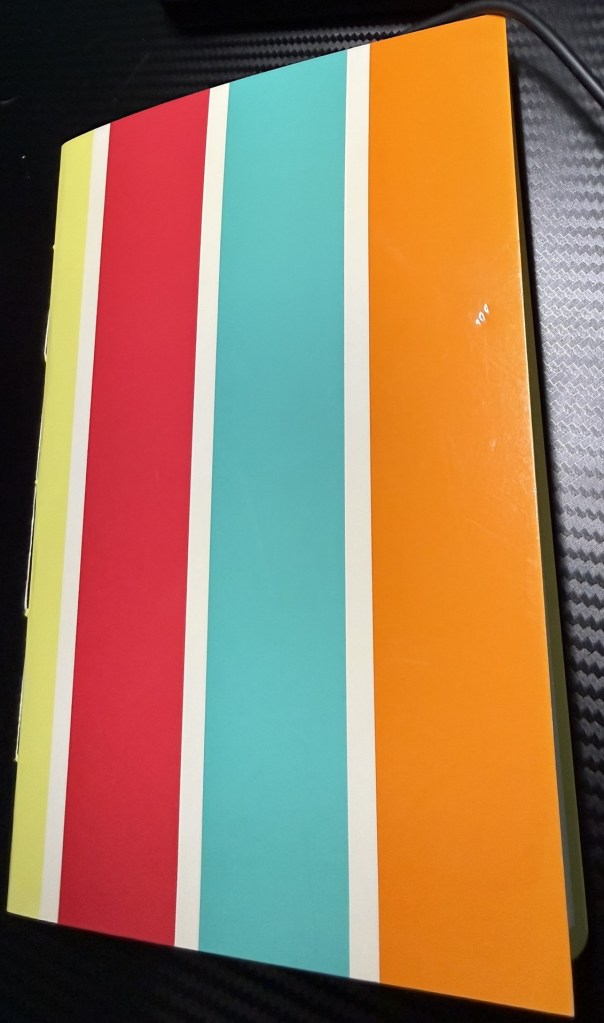
I love that the thread is unobtrusive.From the outside, the file folder made a much nicer cover than I expected.
One thing I was determined to do last weekend was attempt a Coptic-bound notebook. I’ve made one with Japanese stab binding in the past, but I haven’t tried it again since then.
So… I almost didn’t try this at all.
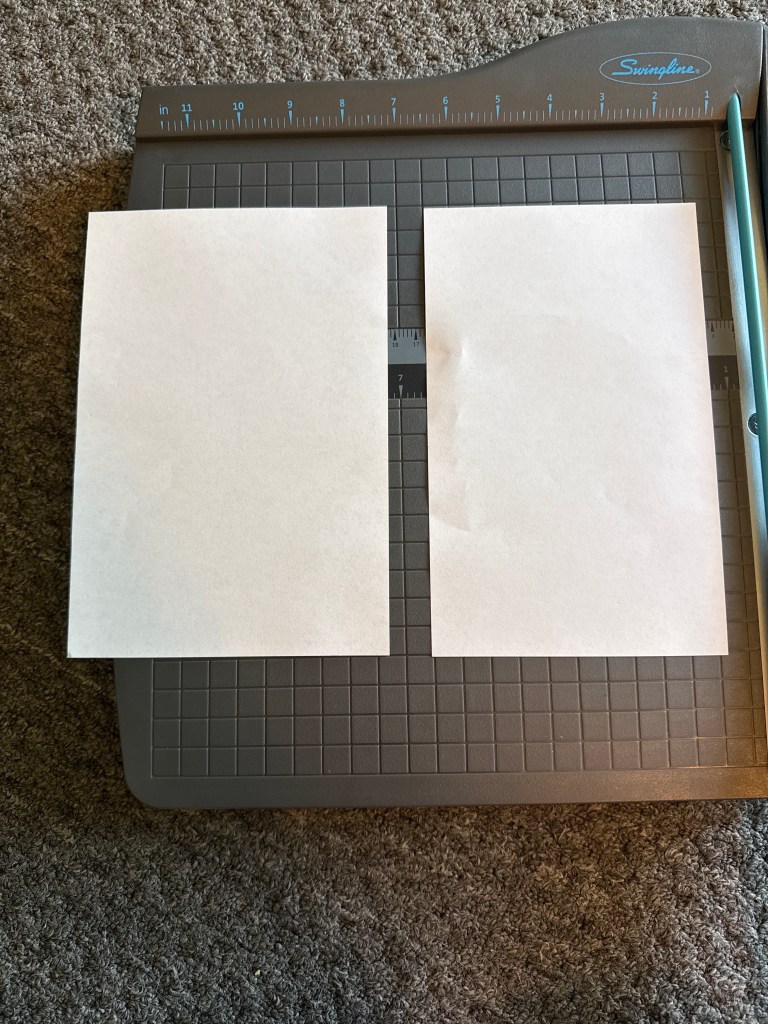
When I went to cut my letter-sized paper in half using a Swingline paper guillotine, I discovered the ruler isn’t exactly… accurate. I lined the paper up at 5.75″ (half), and somehow ended up with one side at about 60% and the other at 40%.
All the Amazon reviews talk about how accurate this thing is, so I have to assume they meant the cutting quality—not the measurements. I even watched a long tutorial on how to use it. There was a whole section on the ruler, and the creator never mentioned measurements—just that you can’t cut anything smaller than an inch.
Not very helpful, right?
Inaccurate ruler on the paper guillotine
At that point, I stopped fighting the guillotine and just folded the paper in half before cutting. Not ideal, but I also didn’t expect to need conversions just to cut paper.
I had already folded the signatures the night before and left them under a heavy book overnight. I added the freshly cut covers to the stack and briefly decided I wasn’t going to attempt the project at all.
But then I finished everything else on my list.
So I tried anyway—while watching my baseball game.
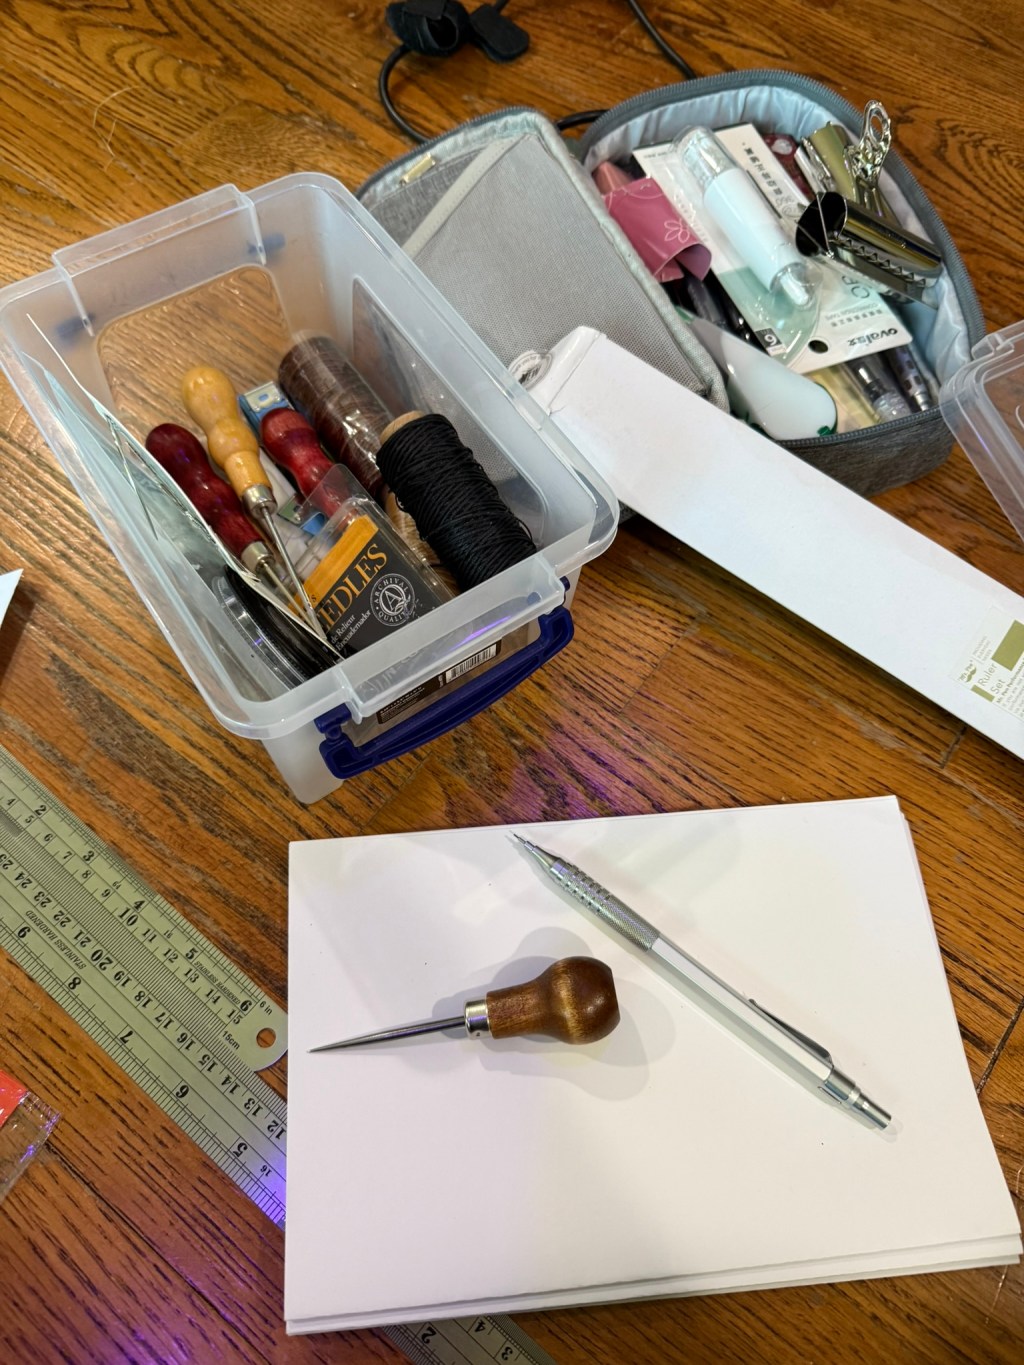
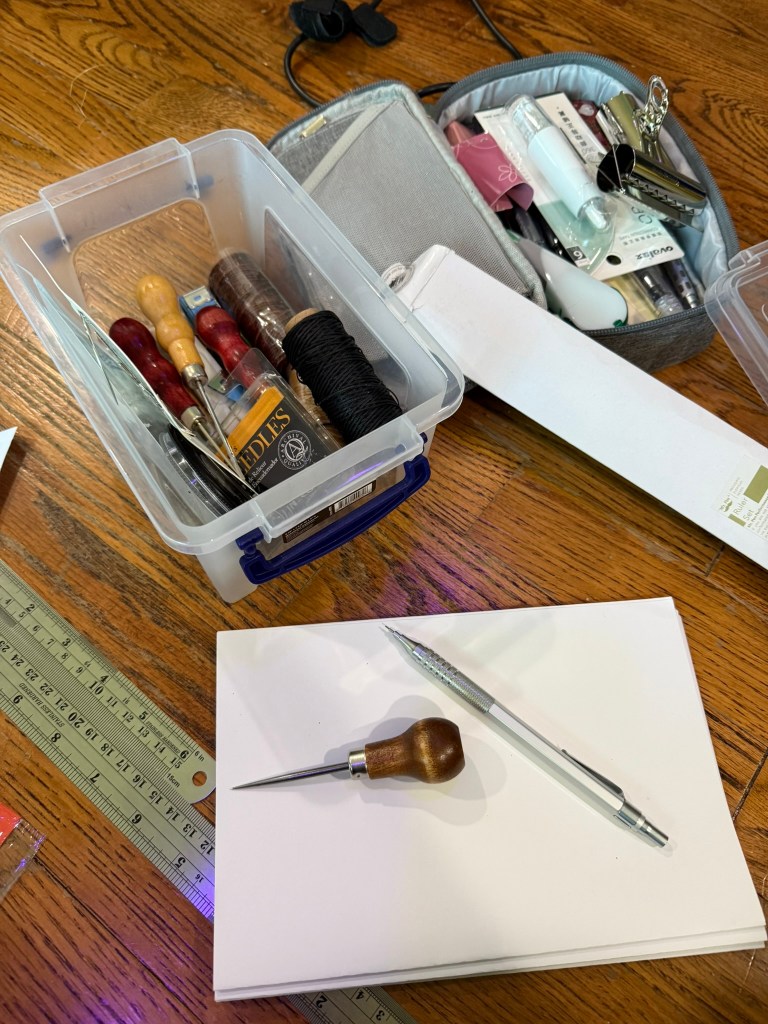
I gathered what I needed: a pencil, an actual ruler, a cutting mat, my upholstery repair kit, and my bookbinding needles. The thread in the repair kit is waxed, and I figured that would be perfect since it’s strong.
Bookbinding tools
Spoiler: it was not perfect.
I couldn’t get the stitching tight enough, and when I tried to force it, one of the holes in the cover ripped. At that point, I committed to the chaos—this was officially a prototype.
Then I learned that your thread needs to be long enough for the entire notebook, not one piece per signature. So I had to add more thread partway through. It’s visible if you look for it, but honestly… not terrible.
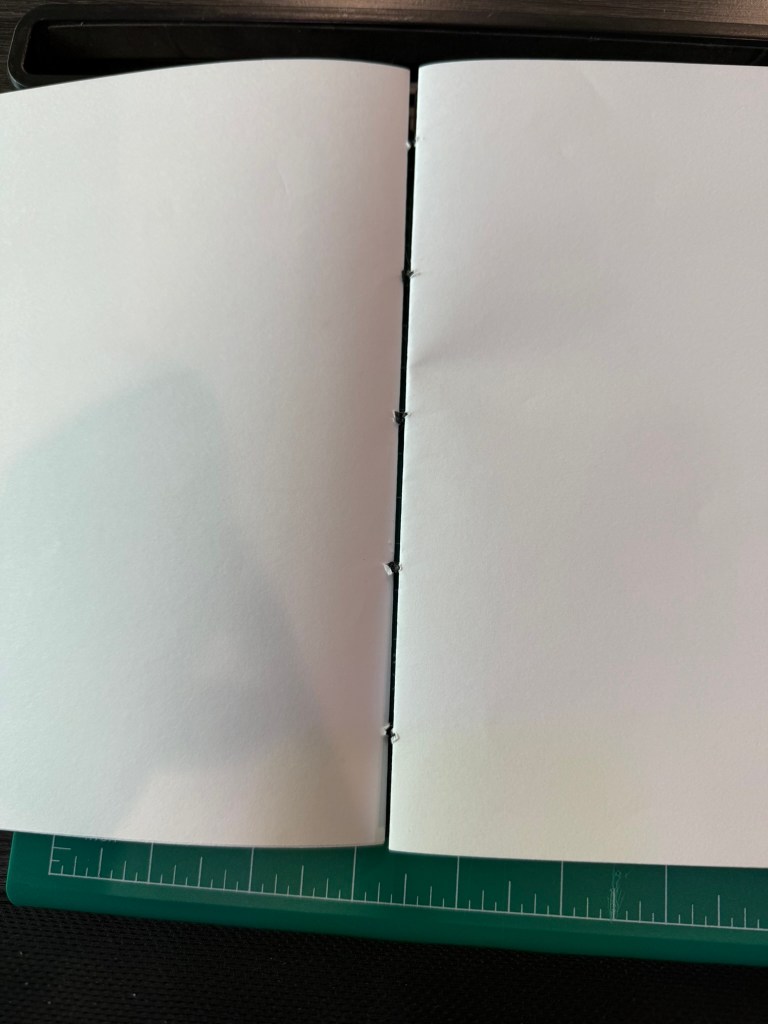
By the time I finished and attached the cover, I had a notebook that definitely lays flat—but also has noticeable gaps between the signatures because of the loose tension.
Trade-offs.
Lays flat but thread is too loose
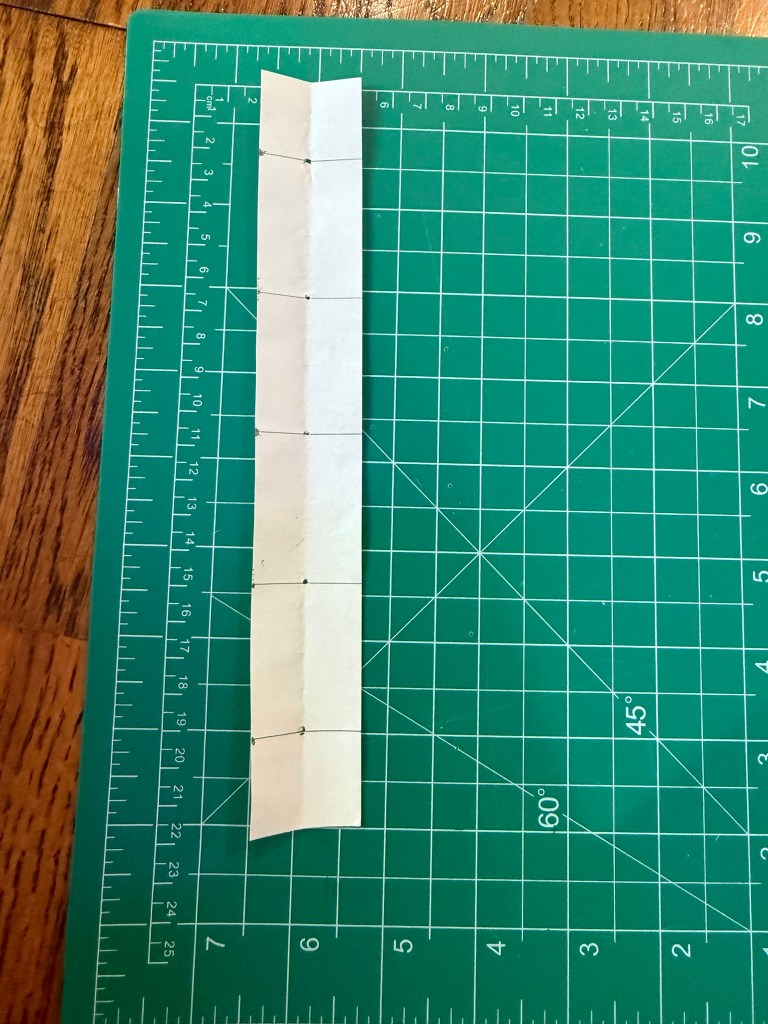
Afterward, I made a template for poking holes in the covers and signatures, which actually turned out well. I used the awl from my upholstery kit for this.
(Important note: DO THIS ON A CUTTING MAT or your hardwood floors will reject you forever. I, for once, made the correct life choice and used the cutting mat.)
Hole template
What I learned:
Don’t use waxed thread on 92 lb cardstock and regular printer paper
Don’t trust a guillotine ruler to measure anything accurately
Don’t pull too hard unless you want your cover to fight back