I was at a loss the other night trying to figure out dinner. I had originally planned spaghetti, but we had spent most of the day loading and unloading wood, furniture, etc., so the thought of hot food was not appealing.
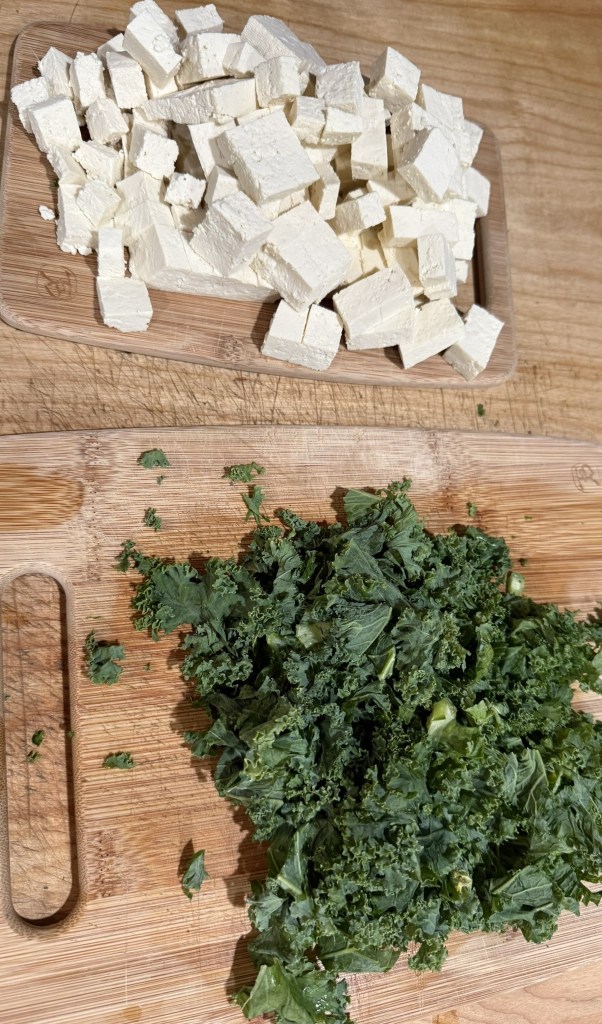
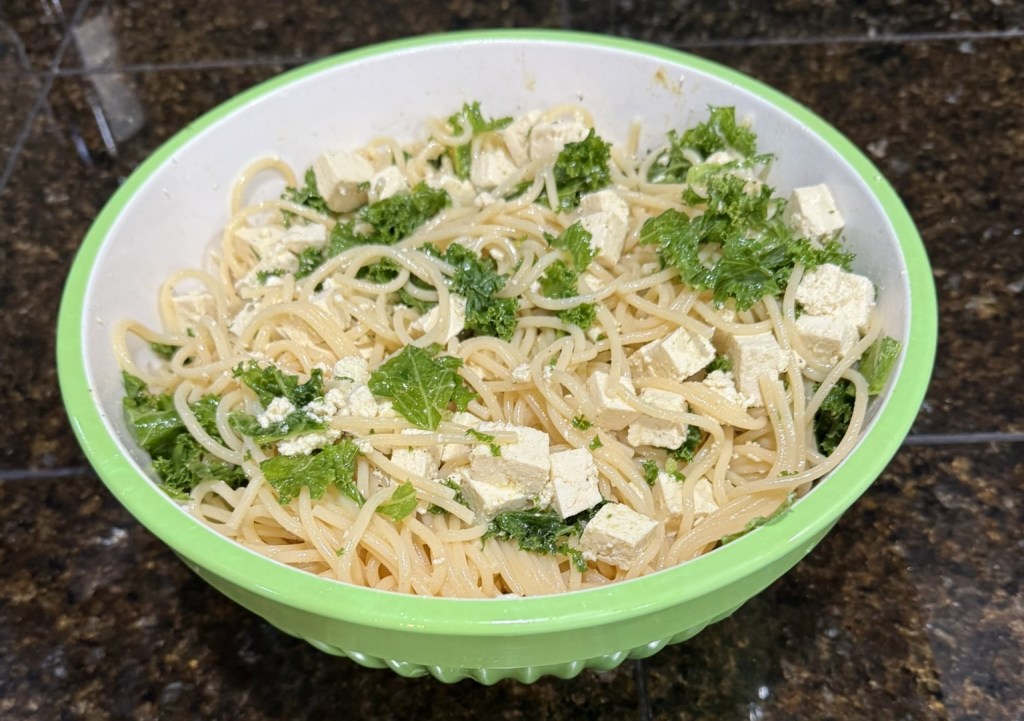
Pasta still sounded good, though, so I looked through my pantry to see what we had lying around. I ended up making cold spaghetti noodles, then added olive oil, red wine vinegar, a bit of Dijon mustard, granulated garlic powder, salt, and black pepper. I was going to add dried basil, but I forgot. Next, I added some chopped kale and some tofu, then mixed everything together.
It turned out to be quite delicious! I usually end up not putting enough oil in dishes like this, which makes them rather flavorless the next day. But I had pretty good proportions this time.
Spouse was happy, I was happy, and dinner was taken care of without heating up the kitchen any more than necessary.
Since I made this up as I went along, I didn’t measure anything. But I’ve put together an approximate recipe below. Feel free to adjust the dressing to your own taste!
½ teaspoon dried basil (optional, and only if you remember it!)
Instructions
Cook the spaghetti according to the package directions.
Drain and rinse under cold running water until the noodles are completely cooled.
In a small bowl, whisk together the olive oil, red wine vinegar, Dijon mustard, garlic, salt, and pepper.
Place the cooled spaghetti in a large bowl. Add the chopped kale and cubed tofu.
Pour the dressing over everything and toss until thoroughly coated.
Taste and adjust the seasonings. Add more olive oil or vinegar if needed.
Serve immediately or refrigerate until ready to eat.
Notes: This is a very forgiving recipe. The dressing quantities are approximate, so start with the suggested amounts and adjust according to your preferences. If you’re planning to have leftovers, you may want to add a little extra dressing before serving, since pasta tends to absorb it as it sits.
I bought cashews months ago because I wanted to make cheese. My favorite cheesemaker was ousted from her own company and they’ve decided just to stick to basic cheese spreads and butter.
Just here for the recipe? Scroll down to “The Recipe.”
So why not make my own?
I took a basic recipe I found and added my own little twists along the way. First, I boiled the cashews for 20 minutes because I was too impatient to soak overnight.
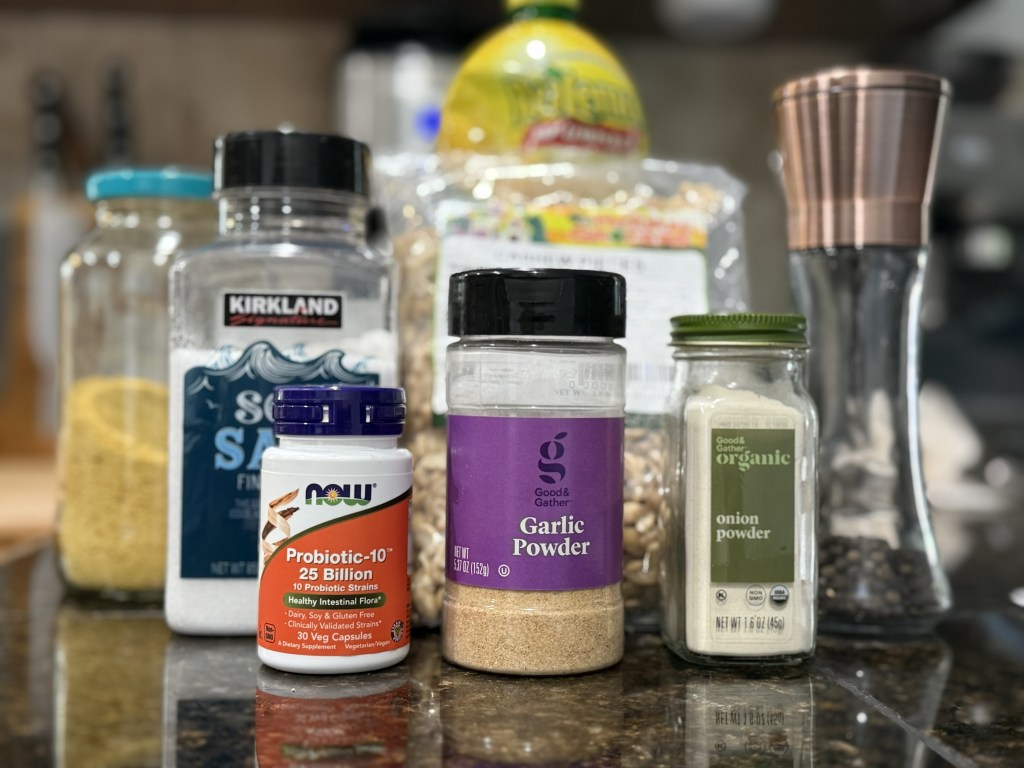
Then I got out the trusty Vitamix and got to work. The cashews went in, then some nutritional yeast, garlic powder, and onion powder. I blended it until it was smooth and then added the insides of two probiotic pills (I don’t recommend putting the whole pill in there…I feel like it wouldn’t end well).
After adding the probiotics, I blended just a little. For a reason I don’t know yet, you don’t want to blend those in too much.
It took forever to scrape out the cheese mix, but I finally got it into a cheesecloth-lined strainer, which was then laid over a bowl. Since I have cats, I put the bowl into a cabinet and set a reminder to check it in 20 hours, since my house tends to be pretty warm.
Twenty hours later, I tasted it. It still tasted a lot like nutritional yeast, so I left it for a few more hours. It could have fermented longer but again, since my house is warm, I decided my first attempt could be a milder cheese.
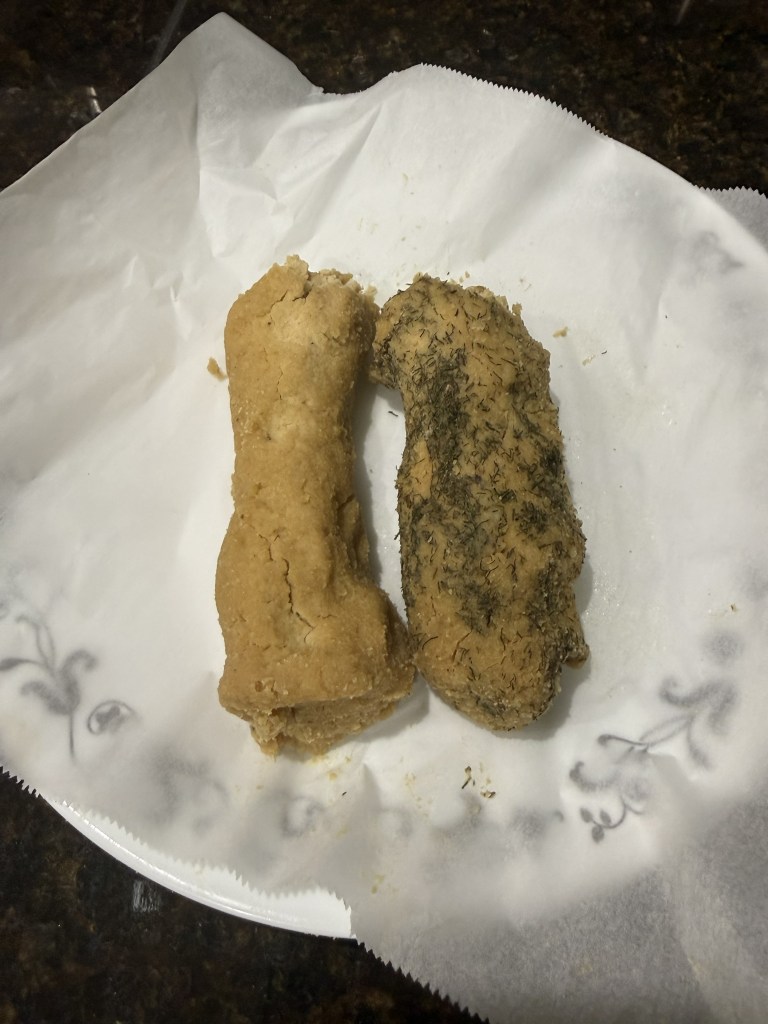
I divided the cheese in half so I could make one regular and one with an herb crust. I rolled both into a log (it was so sticky…), then rolled one through a layer of dill (unfortunately not dill I grew myself, but hey, I can’t do everything). Finally, I laid the logs on a piece of parchment paper laying on a plate and stuck it in the back of the fridge.
Five days later…
I was nervous.
It smelled amazing, but until I actually took a bite, I wasn’t convinced I’d made anything that tasted remotely like cheese…or even anything edible. I’d also somehow managed to shape the logs into something that looked like my very first Play-Doh project from kindergarten.
But it was good.
Really good.
Final Thoughts
The household approved both versions, but the dill-coated cheese won. Next time: longer fermentation, white miso, and significantly better-looking logs.
The dill-coated cheese was my favorite. And even better…the household liked both.
Ready to make your own?
The Recipe
This is the recipe I used for my first successful batch. I already have a few ideas for improving it, but it turned out well enough that I’m writing it down before I inevitably start tinkering.
Soak: soak cashers 4-8 hours or boil 20 minutes. Drain and rinse.
Blend: Blend cashews with nutritional yeast, lemon juice, salt, optional garlic and onion powders, and 2 tbsp water until very smooth and thick. Add a little more water only if needed.
Add probiotics: Open capsules and stir or briefly pulse into the mixture. Do not blend for long after adding them.
Ferment: Line a strainer with cheesecloth over a bowl. Transfer mixture, cover loosely, and leave at room temperature for 24-48 hours. Taste after 24 hours; ferment longer for more tang.
Shape: Form into a wheel or log and roll in herbs or spices if desired.
Age: Refrigerate uncovered or loosely covered on parchment or a rack. Flip daily. 3 days = soft and sliceable; 5-7 days = firmer; 10-14 days = tangier and more aged.
Storage:
Refrigerate in an airtight container after aging. Best within 1-2 weeks. Freeze up to 3 months.
Serving Ideas:
Crackers, toasted sourdough, sandwiches, wraps, salads, stuffed mushrooms or peppers, bagels, or a vegan charcuterie board.
Lessons Learned
The next time I make it, I’ll let it ferment a little longer for a tangier flavor and figure out a better way to shape the logs (the preferred shape in this house). I’d also like to pick up some white miso, which is a common ingredient in cultured cashew cheese and should add even more depth. Eventually, I’m going to try recreating the volcanic ash cheese the household misses.
For a first attempt, though, I’m calling this one a success. Homemade vegan cheese has officially joined the list of things I never expected to make…right alongside growing my own herbs, saving seeds, and making infused oils.
I won’t do the thing where you have to scroll past three pages about how my family has used this recipe for six generations and built an empire from it.
But I still have to explain how I got here, so bear with me…
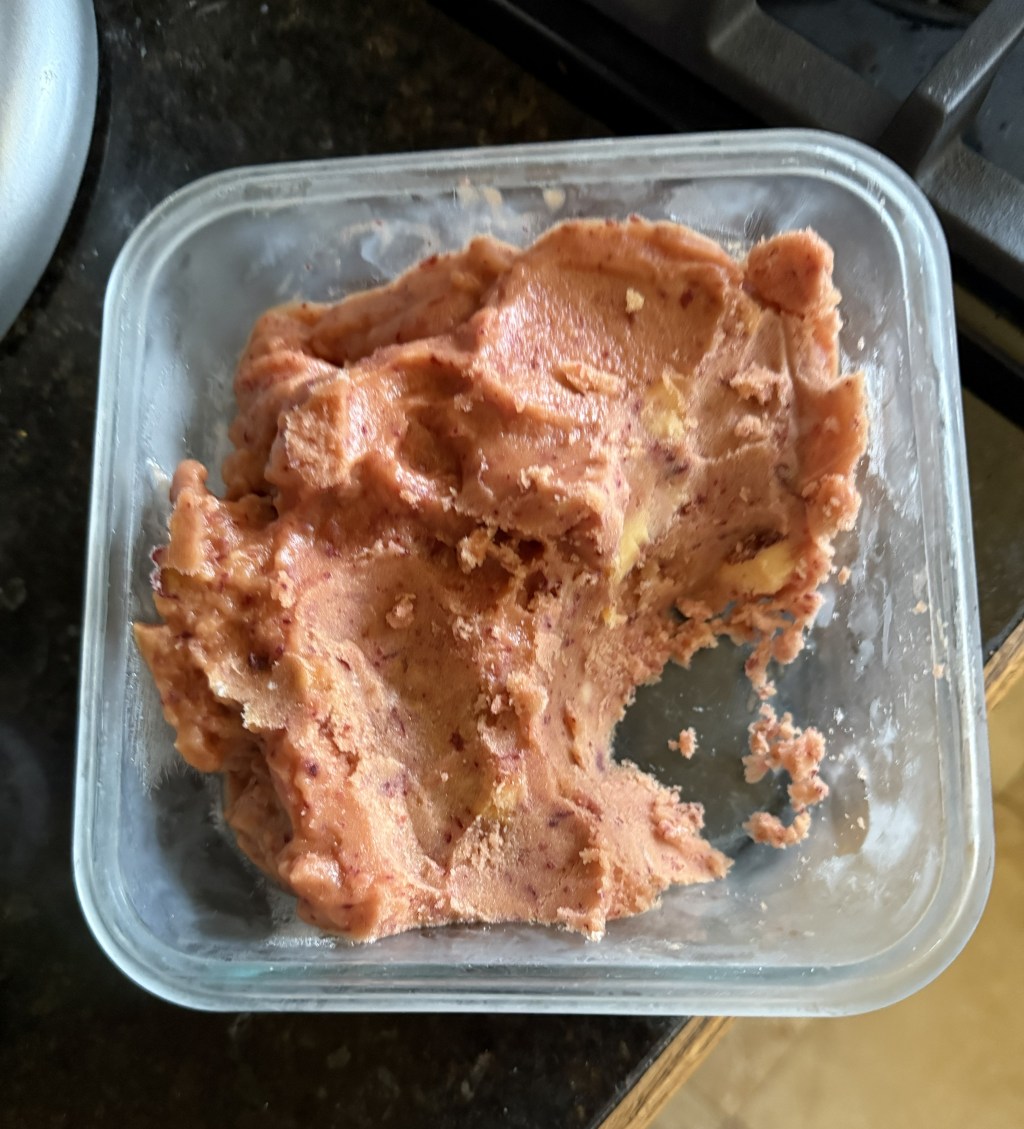
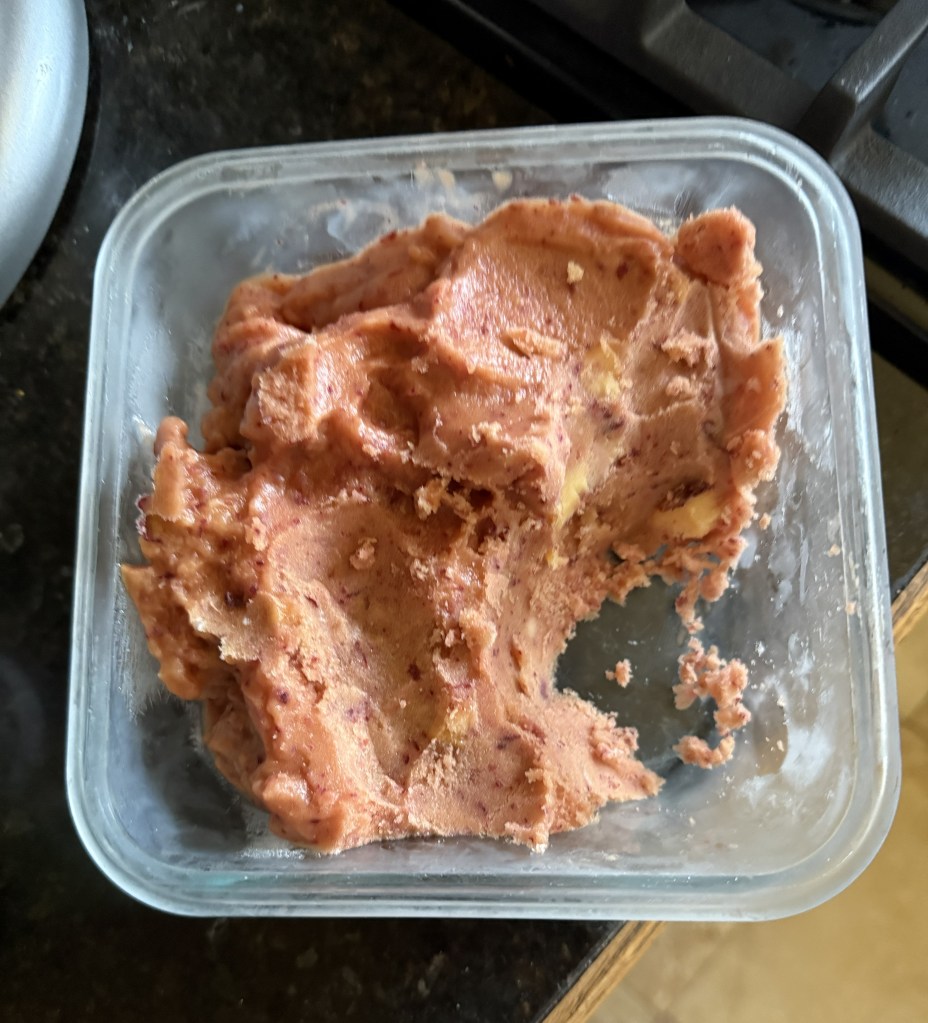
I had four peaches that were getting way too soft, and I wasn’t about to let them go to waste. So I tossed them in the freezer and decided to make peach nice cream in my Vitamix.
It turned out so much better than I expected. It’s creamy, refreshing, ridiculously easy, and perfect for using up fruit that’s on its last leg.
Ingredients
3-4 ripe peaches, peeled (if you want), sliced, and frozen
1/4-1/2 cup plant milk (I used almond milk)
1-2 tbsp maple syrup, sugar, or agave (I used agave, but the sweetener is optional)
1 tsp vanilla extract
Tiny pinch of salt
Instructions
Add the plant milk to the Vitamix first.
Add the frozen peaches.
Add the vanilla, sweetener, and salt.
Insert the tamper (using the lid, of course!).
Start on Variable 1, quickly increase to Variable 10, then switch to High. If your Vitamix has an Ice Cream program, you can use that instead.
Use the tamper continuously to push the peaches into the blades while blending.
Blend for 30-60 seconds until the mixture resembles soft serve. If it’s too thick, add more plant milk one tablespoon at a time.
Note: I actually blended mine for several 30-60 second cycles because I wanted it extra thick.
Transfer the nice cream to a freezer-safe container and freeze for 2-3 hours before serving.
Enjoy!
And if you happen to have millions of peaches instead of four, I suppose you could just make a bigger batch.
As someone who has become increasingly committed to using what I already have, I’m always looking for creative ways to avoid wasting food.
Which brings us to three persimmons.
Two days ago, I had three persimmons that had become far too squishy for me to willingly allow into my mouth. It’s a texture thing, okay?
After some searching, I found a recipe for something called a shrub—a sweetened vinegar syrup that can be mixed into everything from bourbon cocktails to sparkling water.
Naturally, I had to try it.
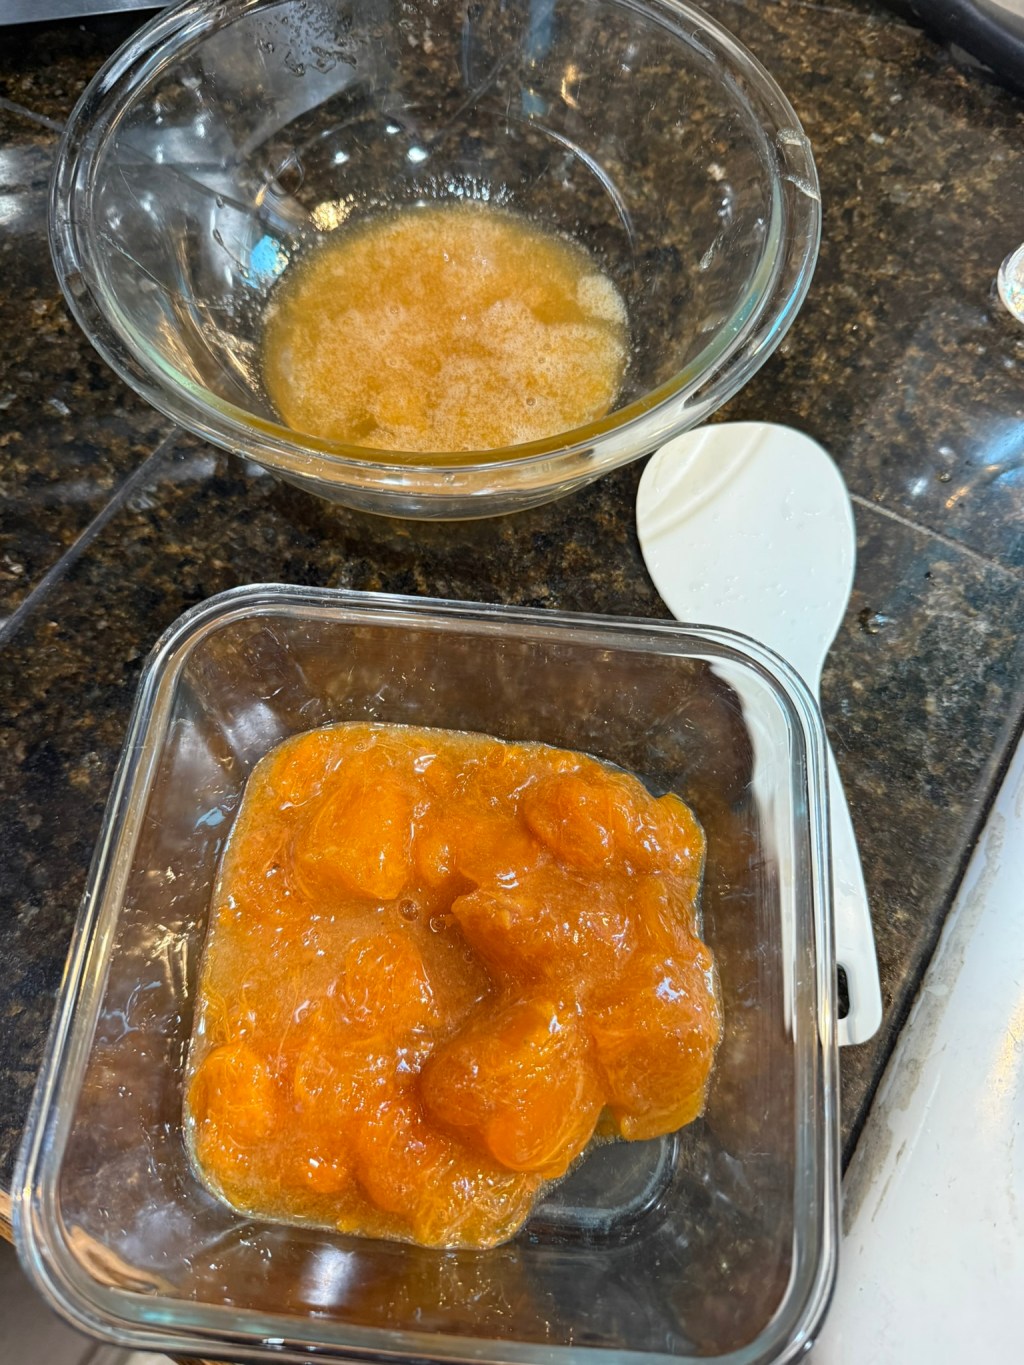
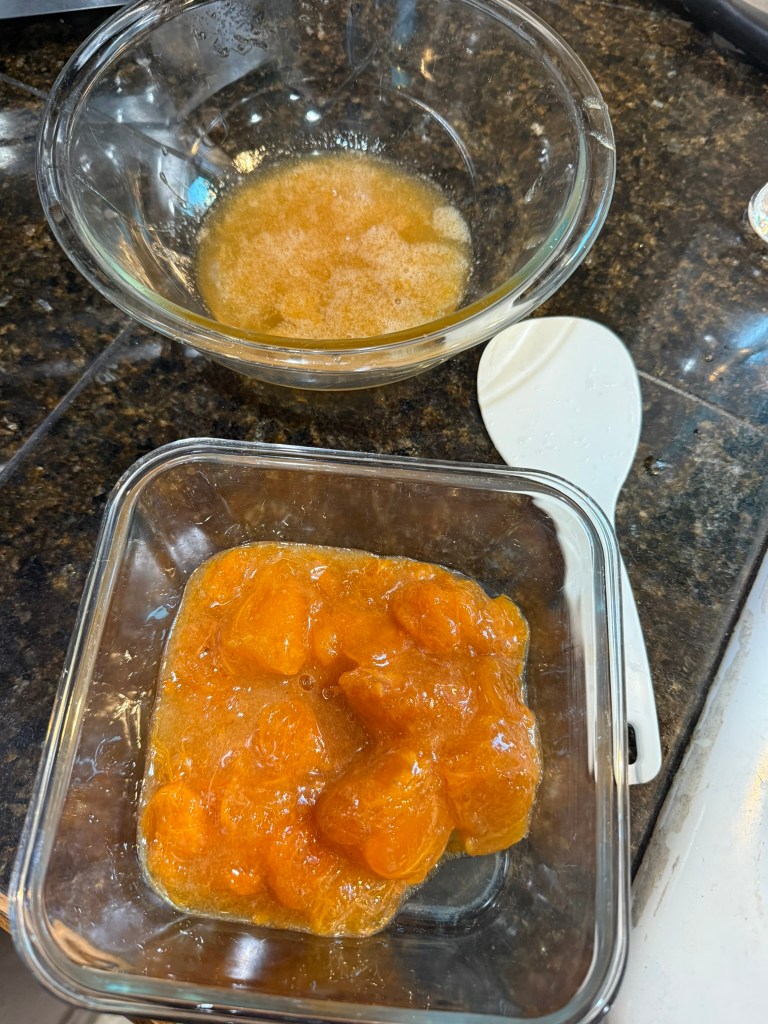
The process begins by peeling the persimmons and squishing out the insides.
Shudder.
The resulting pulp goes into a bowl. The basic ratio is about 1:1 fruit to sugar, so I combined 1 cup of persimmon pulp with 1 cup of sugar. I also added roughly a tablespoon of ginger powder because it sounded like a good idea at the time.
I covered the bowl with plastic wrap and left it in the refrigerator overnight.
The next morning—at approximately 6:40 a.m., for reasons I still cannot explain—I strained out the solids and was left with about 2 ounces of syrup.
This will be great in yogurt or something later.
The solids weren’t wasted. I saved them in a separate container with plans to add them to yogurt later.
Next came the vinegar.
I chose apple cider vinegar because I thought it would pair nicely with the sweetness of the persimmons. Most shrub recipes call for a 1:1 ratio of syrup to vinegar, but since this was my first attempt, I approached it cautiously.
After all, you can always add more vinegar.
You cannot un-vinegar something.
I started at about 50% of the recommended amount and gradually worked my way up to around 75%, tasting as I went.
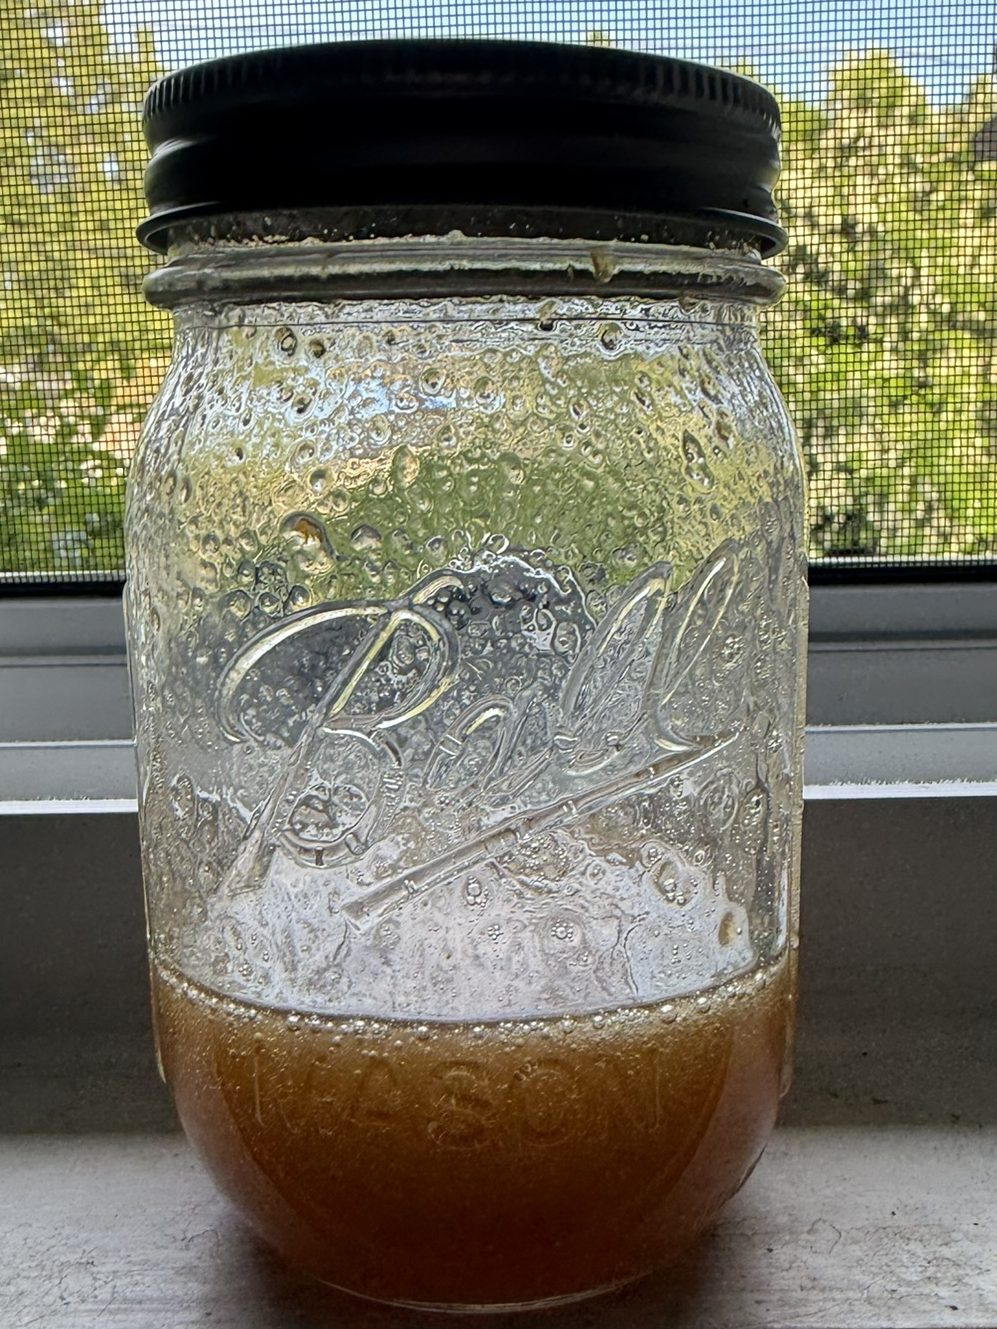
Once I was happy with the balance, I transferred everything to a mason jar and gave it a good shake.
Then I tasted it.
Wow.
This is going to be good.
At least this wasn’t days of work to only get 4 ounces.
At the time of writing, I haven’t actually used it in a drink yet. I want to give the flavors another day or two to mingle before I start experimenting.
Besides, I only ended up with about 4 ounces of shrub.
If it’s as good as I think it’s going to be, I need to exercise at least a little self-control.