Normally, I don’t post something the day I actually do it. But today, I was especially frustrated because I don’t feel like I’m making progress.
I bought some chipboard so I could try working with a more professional material. I’m still using printer paper for now, as I want to get this down before I start using my nice paper.
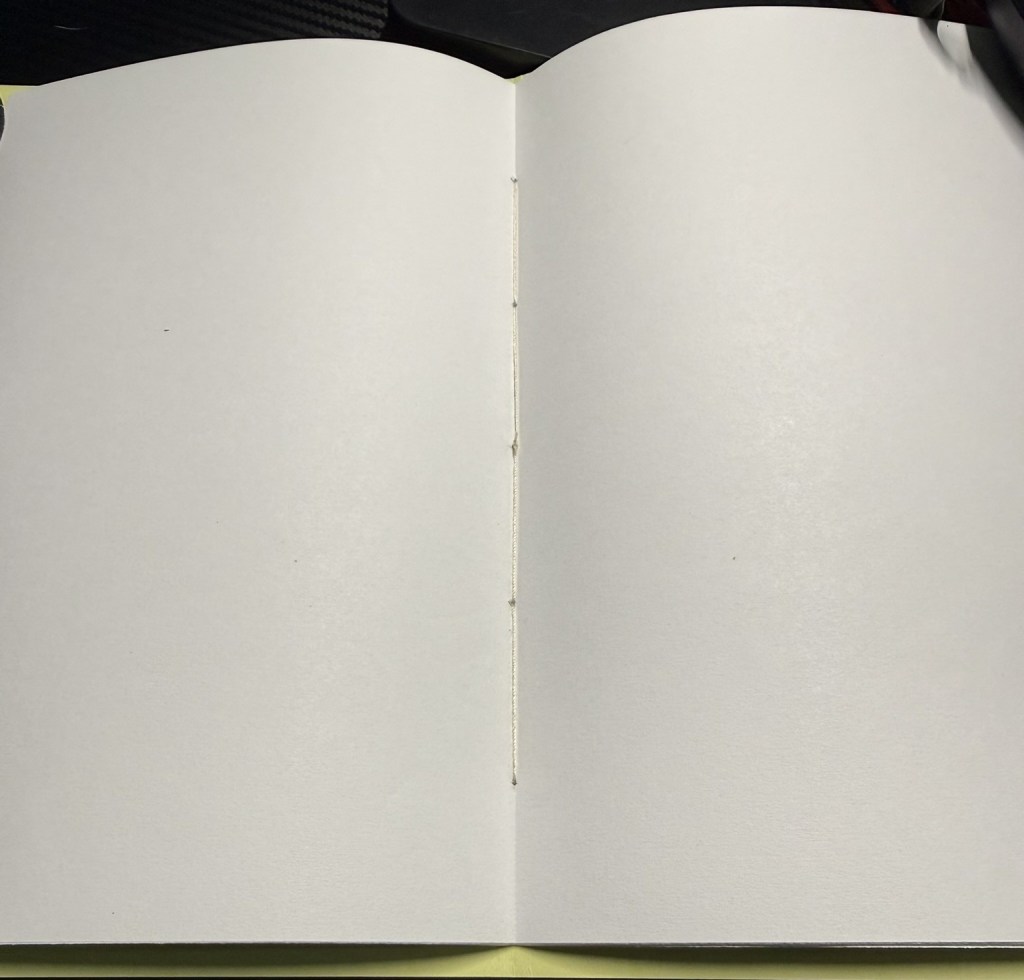
I made six signatures with five sheets of paper each. I wanted to make sure the stitching was visible, so I got out the waxed thread that came with my upholstery repair kit and threaded a bookbinding needle.
The waxed thread is very difficult to manage. I couldn’t keep tension, and I think it’s just too thick for bookbinding. I got to the third signature and realized I wouldn’t have enough thread for the other three, so I decided to just sew on the cover and call it good.
And of course…I was about 1/2″ short.
Then I got out some embroidery floss, which is too thick for the bookbinding needles. I was able to thread a curved needle, which seems like a great option for this type of binding. However, I haven’t worked with a curved needle before, and I kept dropping it.
I made sure I had plenty of thread this time. So obviously, it got tangled, and I had to start over for the fifth time. (I left out some retries because they’re really not important in the grand scheme of things.)
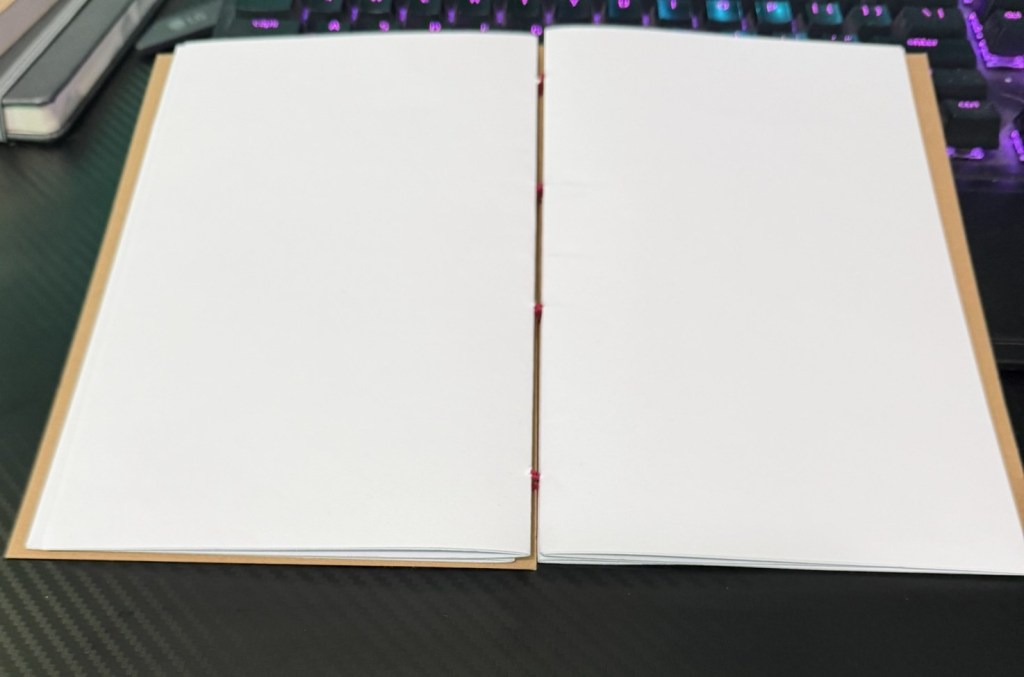
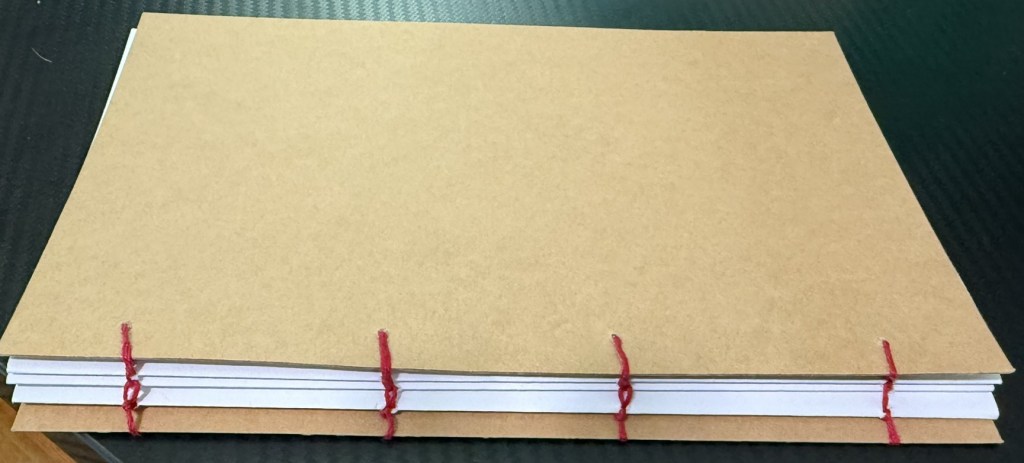
I finally got four signatures plus the cover secured. Yet even though I blamed the waxed thread for the tension issues, it was me all along.
Thus, the cover lies flat, but only because the stitching is so loose.
I started this blog because I wanted to share the learning process, which includes days of frustration and failure. Though I suppose nothing is truly a failure if you manage to learn something along the way.
Maybe I’ll do a Tunisian crochet thing next…even though I know I have tension issues there, too!
I try to use what I have on hand, but for the life of me, I couldn’t get a good template because everything I had was either too flimsy or too much.
I have some waxed thread, but it’s meant for upholstery repair and gave me a lot of problems between the wax and the thickness.
I also have a ton of embroidery thread, but it’s too thin to work with on its own, and I kept shredding the covers.
I had purchased cardstock, but I didn’t get the right finish, so it looked like I had made a construction paper notebook for my third-grade dinosaur project.
I want to make A5 notebooks, as well as traveler’s notebook-style notebooks, but A5 paper, being slightly different from letter size, somehow costs far more than letter paper.
So…I found some letter-sized chipboard and decided to try again with printer paper and some embroidery floss that arrived today.
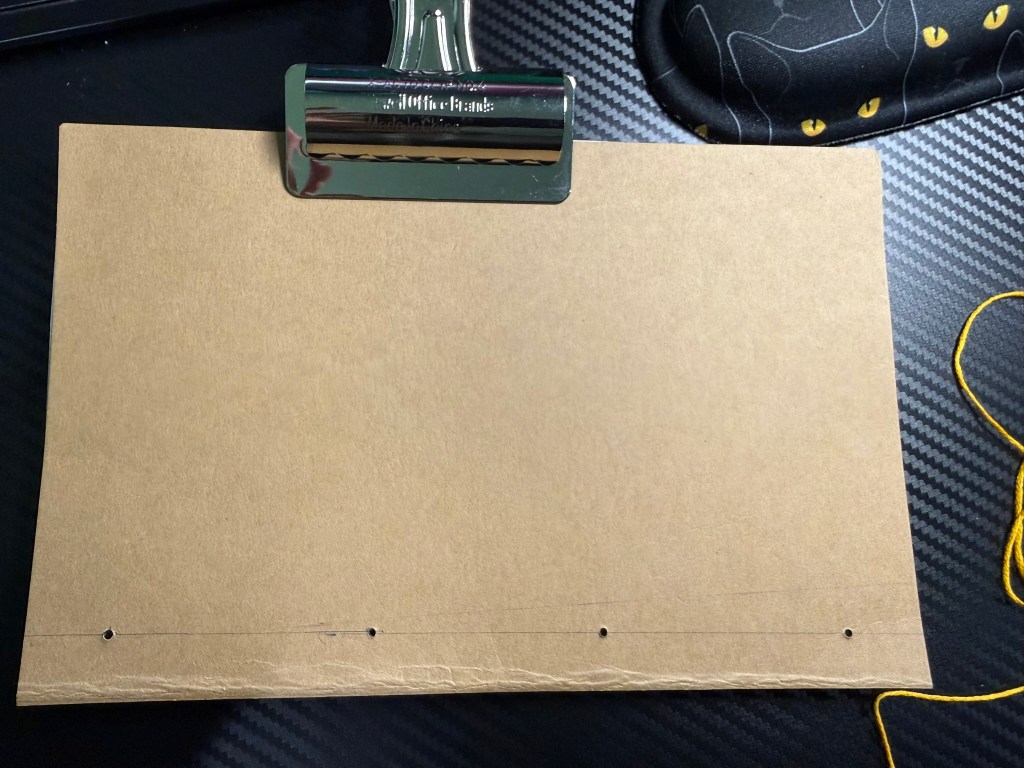
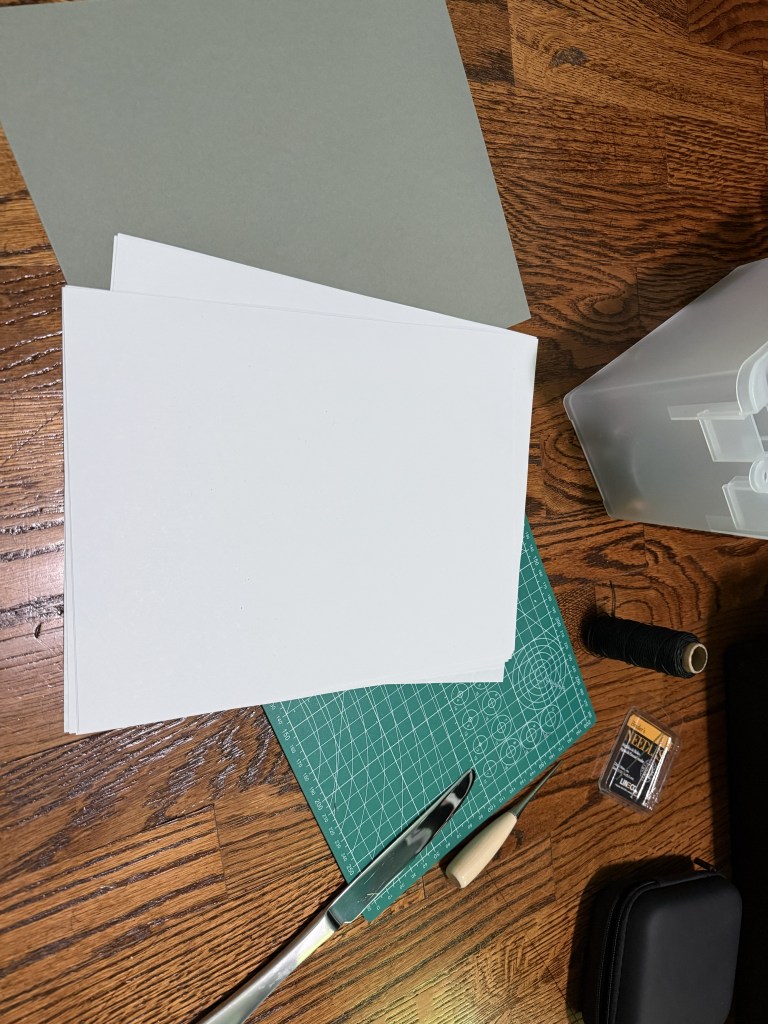
Here is the setup once I got all the paper cut and the holes poked through:
The next problem was that my bookbinding needles don’t have eyes large enough for embroidery floss. That seems like something a bookbinding needle should be able to handle, but what do I know?
I finally found a needle that would work—from my upholstery repair kit—and of course it broke after going through the first hole.
I found another upholstery needle that did work, finally.
This attempt went much better than the last, especially because I bought a paper guillotine and wasn’t cutting every page by hand. Clearly, I like to punish myself by cutting single sheets of paper one at a time…
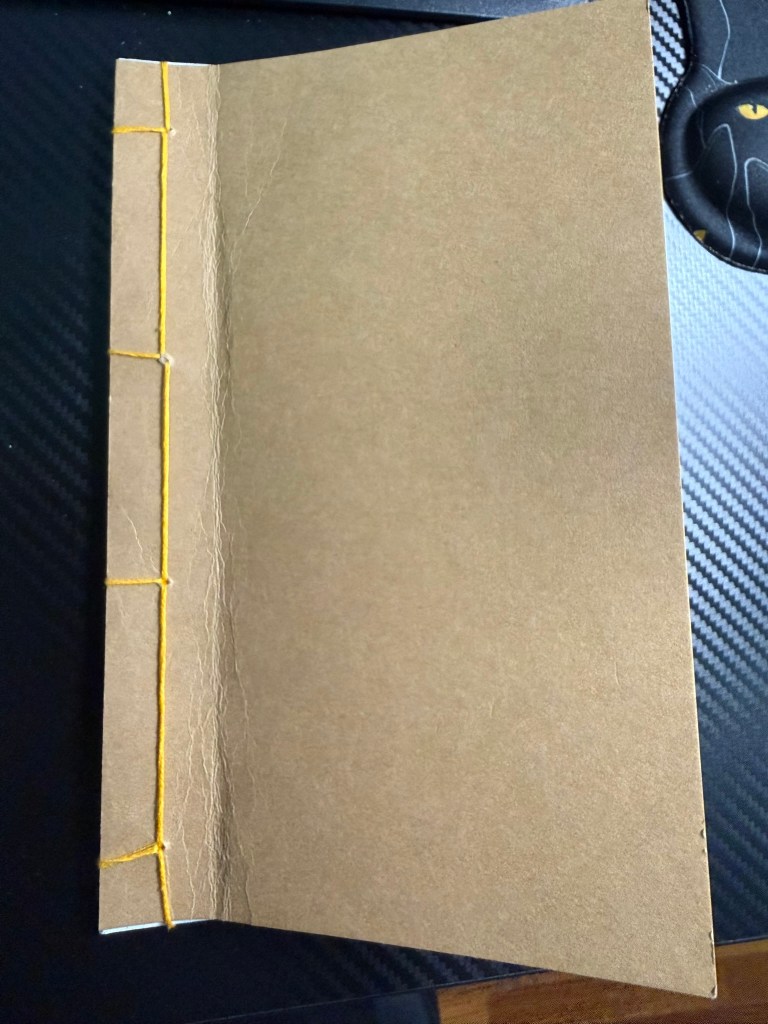
I’m pleased with my second attempt, knowing I still have a long way to go.
I also need to remember to hinge the front cover before I sew everything together. Preferably with the Teflon bone folder.
My last post discussed hitting a creative block, which in turn has caused a bit of an internal struggle. I want to keep creating, but I also don’t want to force myself—nothing kills my passion faster than feeling trapped.
Today, I told myself I had to do something. I decided to bind another pamphlet, since it really doesn’t take a lot of time or effort (at least, minimal effort for my current skill level).
I had a file folder lying around that I thought would make a nicer cover than the card stock I had been using. I also wanted to try out my Teflon bone folder.
The folder was a little larger than the paper when folded in half, so that removed the “trim the paper” equation entirely. However, I have not mastered scoring yet, so when I folded the file folder, it still ended up with some weird creases.
I also wanted to try the other thread that came with my upholstery repair kit. That thread is more like regular sewing thread, so I had to tread carefully. I had been using the thicker waxed thread, but it didn’t tighten well and ended up looking really messy.
I made the holes in the paper, and they were a bit off-center, as usual. I plan to make a book-piercing stand at some point, but since I am still practicing the binding itself, that can wait a bit.
The sewing went faster this time since it wasn’t my first try, and I am happy with the overall look.
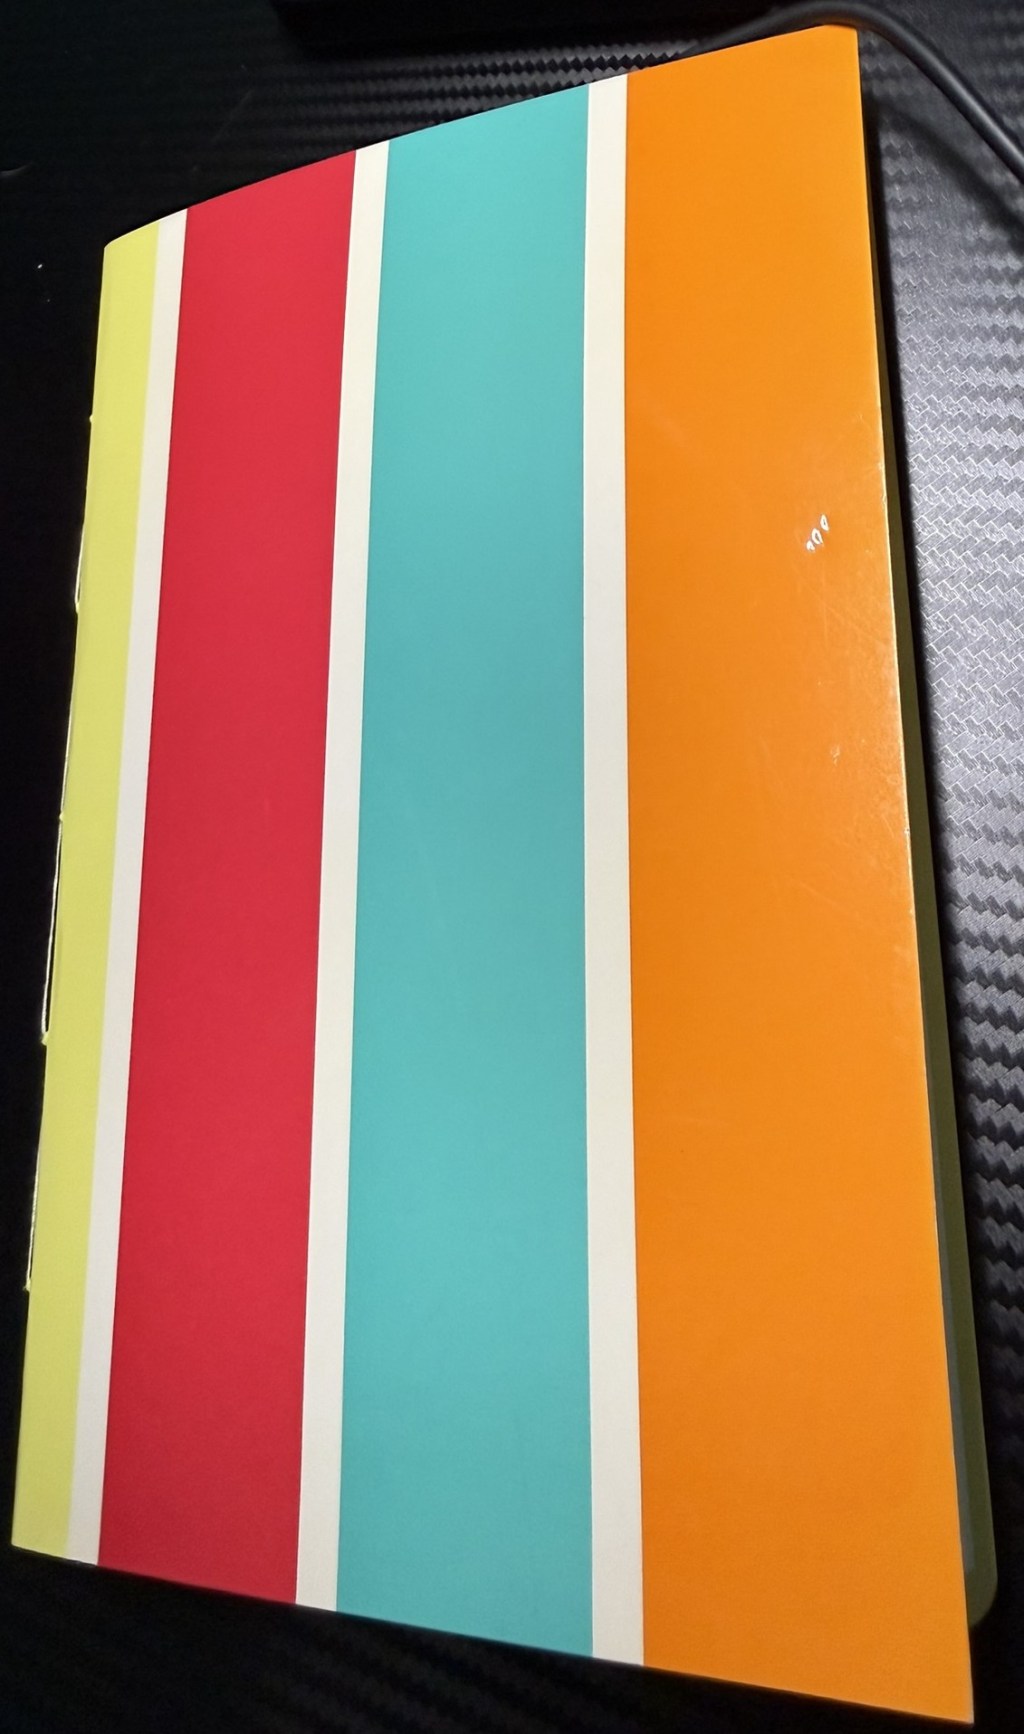
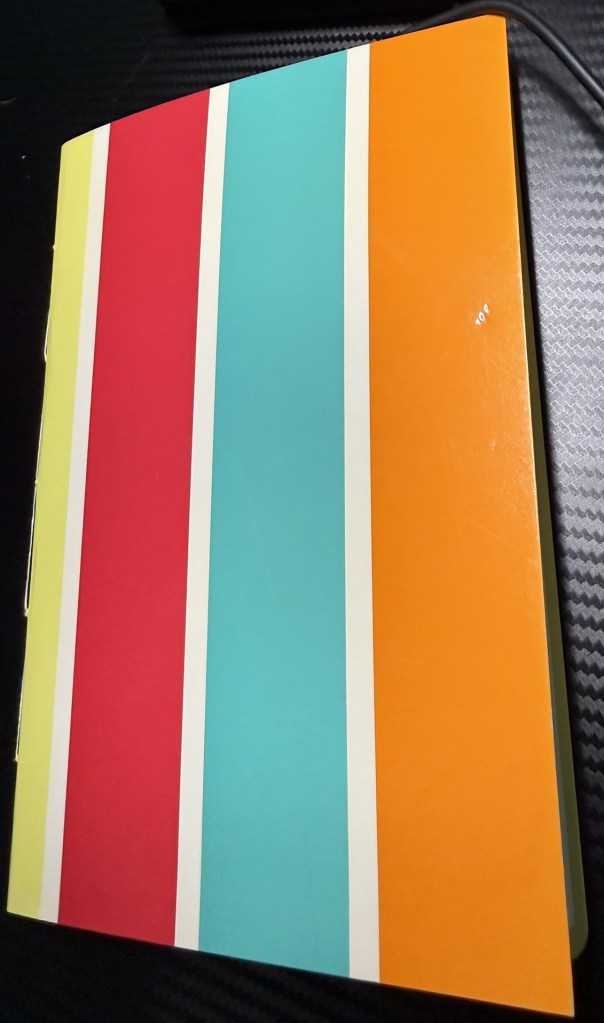
I love that the thread is unobtrusive.From the outside, the file folder made a much nicer cover than I expected.
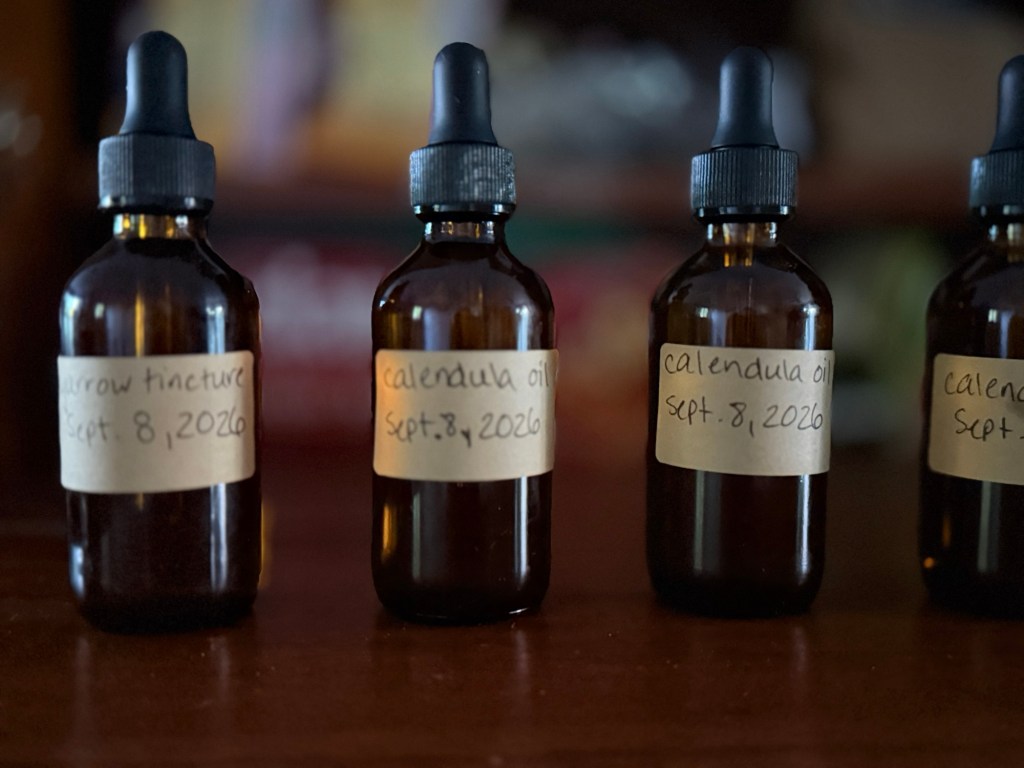
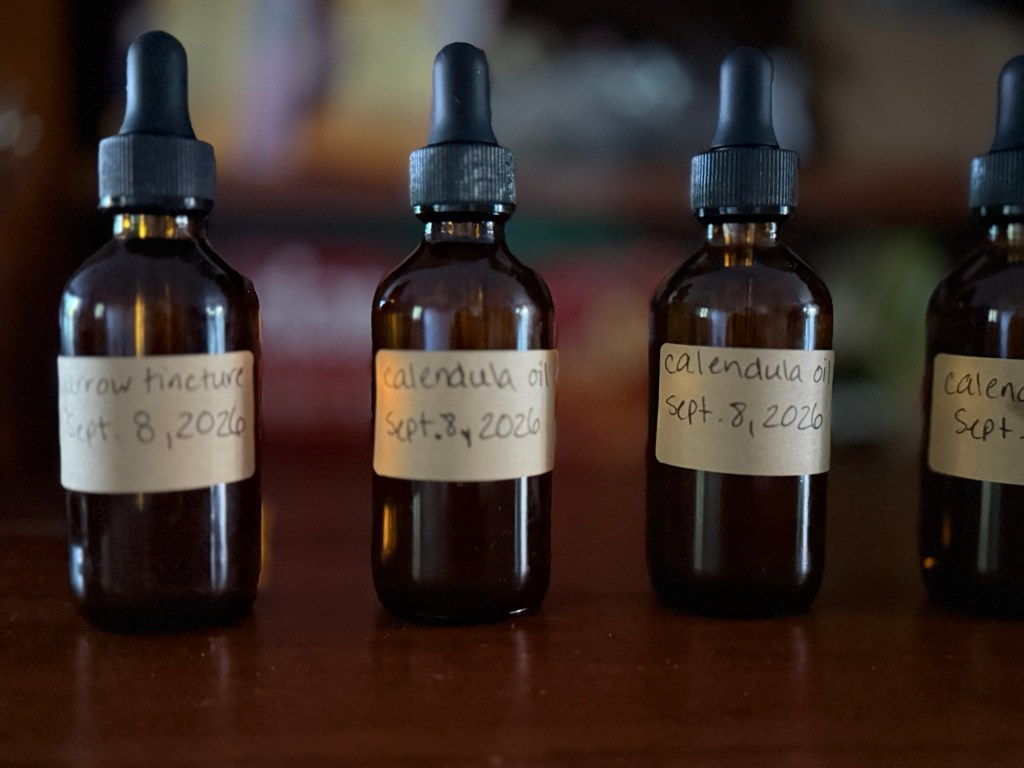
Notice the calendula bottles just keep going right off the photo…
My calendula-infused oil and yarrow tincture are finally finished and in tiny brown dropper bottles. I have been waiting what feels like an eternity and now the waiting is over.
One thing I learned: I don’t need to fill up 3/4 of a pint jar with olive oil. I ended up with four dropper bottles and a massive mess on my kitchen counter.
The yarrow was a lot easier to transfer because I had steeped it in a generic spice jar like you get at a grocery store. A quick pour later and it was settled into its own dropper bottle.
Please don’t take my words as any kind of suggestion, but I’m kind of hoping I get a bug bite or something so I can test these out. Totally normal reaction, right?
At some point, I’d like to turn some of that oil into a salve but right now, I’m just enjoying the row of brown dropper bottles.
*Disclaimer* The evidence for herbal remedies is mixed. I don’t consider my experiments medicine, and they’re definitely not a replacement for actual medical care.
When I was working on my master’s degree, I also had to learn how to use Chicago/Turabian citations. Before that, I’d had classes that required MLA and APA, but Chicago/Turabian turned out to be a whole different beast. No matter how hard I tried, I always seemed to lose a point or two because I’d gotten something wrong.
When it came time to write my thesis, I decided I wasn’t dealing with that anymore. Every time I accessed a source, I wrote down everything about it: title, author(s), publication date, publisher, and anything else I might need. Then I wrote down the correct format for the first footnote, subsequent footnotes, and the bibliography.
That meant that when I was actually writing, I could just write. I didn’t have to stop every few minutes to figure out how I was supposed to cite something and potentially lose my train of thought. And when the paper itself was finished, dealing with the citations was a whole lot easier.
A few months ago, I found myself thinking, “I wish I’d had something like this way back when…” And then the lightbulb went off. Why not make it? If it made my life easier, maybe I could save someone else from suffering through the same thing.
As it turns out, making the templates took more time than learning Chicago/Turabian in the first place.
I had to jump straight into the deep end with Scribus, the open-source design tool I’d found. I have to admit, I said some fairly offensive words to Scribus during the process, but luckily it’s not a person I’d have to apologize to later.
I can’t say that I’ve beaten Scribus, mastered it, or even reached anything resembling ease of use, but I at least remembered to save my completed pages as templates so I don’t continue to tear out my hair.
Some days just don’t go very well. Some days seem like every attempt at anything at all just doesn’t work. Then you need a win.
This doesn’t mean it has to be perfect…just something that sort of works.
I needed a “brain break” (for lack of a better term) but I still wanted to practice something. I decided to find a bookbinding technique that was easier than Coptic or Japanese stab binding, but I didn’t want to do accordion binding, which is basically folding paper like an accordion and sticking a cover on each end.
Pamphlet binding it is! I found a tutorial for five-hole and got to work. I wanted to keep it simple, so I got 8 sheets of printer paper and a piece of my 250gsm cardstock. Plus, of course, my bookbinding tools.
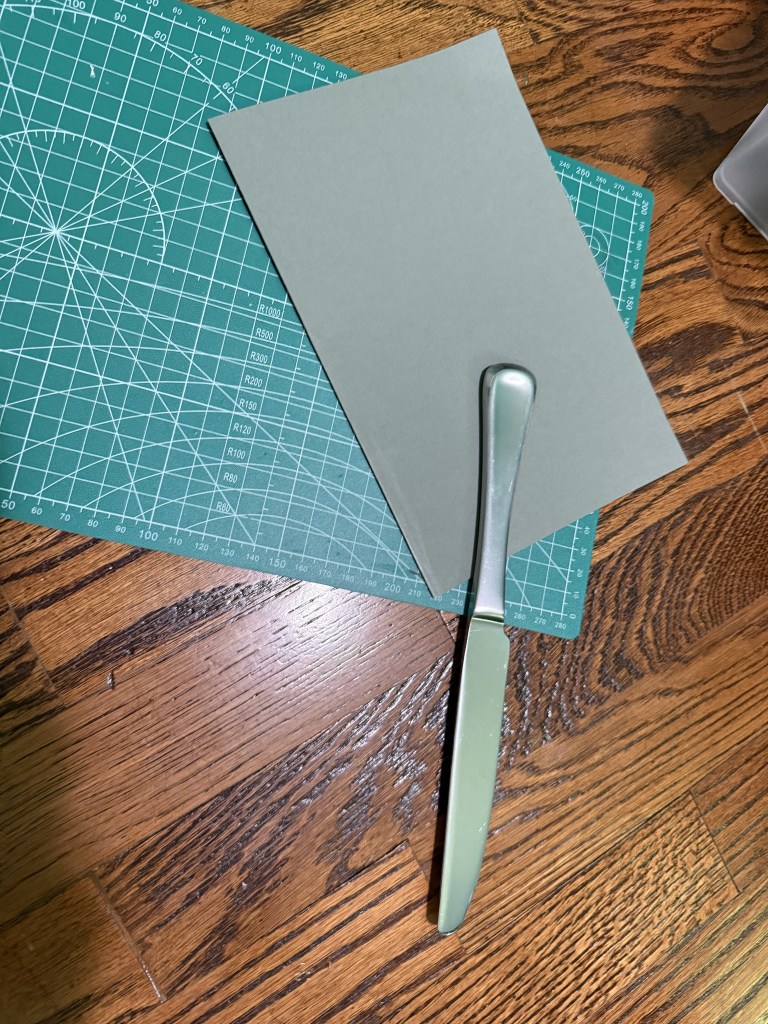
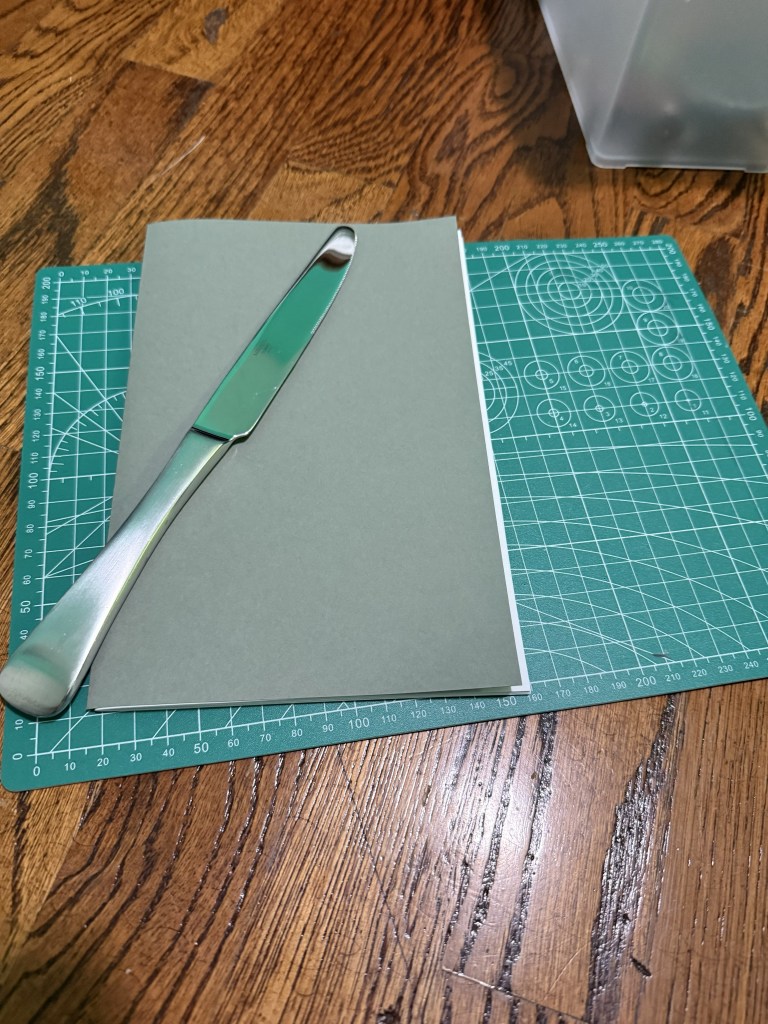
I took the sheets of paper and folded them in half all together, the same way I did for my Coptic attempts. I used the handle of the knife to really crease the folds and keep paper creep at a minimum (I am terrible at trimming, as seen later). Note: I used the knife because it works just as well (IMO) as a bone folder and it is something I already have on hand.
I scored the cover separately and I am not sure why, so I will probably try everything together next time and hopefully not have to trim.
Scored pamphlet with obvious need of trimming.
I decided to sew, then trim. Which wasn’t the best option, but hey, it was my first time.
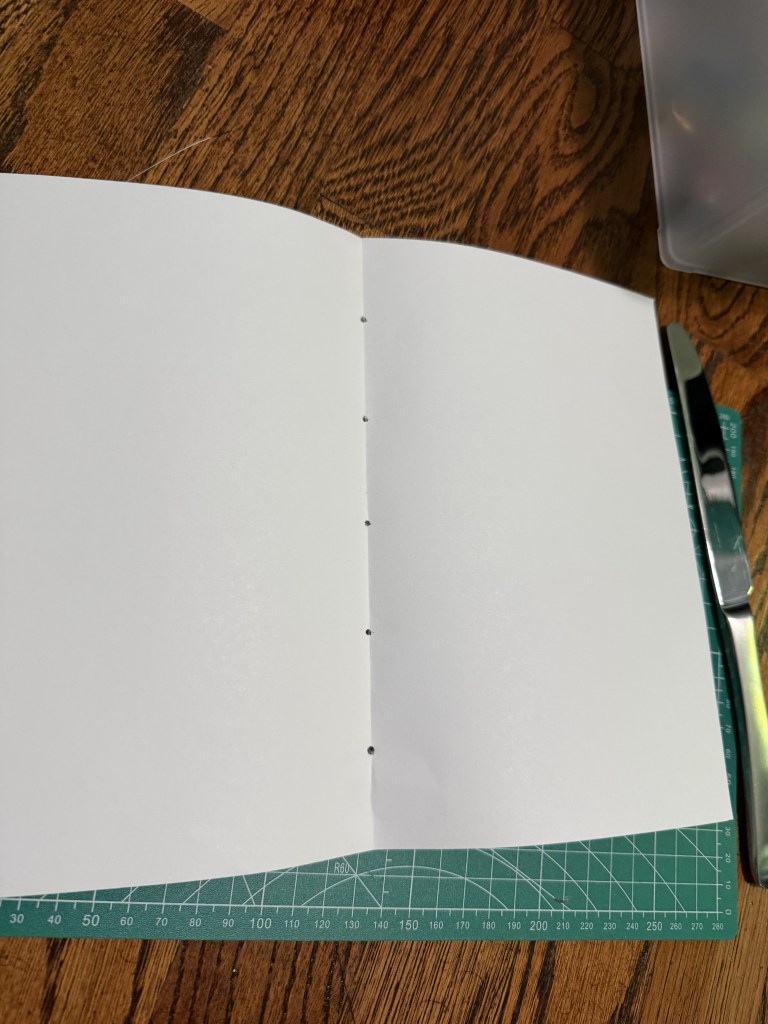
So…first I marked where the holes should be for sewing. Then I used my awl to poke holes through. Pretty straightforward.
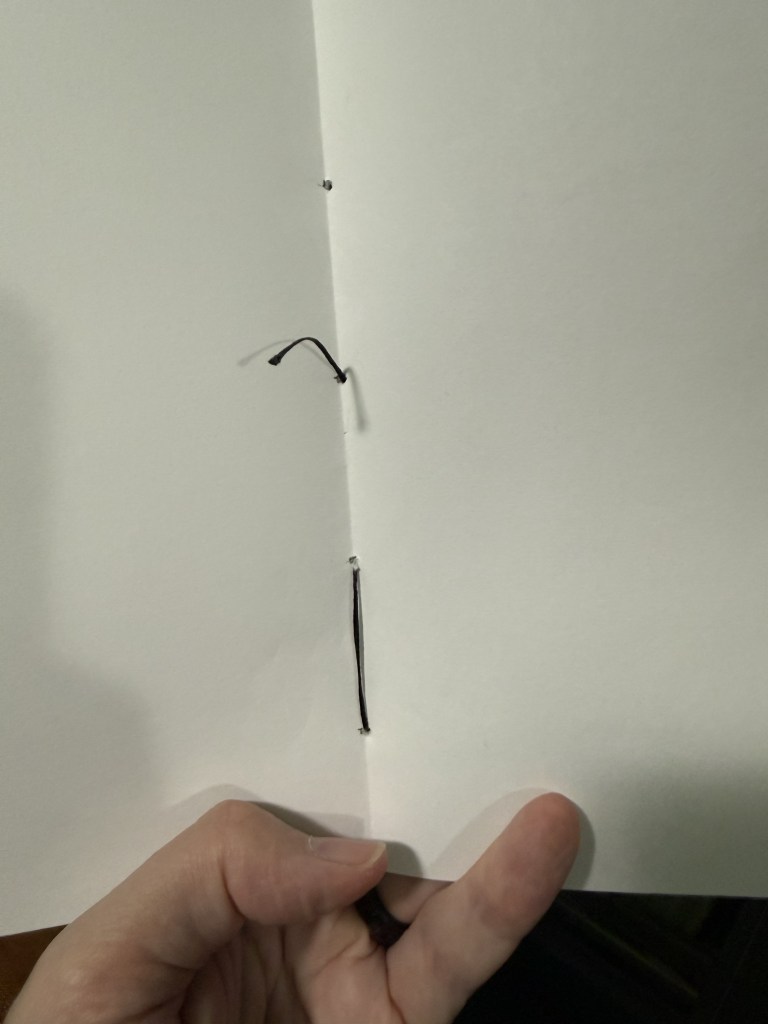
Here is the inside of the pamphlet after the first stitch:
I do have trouble with the waxed string I am using – it is hard to pull it tightly without ripping the paper, so in the future, I need to find something in between this and the regular sewing thread I have at home.
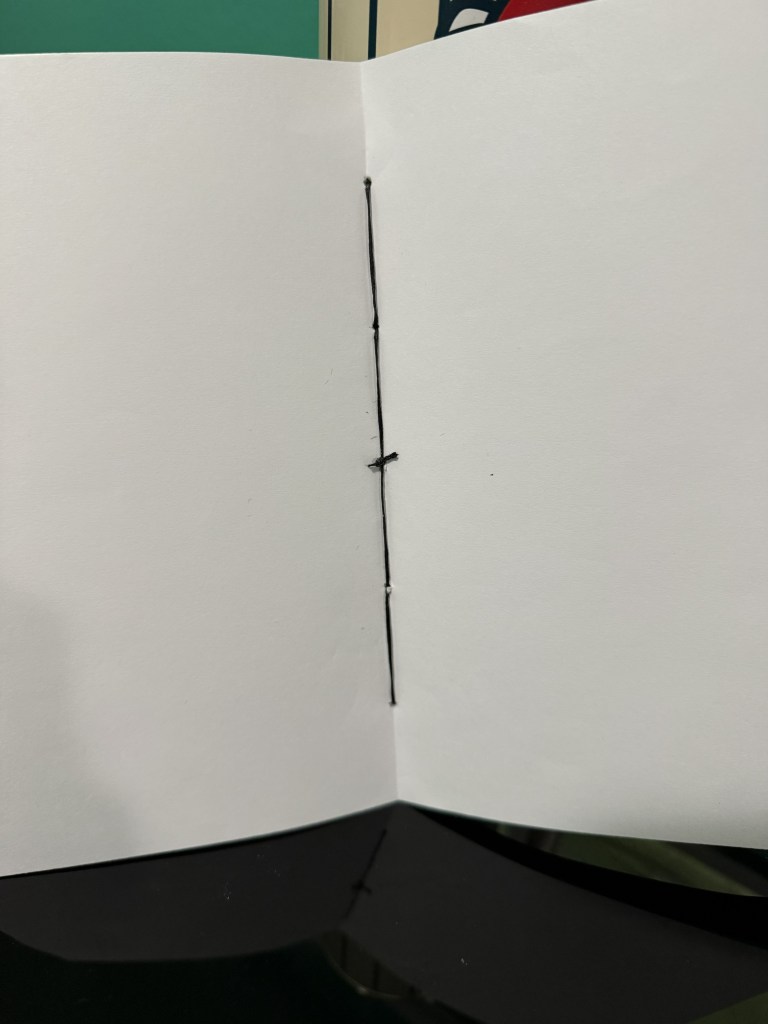
A few minutes later, I finished the stitching:
I think it looks cool! Simple, but cool and useful.
Okay, I promised to talk about trimming…as shown above, the paper was sticking out of the side of the cover quite noticeably. And if you’ve read my other posts, you know this is unacceptable.
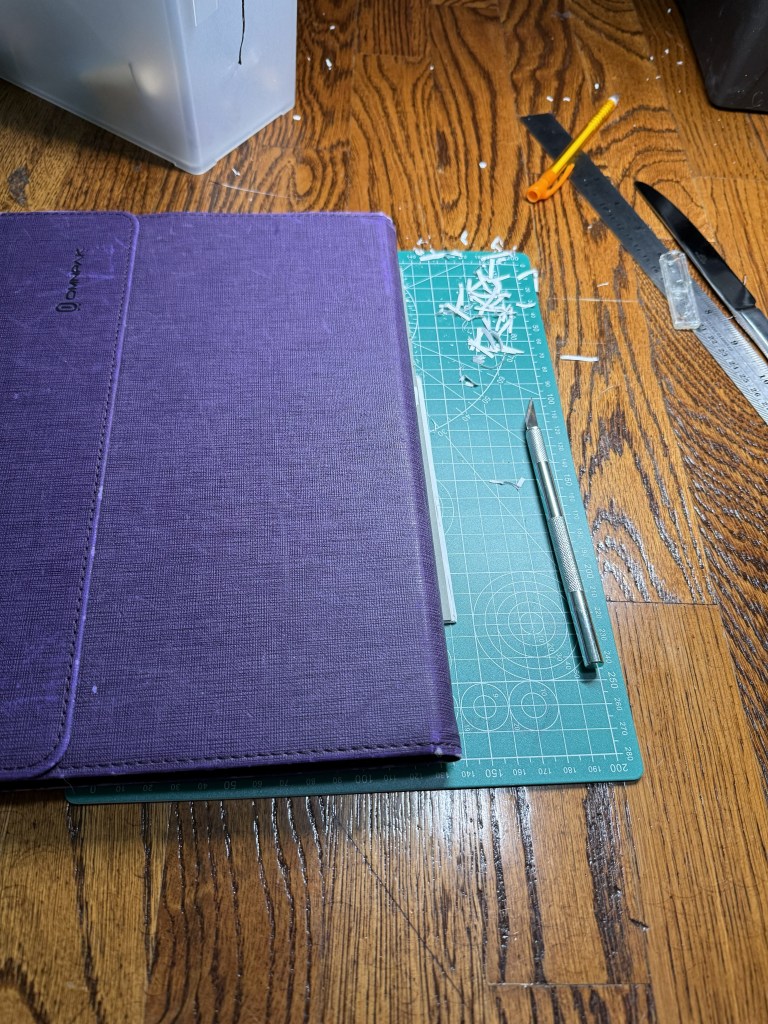
So I got out the cutting mat and an x-acto knife. I had to set something heavy on the pamphlet so the pamphlet wouldn’t suddenly shift, the knife wouldn’t launch into my finger/hand, and give me yet another (!) X-Acto knife scar. Don’t ask how I got the first one because it was just me doing something too quickly and without thinking through the issue.
I was trying to be soooooo careful here. And then I sliced through the edges of the cover multiple times. Which caused a lot of not-so-nice words to flow out of my mouth.
Hence…I need a better trimming method. Trimming a finished pamphlet with an X-Acto knife and hoping I wouldn’t hit the cover was apparently not it.
Anyway, if you don’t look too closely, it turned out mostly fine. And once I practice a bit more, I feel confident I can resize future notebooks and use them in the traveler’s notebook-style cover I made a few months ago. Which means I could eventually make my own refills instead of ordering more.
I have had the worst time trying to learn how to crochet and/or knit. I can “cast on” (knitting), which goes on the needle in the dominant hand (in my case, the right). Then when you start the knit stitch, somehow I have to swap hands so the cast on needle is in my left hand, then stick the right needle in there and make some kind of magic that results in knitting. So obviously the cast on stitches fell right off, and obviously again, I threw the needles across the room.
Now for crochet…this one was a tad easier for me but I had to work in stages. The first two times I tried, I could get a chain but then no magic. The third time, I was able to get one row. The fourth time, I was able to get two rows. I have not tried again, because to get to those results required unraveling my chain at least four times.
Then…I found something called Tunisian crochet. Supposedly it is easier than both knitting and regular crochet, and results in material that resembles knitting more than crochet, and potentially uses less yarn. I do like things that use less resources…
I got my Tunisian crochet hooks yesterday (because of course I had to order them immediately). I got out the yarn from my “easy” learn to crochet kit.
So here is where the frustration starts…my initial learning resource was a 1970s Reader’s Digest The Complete Guide to Needlework. I had always enjoyed looking at this as a child, but for actual learning, vague drawings and pictures of a finished stitch just aren’t enough for me. Moreover, this book assumes one already knows regular crochet before a 1/8 page dip into Tunisian.
Thus, I headed to Google to find a tutorial. I found one that looked promising, but again, it seemed to assume I already knew how to crochet…or at least the lingo. I had instructions such as “YO [yarn over for those who also don’t know the lingo] and draw up a loop.” What? The result of this was a stranglehold on my needle and nowhere to go.
I had to ask ChatGPT to translate these instructions for me, and it happily complied. Thank goodness! So in less than an hour, I now have a few forward and return passes. Once I was able to figure out what everything meant, it turned out to be fairly easy. Other than the tension issues of course. And perhaps…actually counting my stitches correctly.
But I feel like this is going to grow into something I can actually use to make things! And not enrage me to the point I am throwing needles across the room.
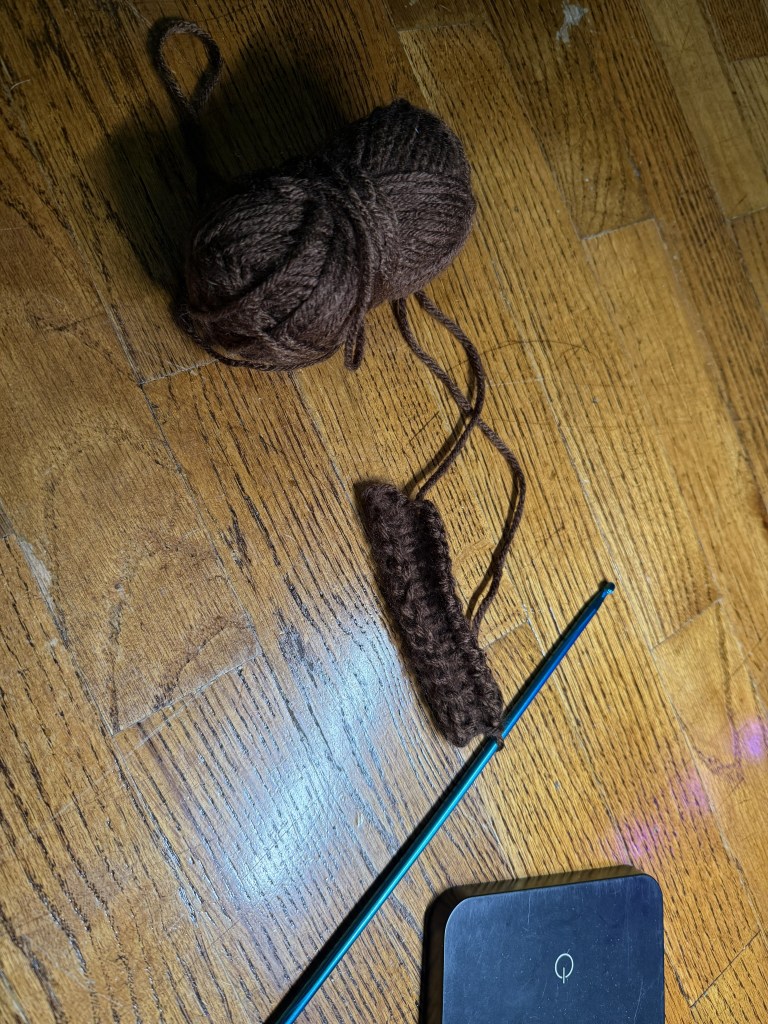
Please excuse the obvious tension and miscounting issues here. And when I say this is somewhat “easy,” I don’t mean I’ll master it anytime soon. I mean that, unlike my previous attempts at knitting and crochet, I can actually imagine making something with it.
There is now a reasonable possibility of a scarf within the next six months.
I lost count of forward and return passes…perhaps four?
One of the things I am most excited about is making paper to add to my shop. For now, I am using scraps straight from the paper shredder until I get better at this.
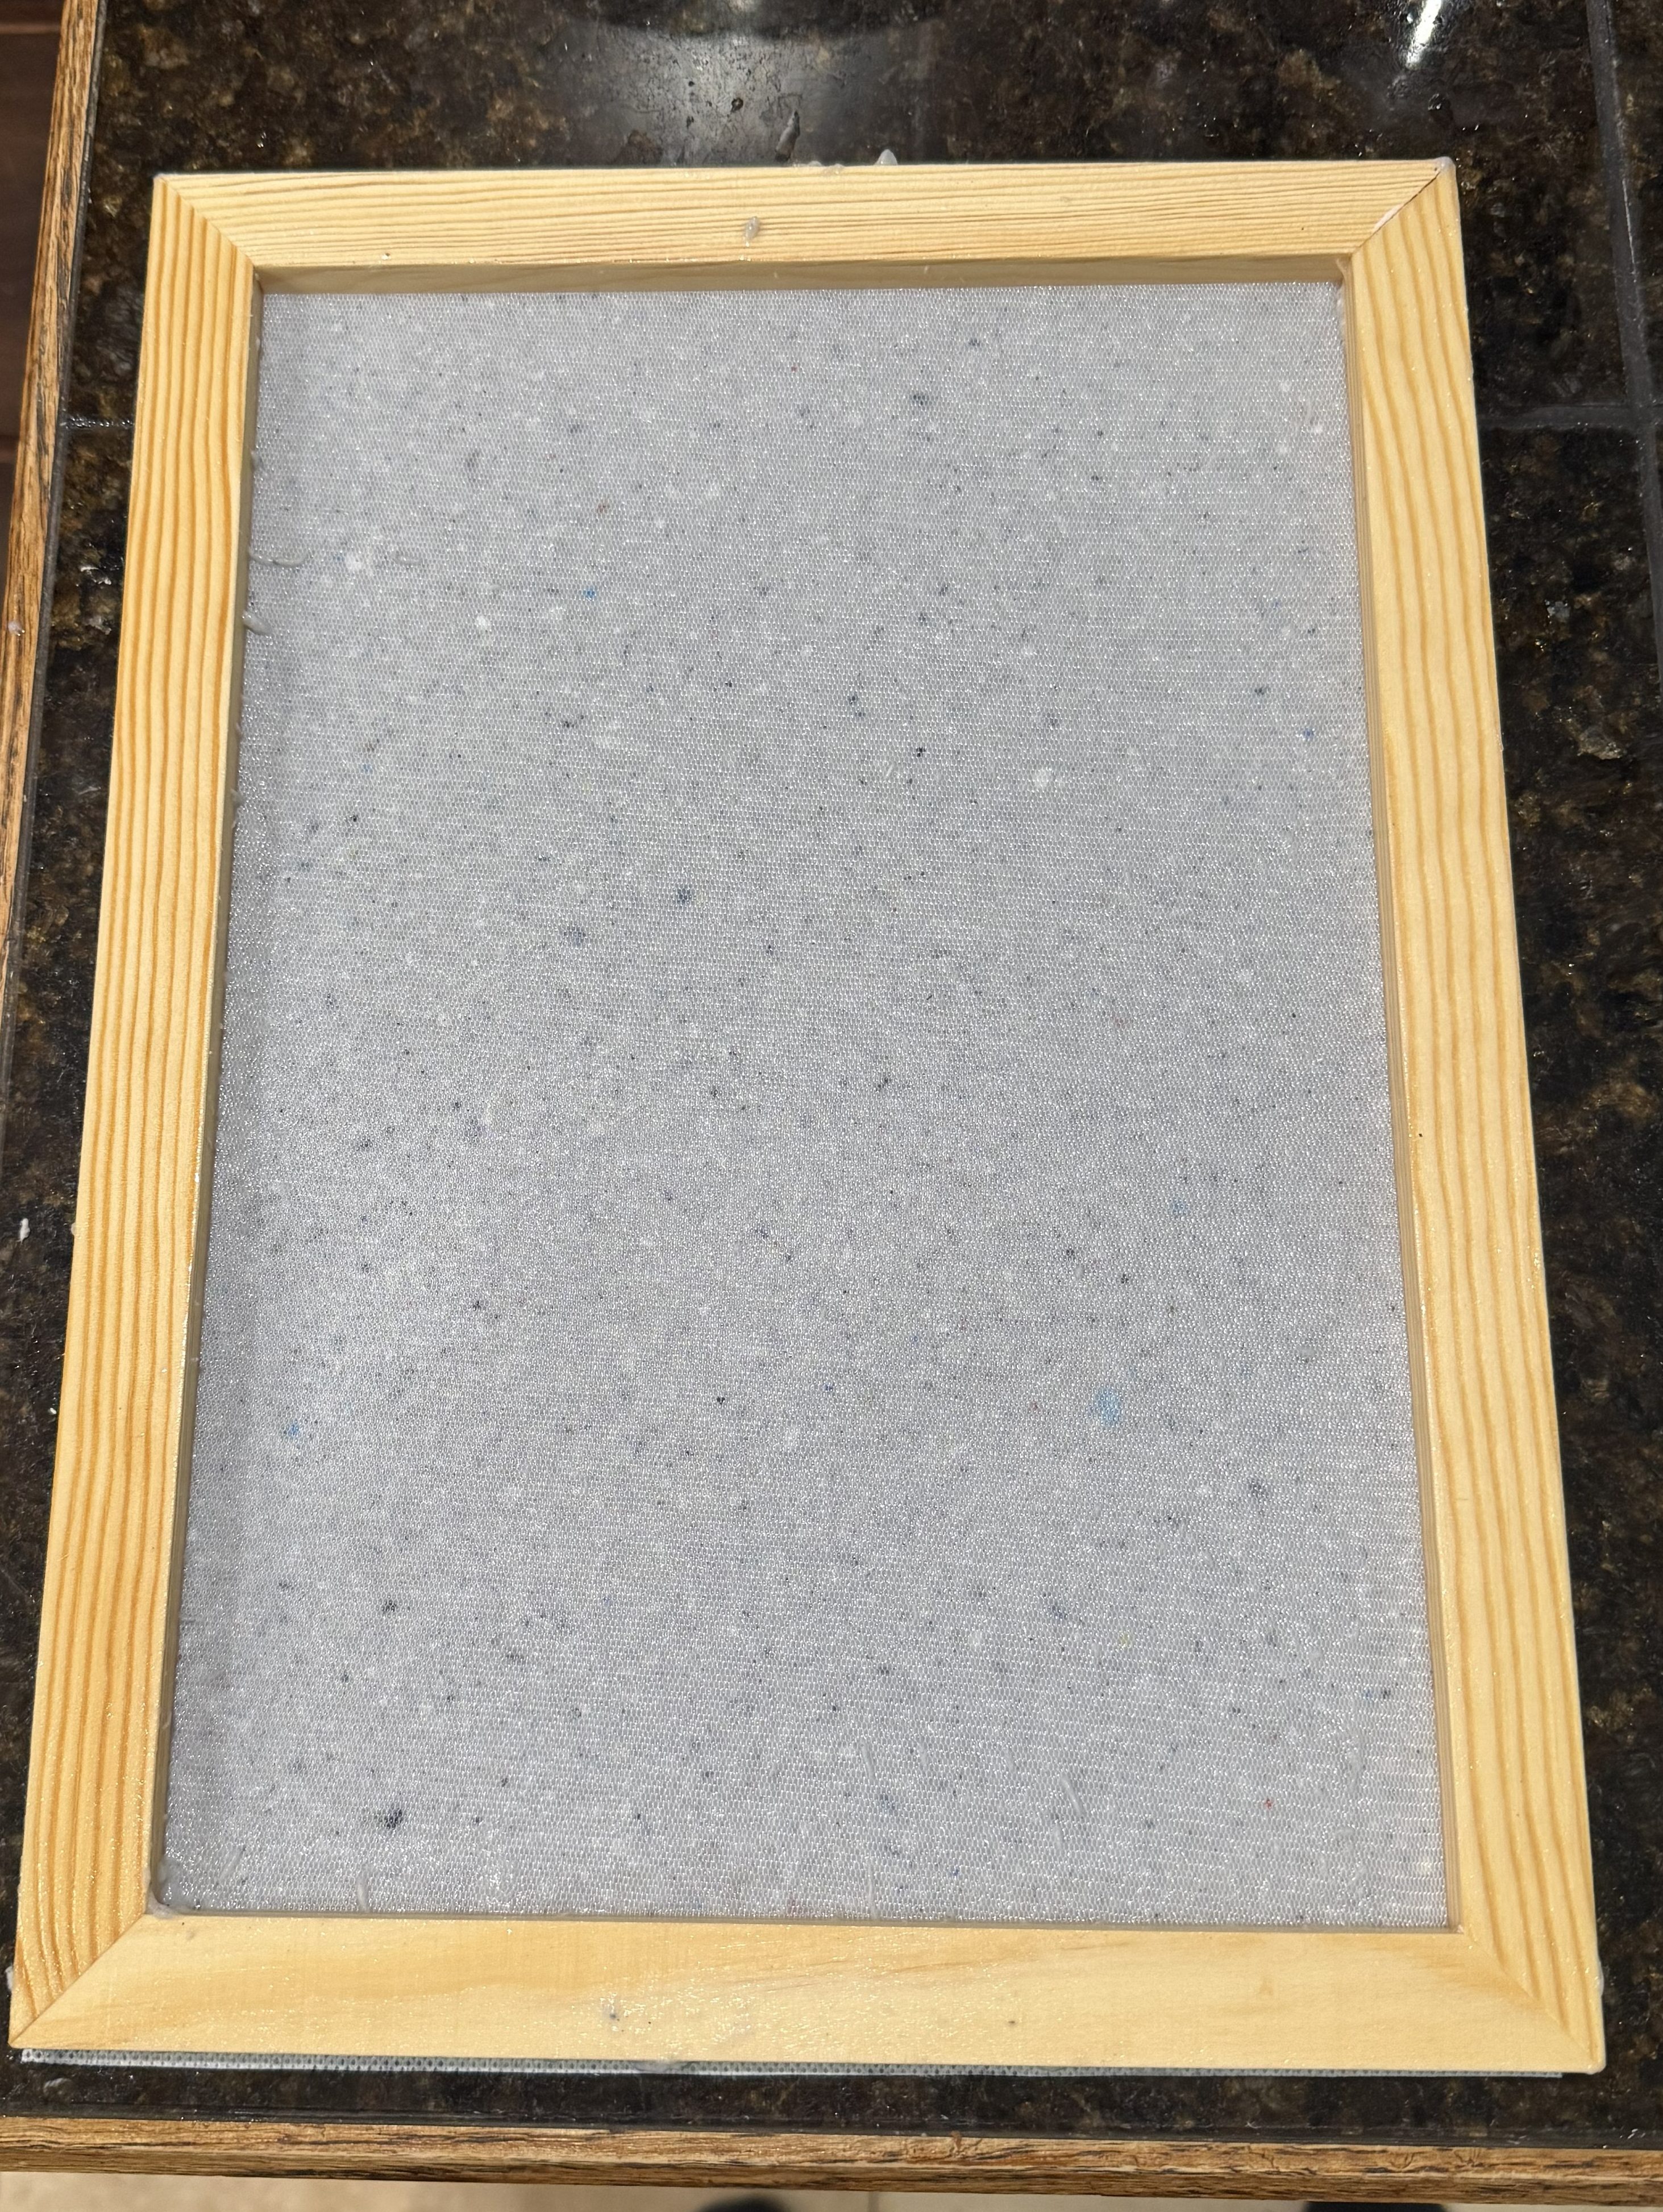
First, I bought a cheap papermaking kit online. It is A4 size and came with a mold, a deckle, couch sheets, a couple of loose screens, and a small sponge.
The mold has a fine mesh that catches the paper fibers from the water slurry. The deckle is a frame without a screen that helps define the size and edges of the paper. The loose screen can be placed between the mold and deckle to support the wet pulp and allow water to drain. The couch sheets are used to transfer the wet paper and absorb moisture, while the little sponge helps remove even more water before the paper is laid out to dry.
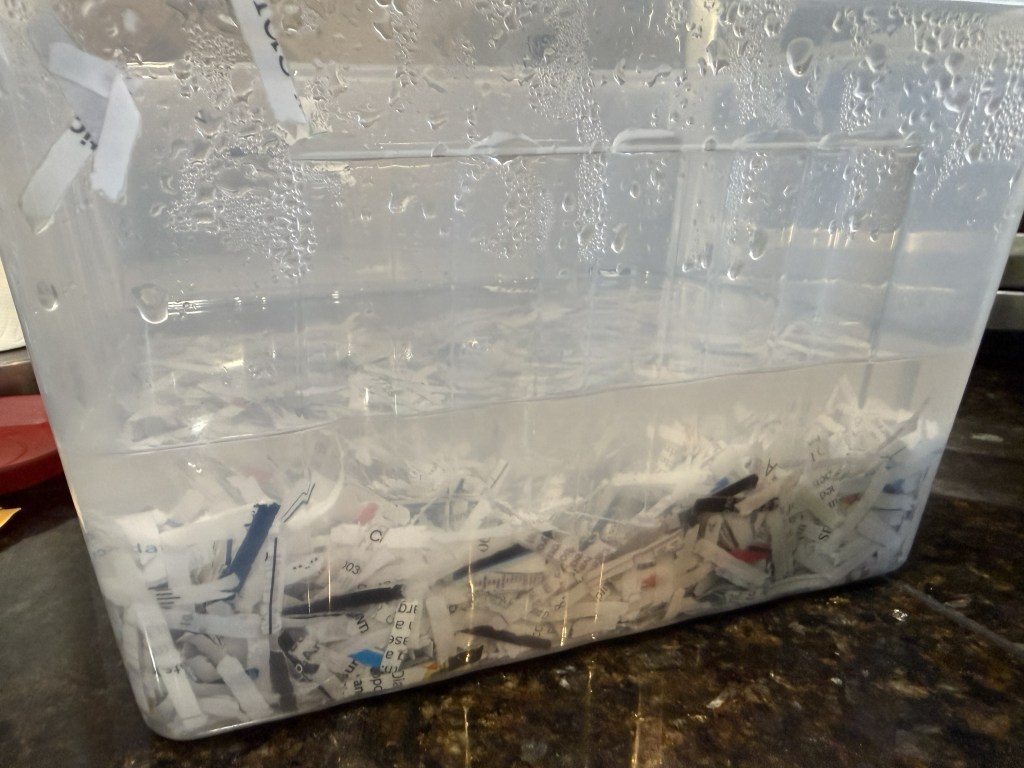
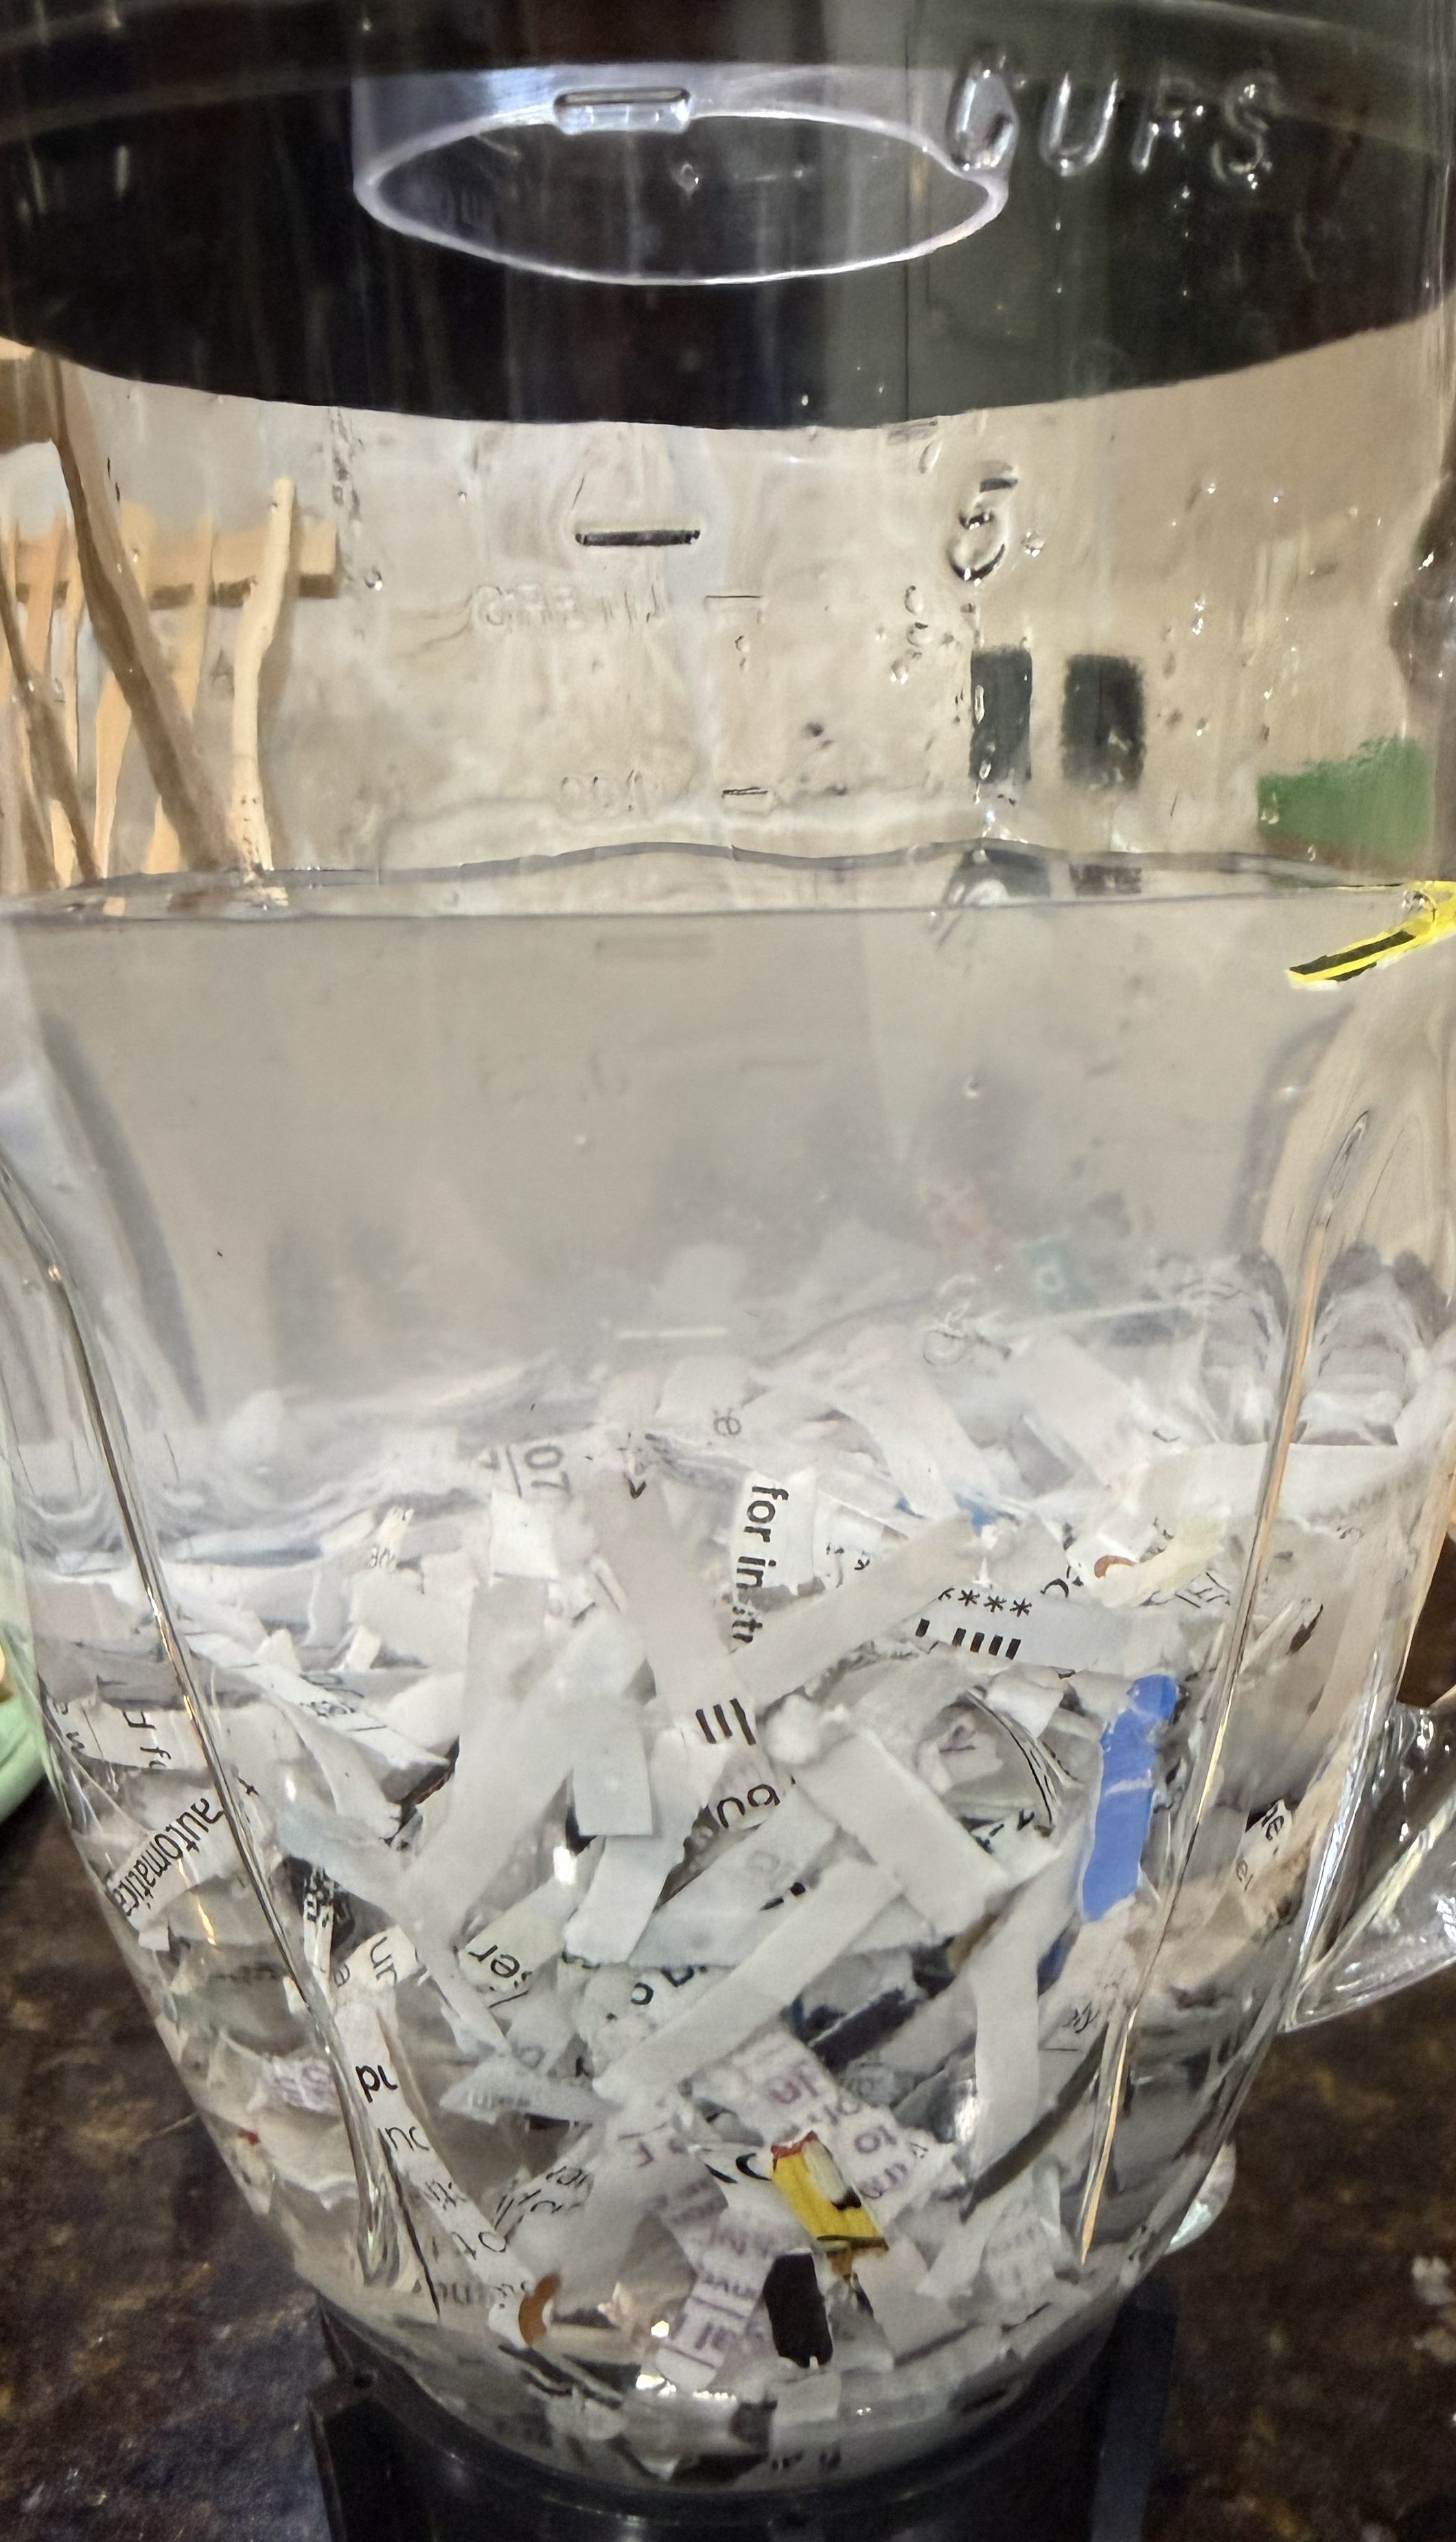
The first thing you need to do is soak your scraps. Having a paper shredder is very handy here; otherwise, you have to tear everything up by hand. Put however much paper you want to use into a container, then add enough water to completely cover it.
Let the scraps soak for a few hours to make sure they are soft. I soaked mine overnight so I wouldn’t have to worry about whether they were ready.
Small amount of scraps that I soaked overnight.
Once you feel the paper has soaked enough, it is time to turn it into pulp. I had a blender we weren’t using anymore, and using a blender is by far the easiest way to do this. Other suggestions I came across included using a potato masher or even a mallet.
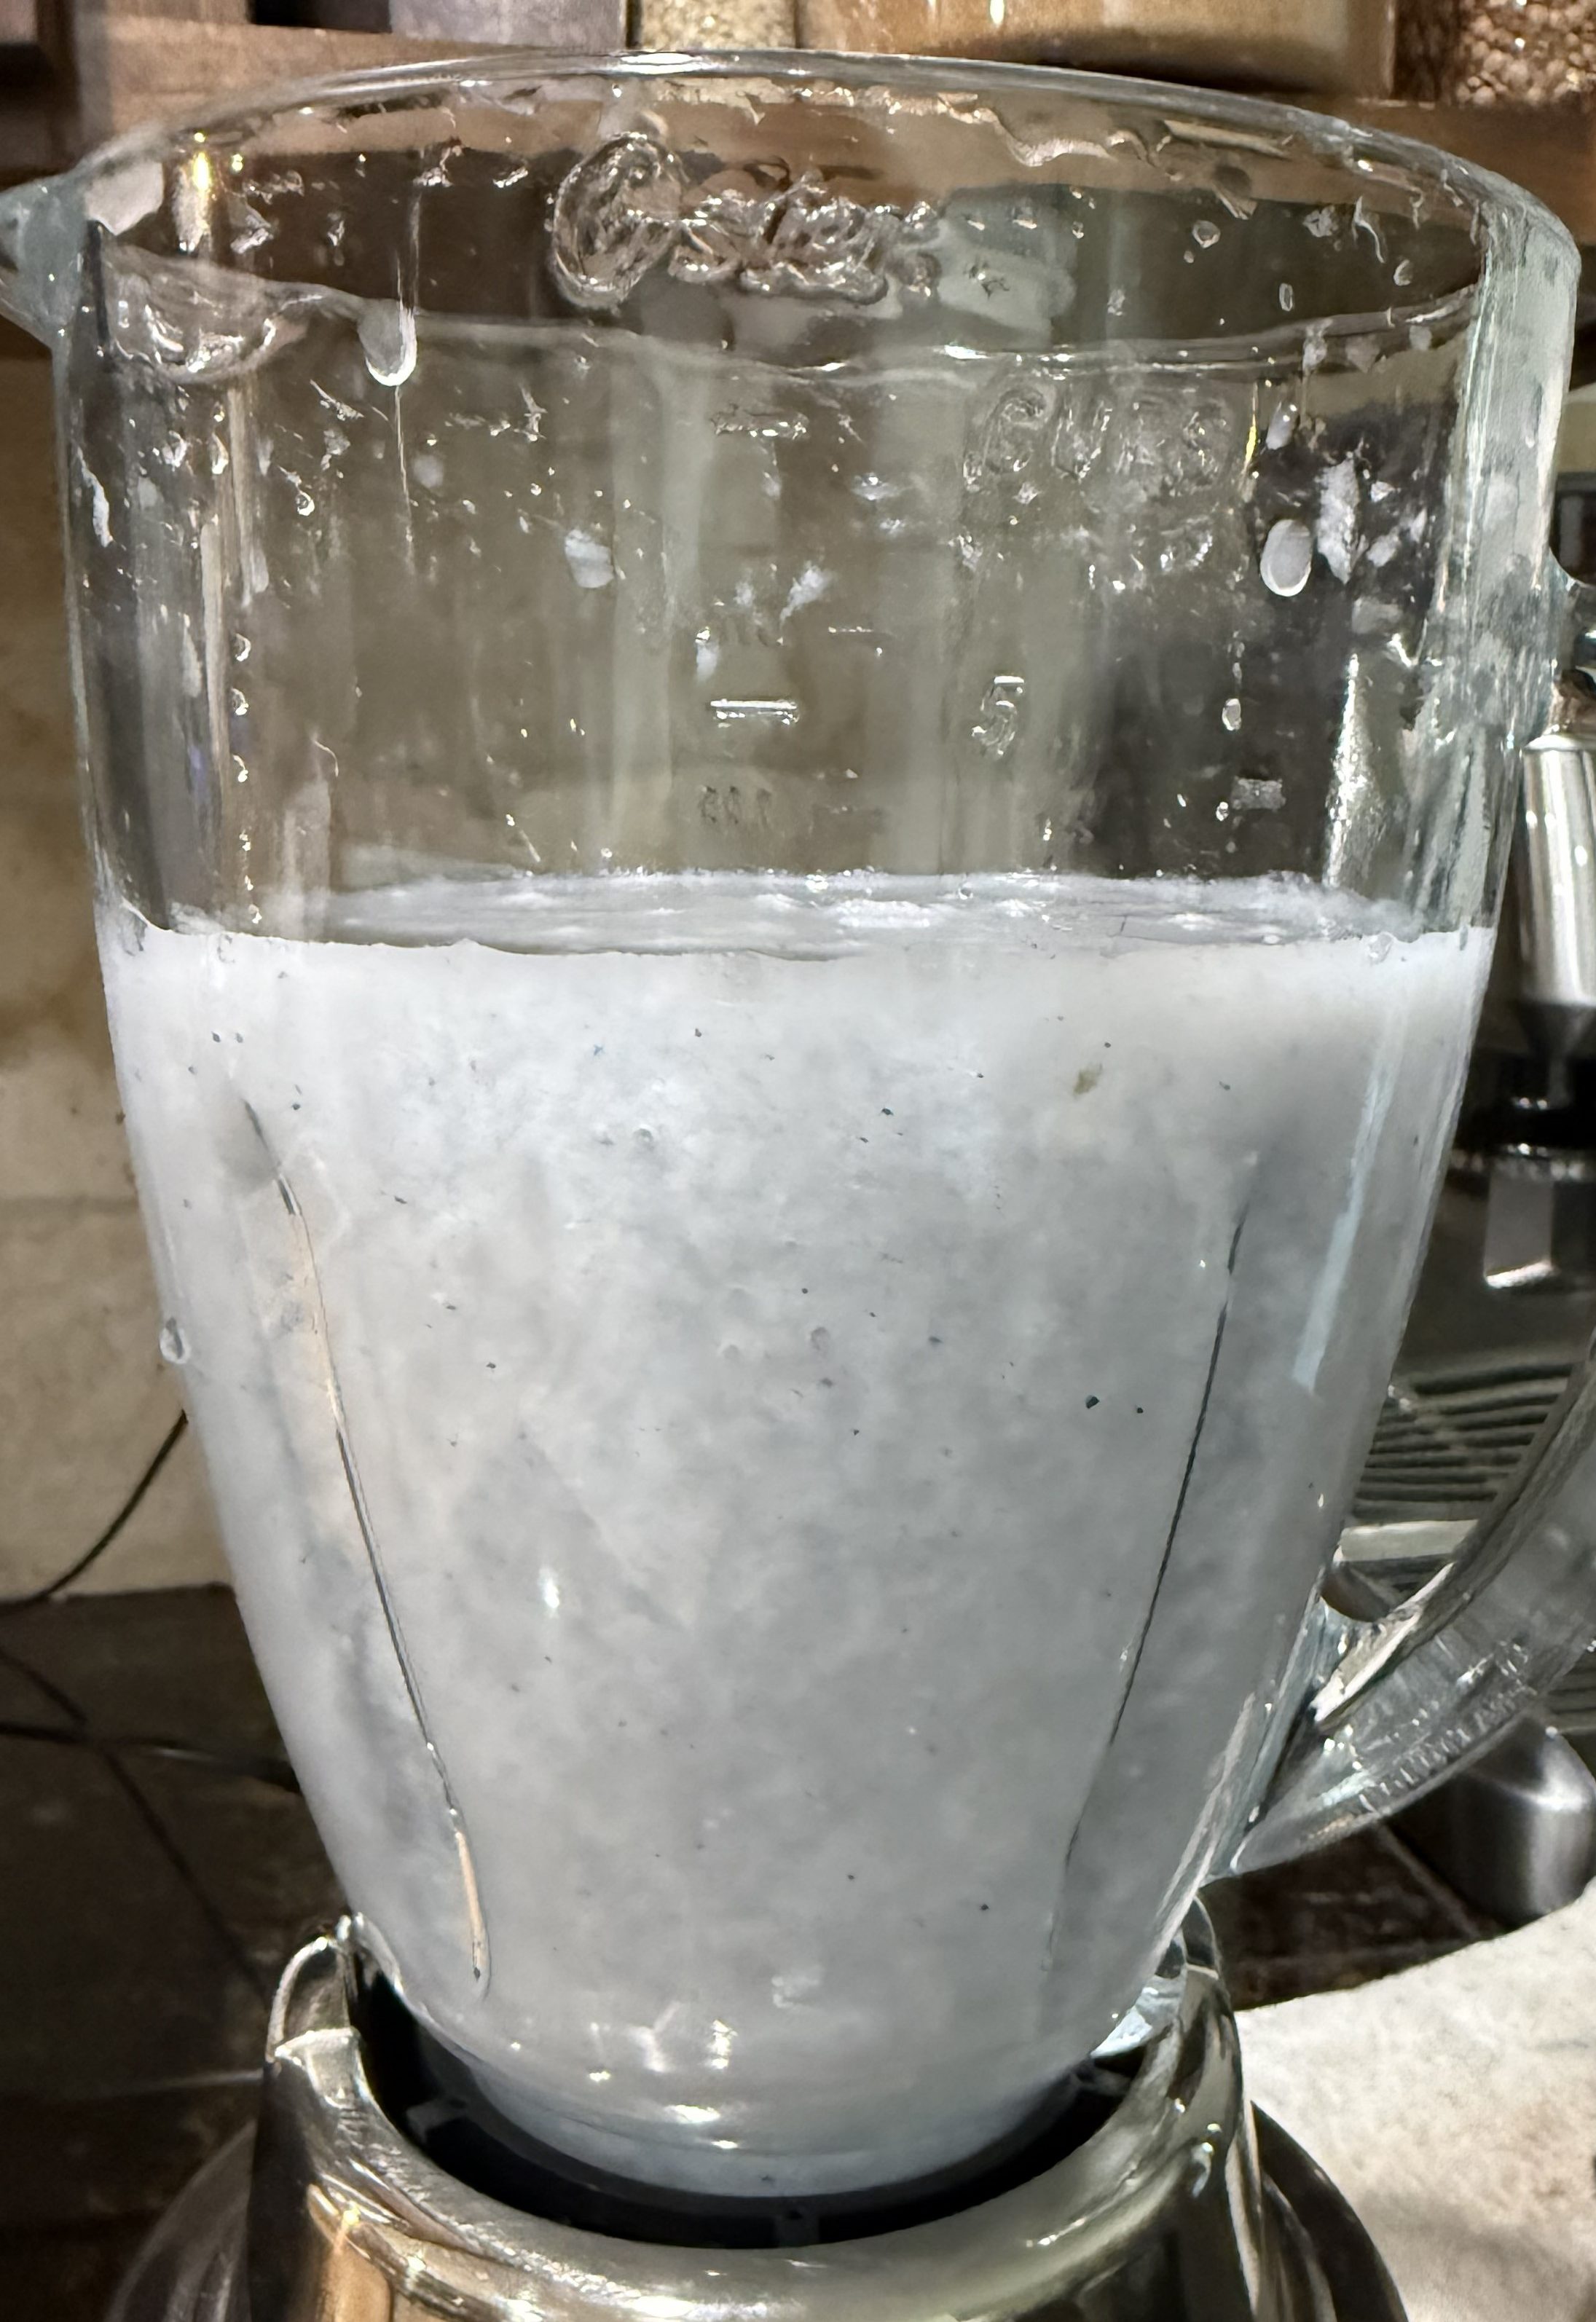
Put a small amount of the soaked paper into your blender and add water until the blender is about three-quarters full. I recommend using a small amount of paper at a time so you don’t gum up the blades.
I set the blender at its lowest speed and pulsed it for about 30 seconds. You want the finished pulp to look kind of like oatmeal.
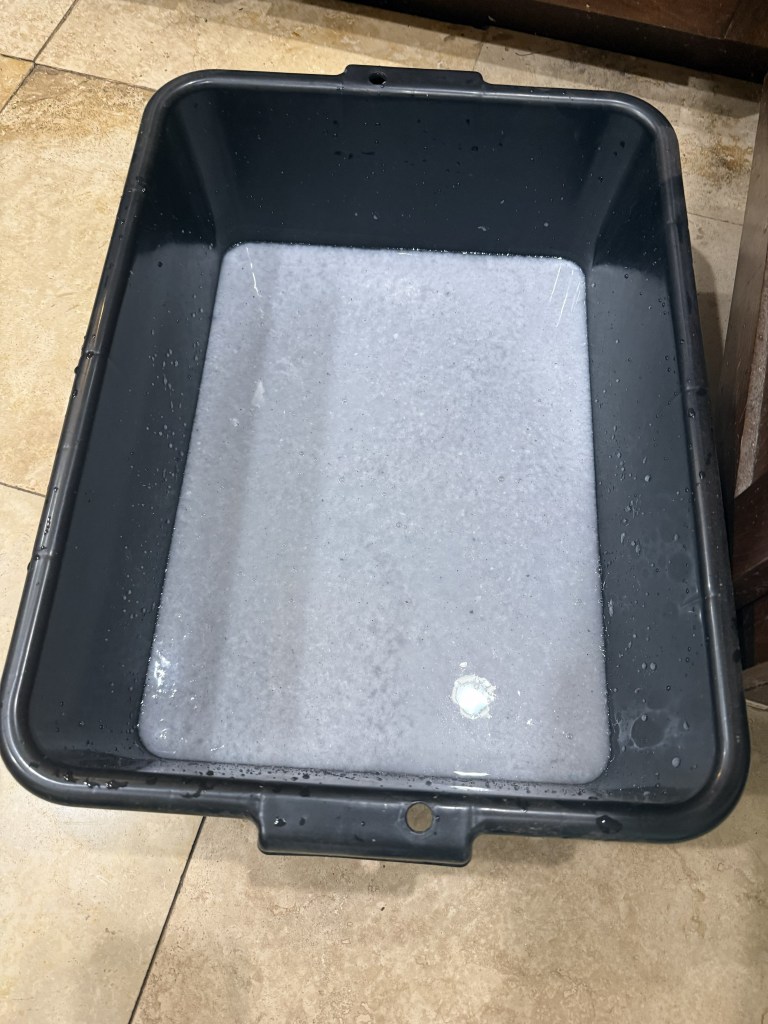
I had an empty dish bin that I decided to use as my papermaking vat. This turned out to be a little too small, but I made it work. As I blended each batch of pulp, I dumped it into the bin. Once all the scraps had been turned into pulp, I was finally ready to try making an actual sheet of paper.
The ChatGPT instructions had me put the deckle over the mold, then scoop the whole thing through the slurry. This leaves what will eventually become a piece of paper sitting on the mold. You can shake it gently from side to side, almost like you’re mining for gold, to distribute the pulp evenly.
I was a bit too heavy-handed with this part and had to do it multiple times before I managed to get the pulp to cover the entire mold.
Once I finally had a decent sheet, I set the mold on the edge of the bin until the water slowed from flowing to dripping. Then I laid a couch sheet on top and flipped the whole thing over so the couch sheet was against the counter. I gently used the sponge to remove as much additional water as I could.
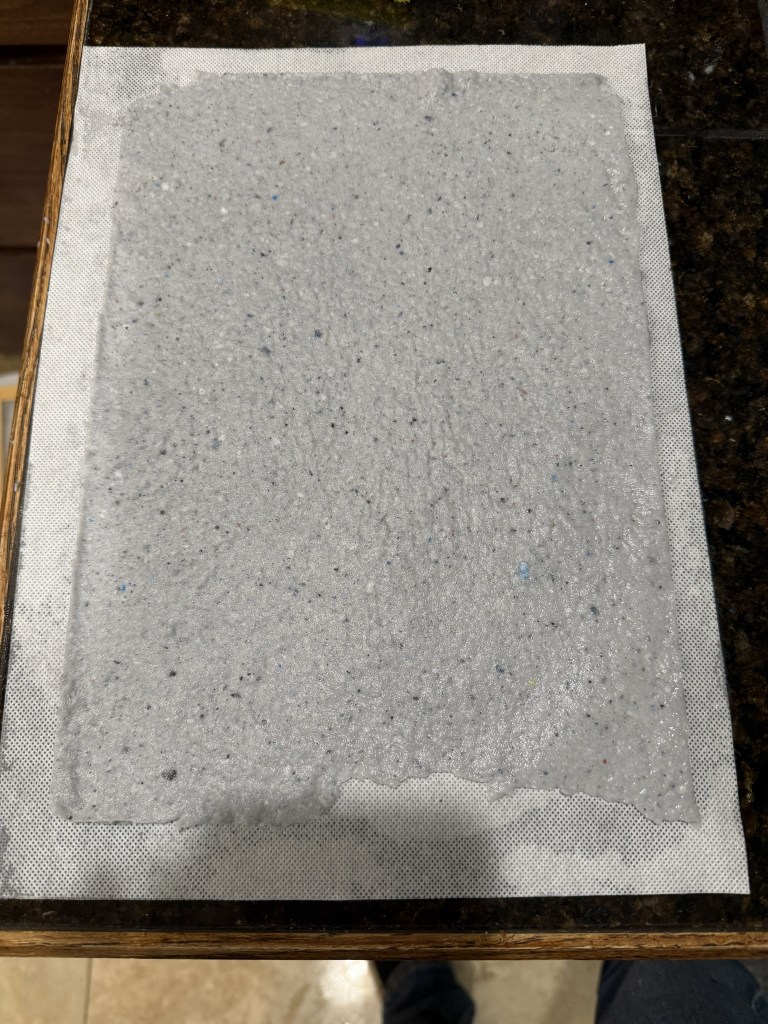
These instructions had me put one of the loose screens between the mold and deckle, but otherwise the scooping process was basically the same.
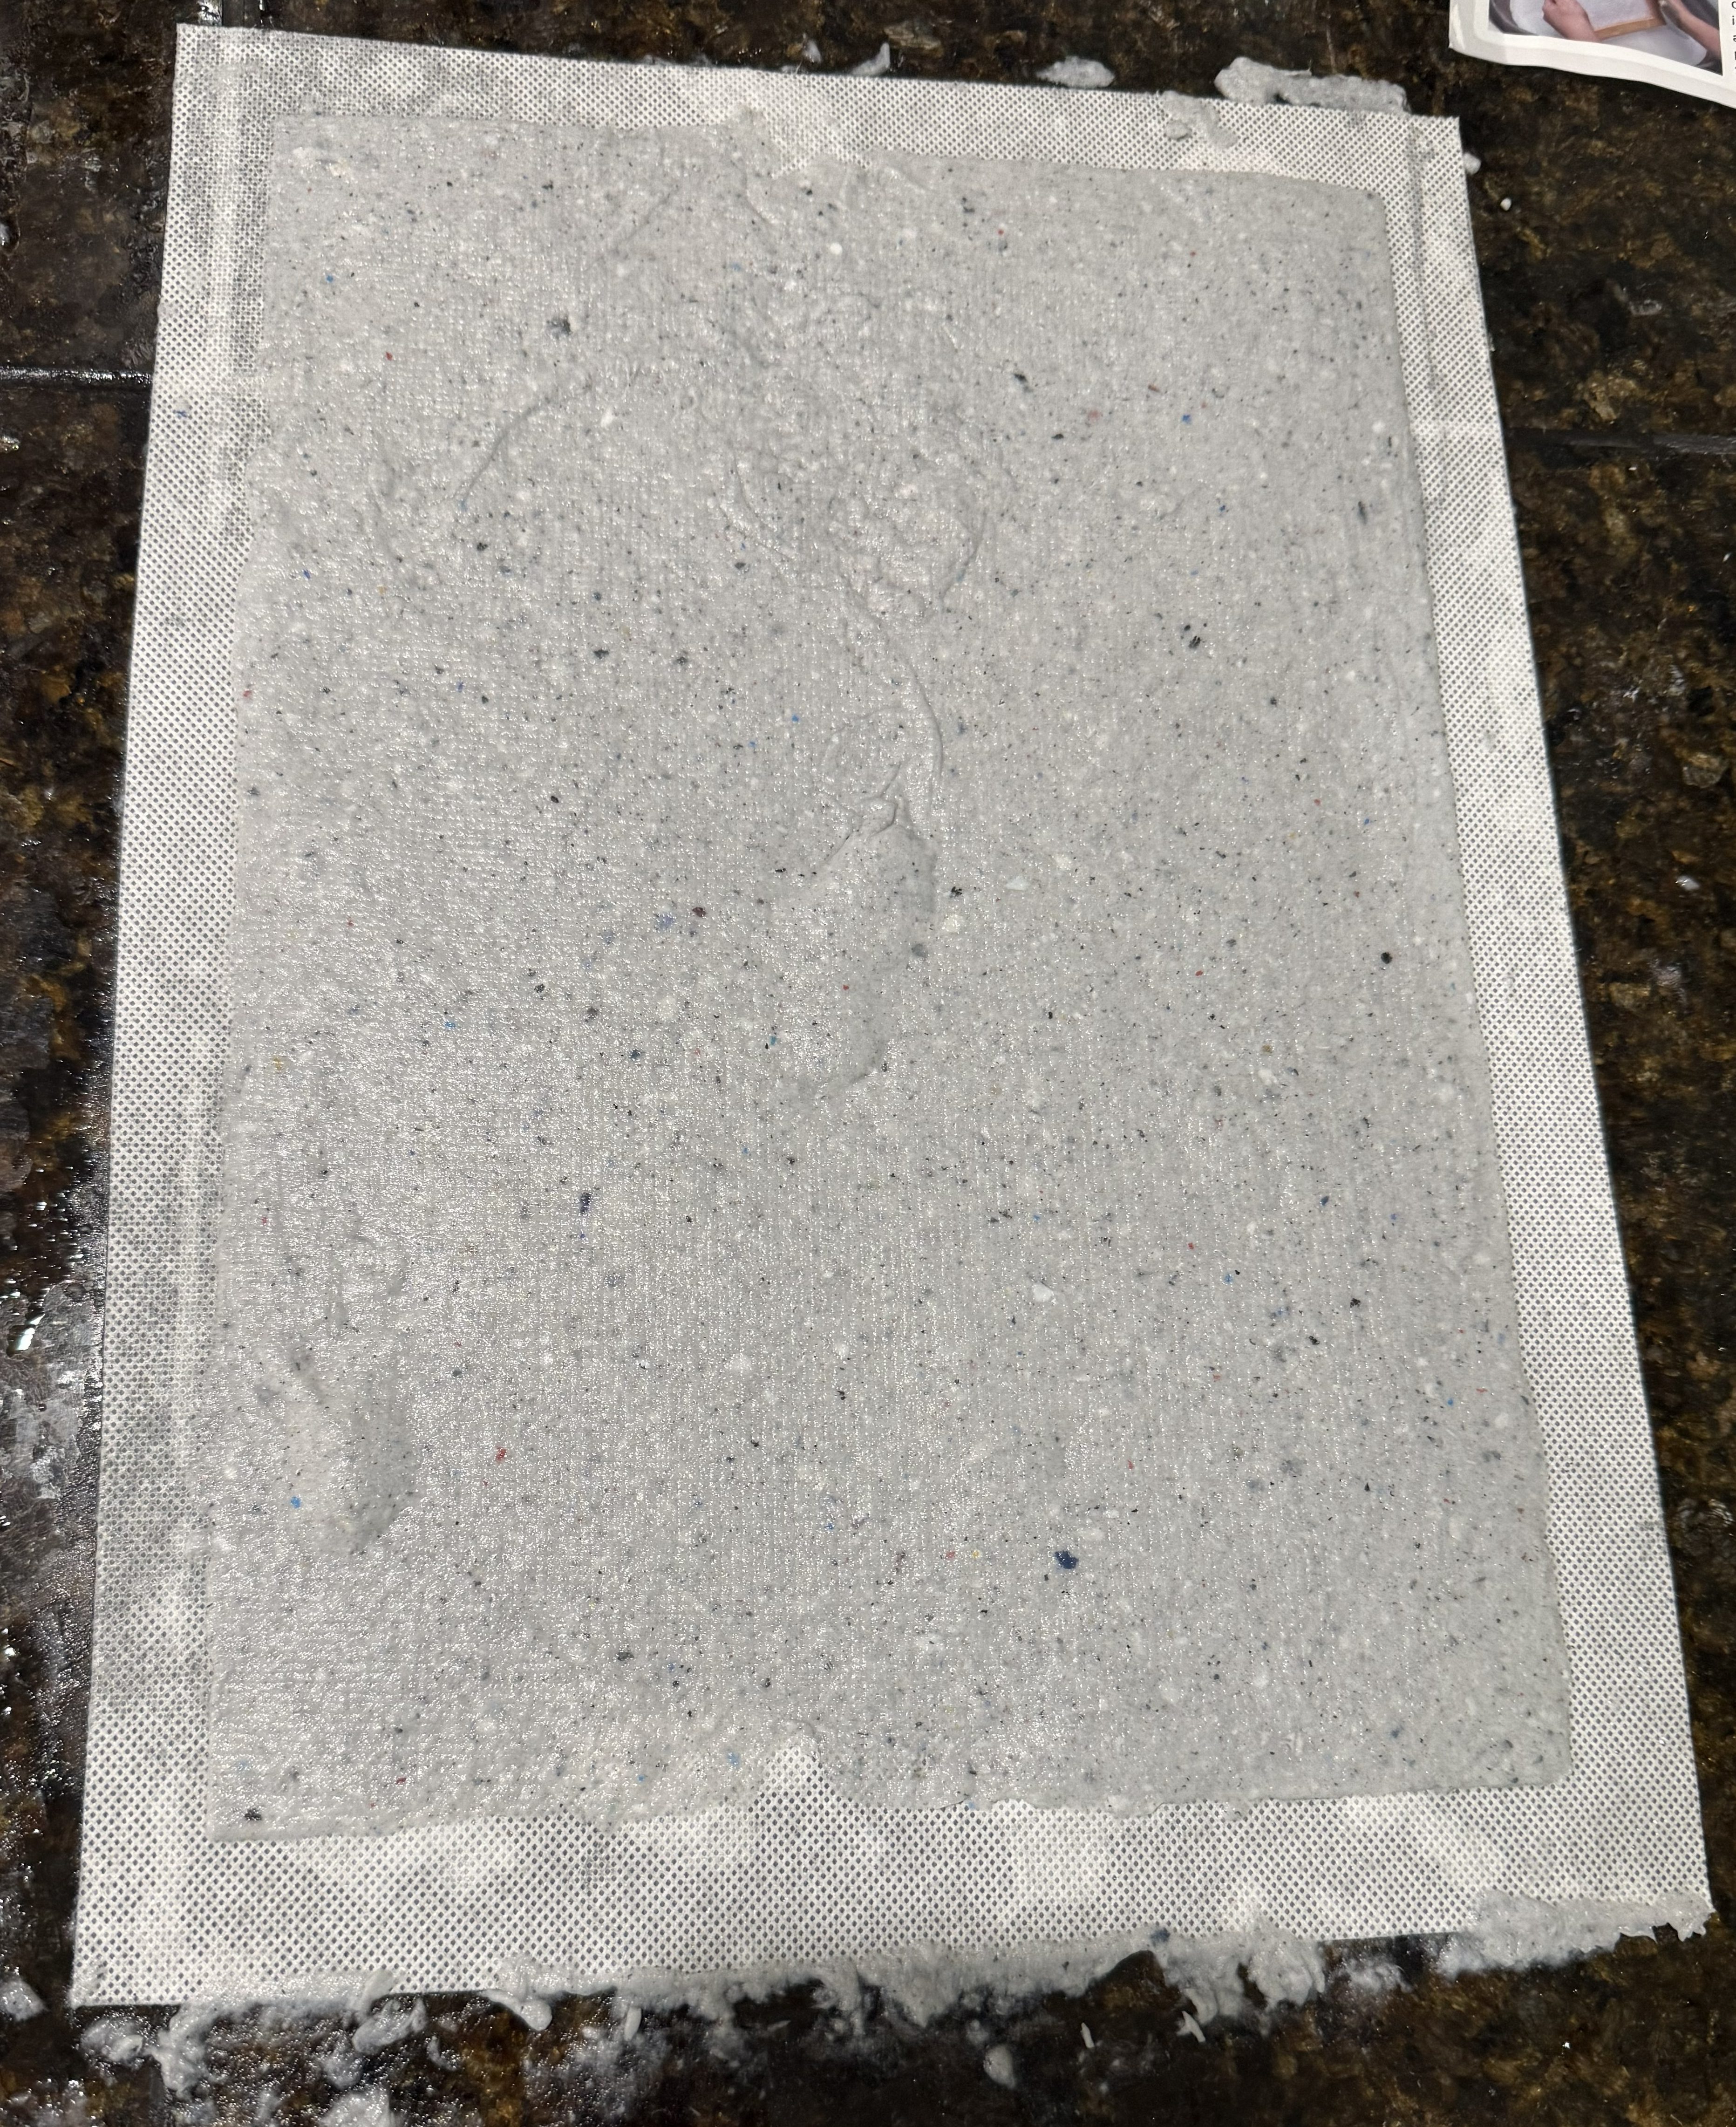
As you can see, that attempt left a bubble in the middle.
Silly me, I decided I could fix it with my finger.
I could not.
Instead of a bubble, I now had a hole.
I grabbed some pulp that was stuck to the frame, filled the hole back in, and pressed it down. You’ll see the results of that little repair later…
I took both sheets, still attached to their couch sheets, outside to dry. Unfortunately, it was a bit windy. Once everything started drying, I heard, “Hey, something just flew away outside.”
Luckily, I had set up a wind block, so the paper didn’t get far.
It was, however, definitely not flat anymore.
I brought both sheets back inside and laid them under some books to finish flattening.
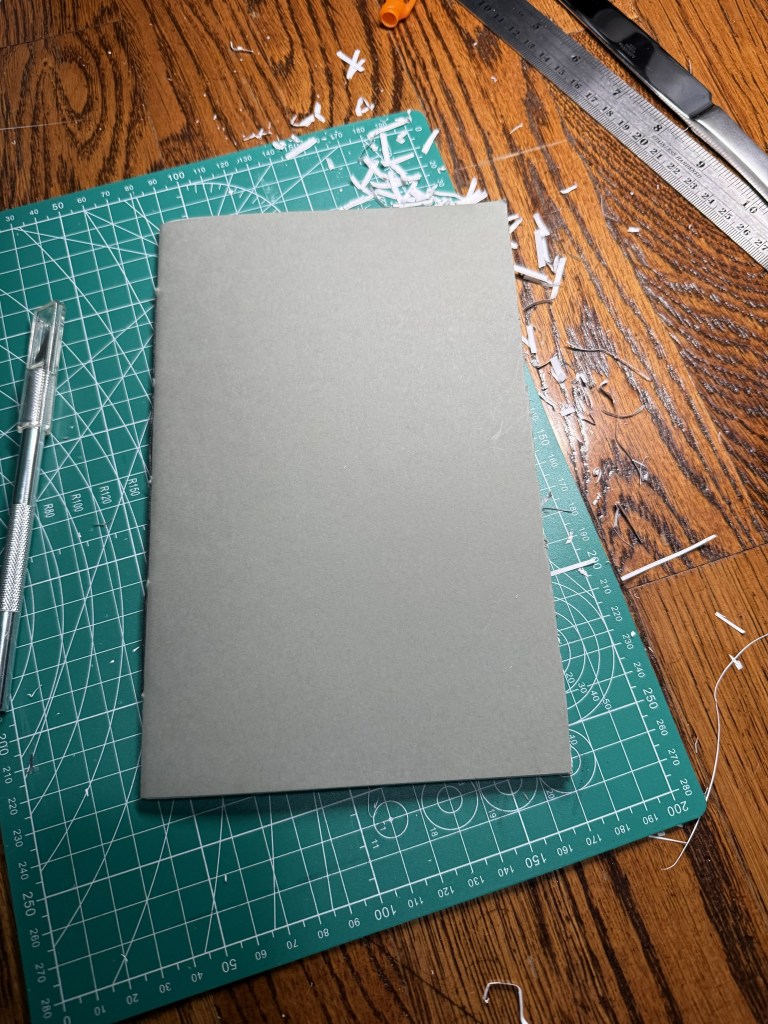
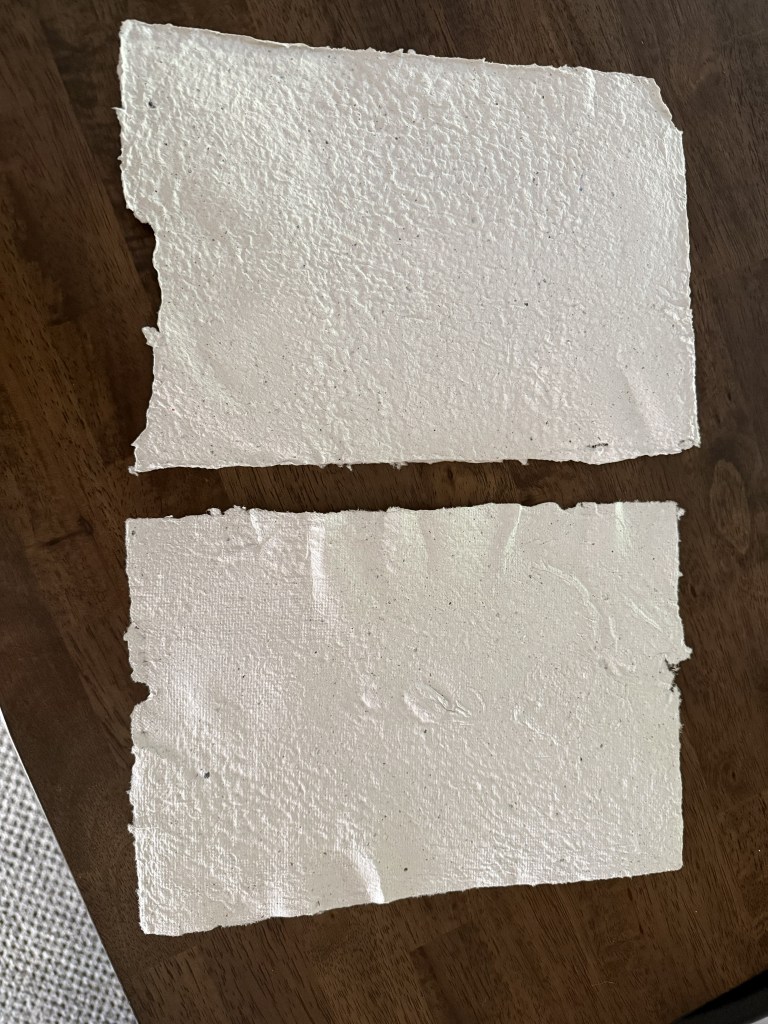
So…here is the final result:
Overall, I am really pleased with how this turned out—especially for my first attempt. Neither sheet is perfect, but that’s part of why I wanted to start with shredded scrap paper instead of anything special.
Now that I know I can actually make paper, I can’t wait to try again with some of the other paper I have lying around!
Right now, I’m drying several kinds of herbs—some for cooking and others for future tinctures and infused oils. The problem is that I’ve officially run out of space.
One thing I’m especially excited about is that I was finally able to harvest calendula seeds. This is my second year growing them, and it’s the first time I’ve managed to collect seeds from my own plants. There’s something incredibly satisfying about knowing next year’s flowers can come from this year’s garden.
The top of the bookshelf in my office is covered with plates and coffee filters full of drying herbs. As one batch finishes, I jar it up and replace it with another. There’s even a bundle of lavender hanging from a wall-mounted desk organizer.
Storage has become its own project. My herb cabinet is such a disaster that I don’t want to mix the new harvest with the old, so the culinary herbs have taken over a different cabinet. The calendula-infused oil lives there too, and once I bottle it, those bottles will need a home as well.
I’m also pressing flowers. Since I don’t own a flower press, I’m improvising with paper, a storage container, and a very heavy book balanced on top. That setup currently lives on another bookshelf.
Eventually, I’d like my Etsy shop to carry physical products, which means I’ll have to rethink the entire room. So far, my best idea is turning an old slatted bookshelf support into a drying rack for herb bundles. Beyond that, I’m still figuring it out.
And don’t even get me started on next year’s seedlings. Apparently my cat decided this year’s starts made an excellent lunch, so I’ll need to find a much safer location.
I’m certainly not complaining—having more herbs than I know where to put is a pretty good problem to have, especially while I wait for the tomatoes to ripen. But wow…everything needs a permanent home.
One of the things I’ve realized this year is that I don’t really collect hobbies.
From the outside, it probably looks like I bounce from one thing to another. Gardening. Bookbinding. Norwegian. Citation templates. Herbs. Cocktails. Ancient history.
They’re all over the place.
To me, though, they’re all the same hobby.
I like understanding how things work.
The garden has made that clearer than anything else. Before this year, companion planting was something I’d read about. Soil composition was something I’d heard people discuss. Medicinal herbs were mostly names in books.
Now I get to watch it happen.
I’m seeing why one bed dries out faster than another. Why some plants seem happier next to certain neighbors. Which herbs attract pollinators and which ones don’t. Which vegetables struggle through a heat wave while others barely notice. It’s no longer just biology in a textbook. It’s biology happening in my backyard.
That’s probably why my garden is organized the way it is. It isn’t the most efficient layout, and I’ve certainly spent more time weeding because of it. But separating plants by water needs, companion planting, shade, and other variables lets me see what works and what doesn’t. I’m treating the garden as one giant experiment.
The same thing happens with my other projects.
I didn’t start making notebooks because I thought notebooks were too expensive. I started because I wanted to understand how books are made. Every mistake teaches me something, and every notebook gets a little better than the last.
I originally started learning Norwegian because I had a reason to. Somewhere along the way, though, the language became the reward. I enjoy the grammar, I enjoy listening to it, and I was ridiculously proud of myself for using it in Oslo, even if it was only a little.
The citation bundles might be the clearest example of all. I don’t enjoy formatting bibliographies. I enjoy solving problems, and I kept thinking about how much easier graduate school would have been if I’d had something like this on my desk.
Maybe that’s why all of these projects seem connected to me, even if they don’t to anyone else.