Author: TartanVegan

  • My Interests are Taking Over My Desk

    My Interests are Taking Over My Desk

    I believe I have mentioned before that I find a topic, obsess over it for a while, then totally forget about it.

    Right now, it is Baldur’s Gate 3.

    I bought the game right after it came out, along with a Steam Deck, played for about three weeks, and then my Steam Deck sat untouched until about a year ago. So obviously, now that I am obsessed with Baldur’s Gate 3 again, I started playing it on my PC instead. The Steam Deck is busy with my other game.

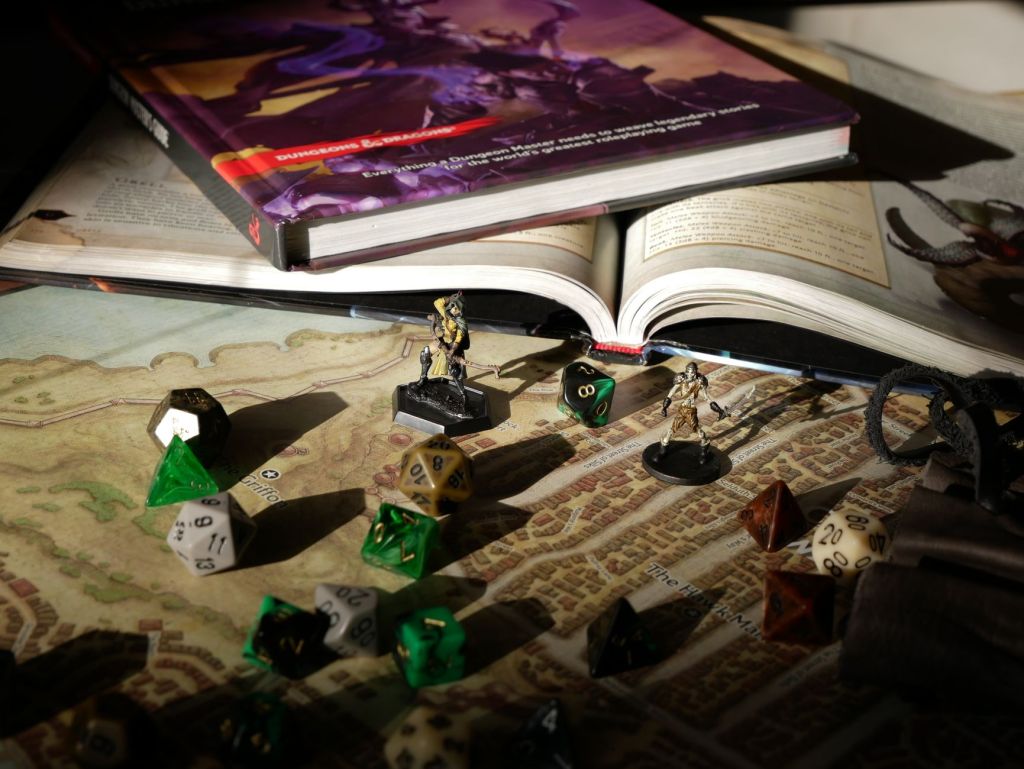
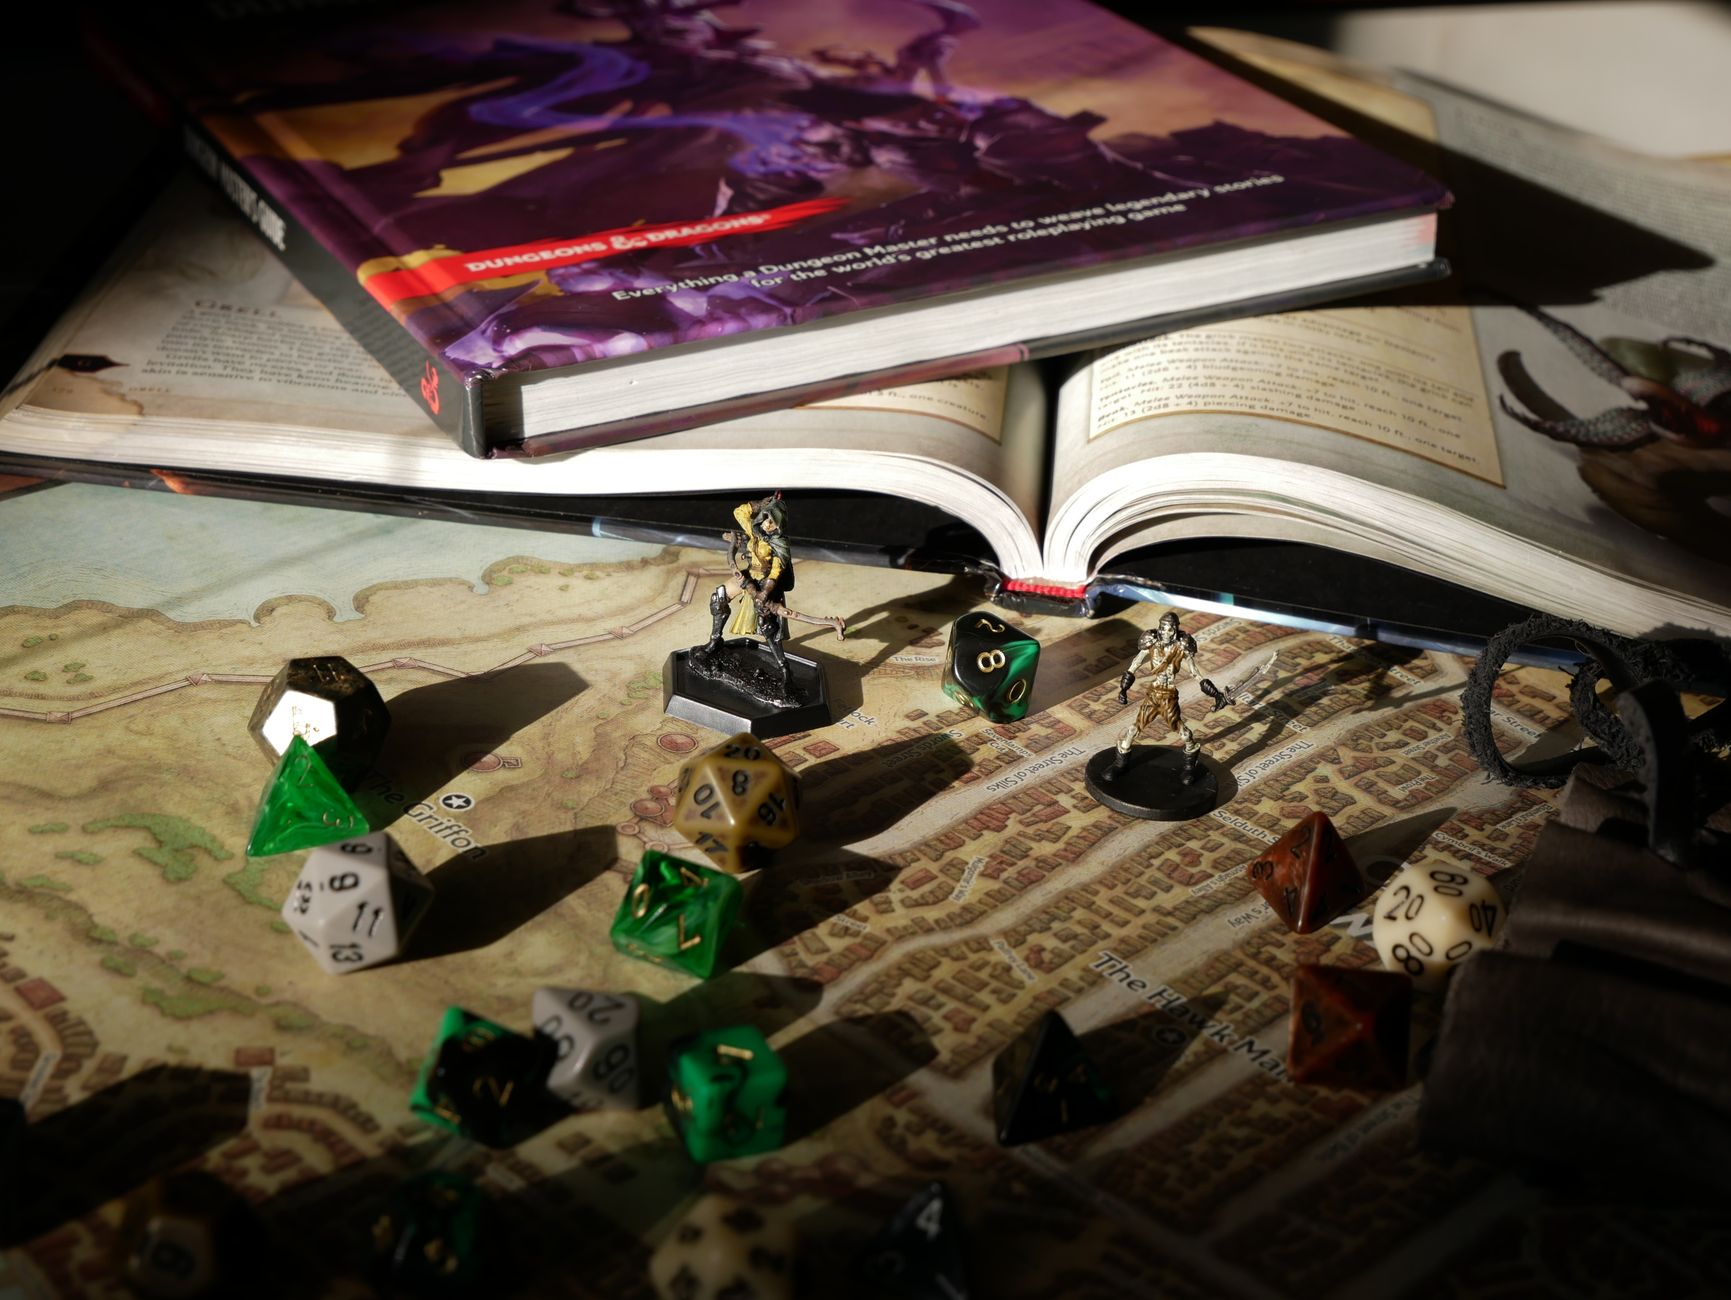
    I have been reading the D&D Player’s Handbook for the past week so I can get a better idea of how to set up my character in BG3. I also bought Sword Coast Adventurer’s Guide because there is some lore I am lacking.

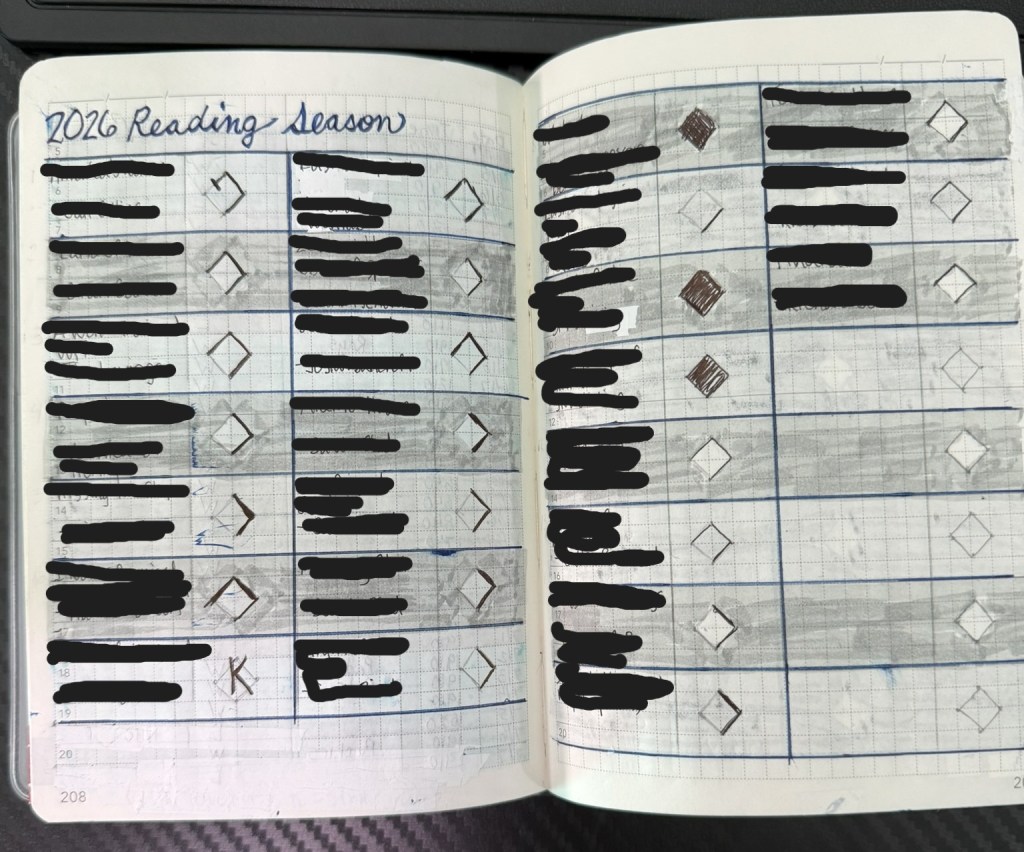
    Have my notes evolved into yet another commonplace book? You bet they have.

    In a week or two, I will probably be able to rattle off any number of feats, backgrounds, classes, and spells. In two months, I will be focused on something else entirely. It’s just how it is with me.

    This is, of course, happening right after I bought a new desk with about twice as much real estate as the old one. My monitor is pretty big, so before, there wasn’t room for much besides a keyboard and mouse.

    Naturally, I am already covering the new desk.

    I started more Jewish studies, so that notebook is sitting on top of the related binder and my current book. Then there is my garden compendium. I 3D printed two desk organizers. Of course I also had to make room for my cat Post-It dispenser.

    And more pens. Always more pens.

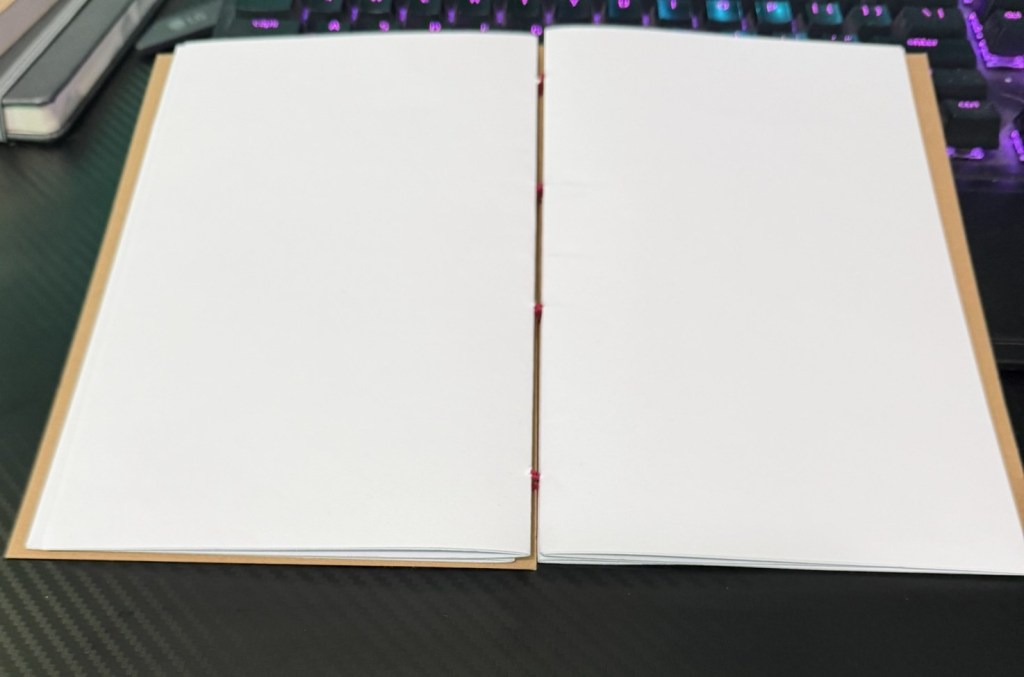
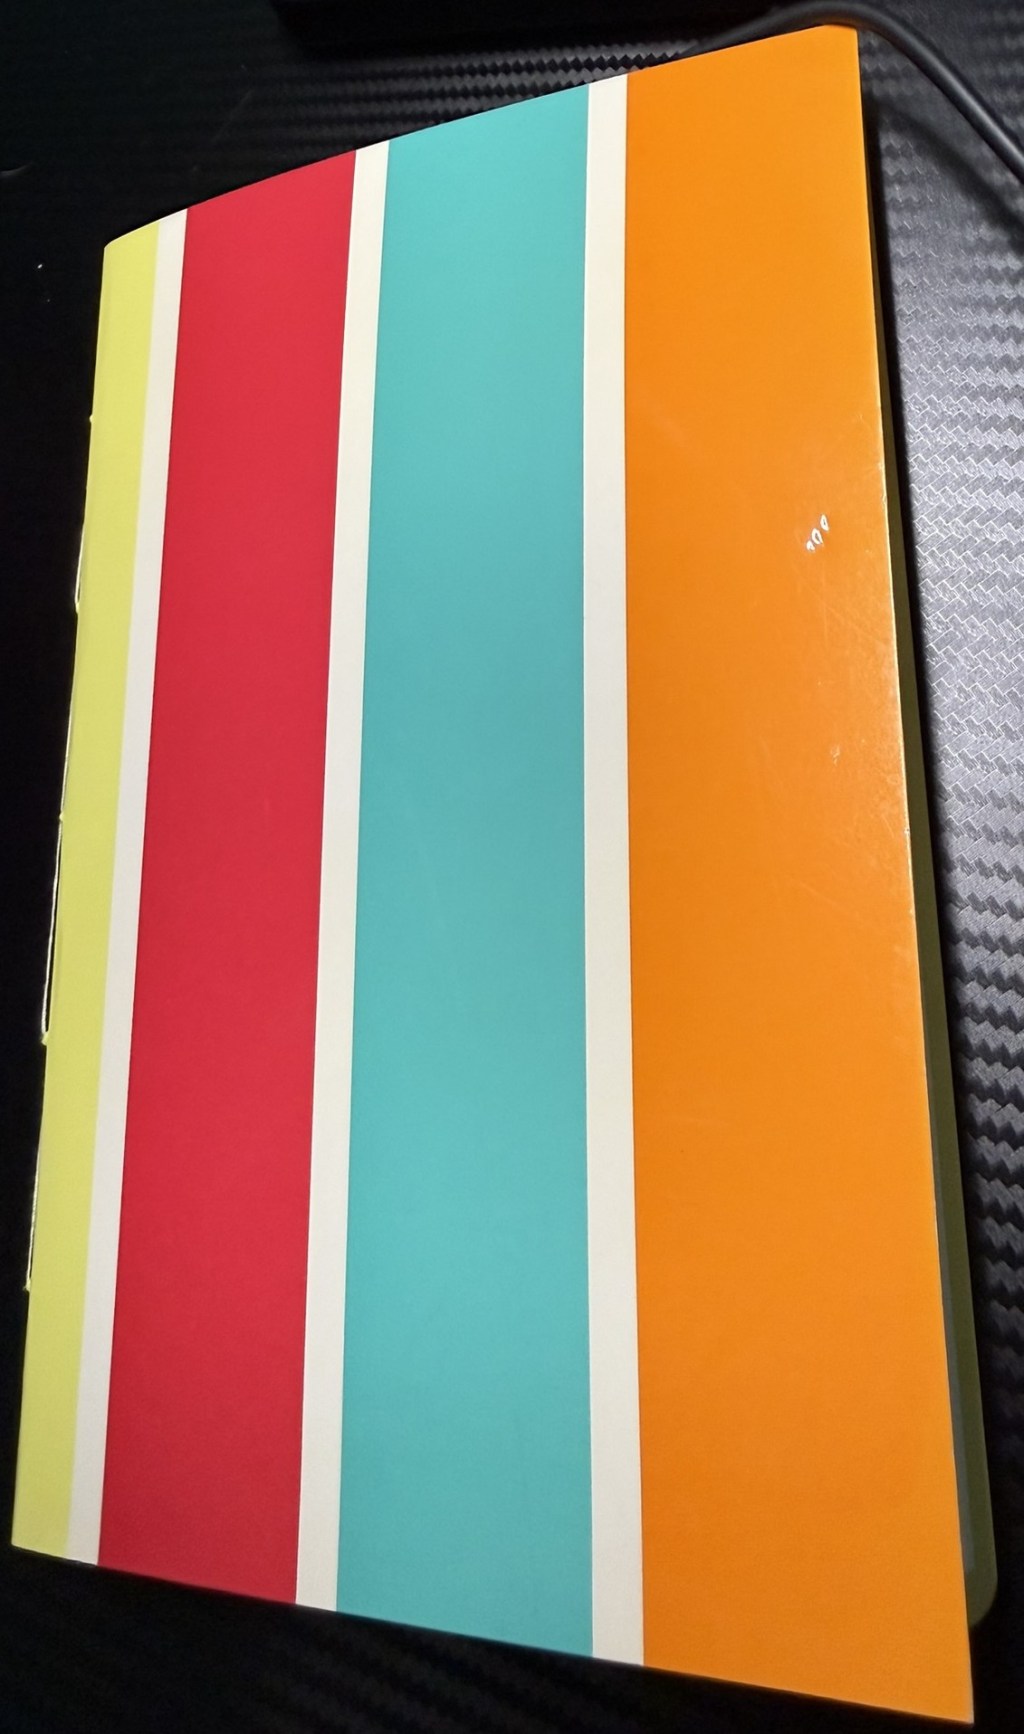
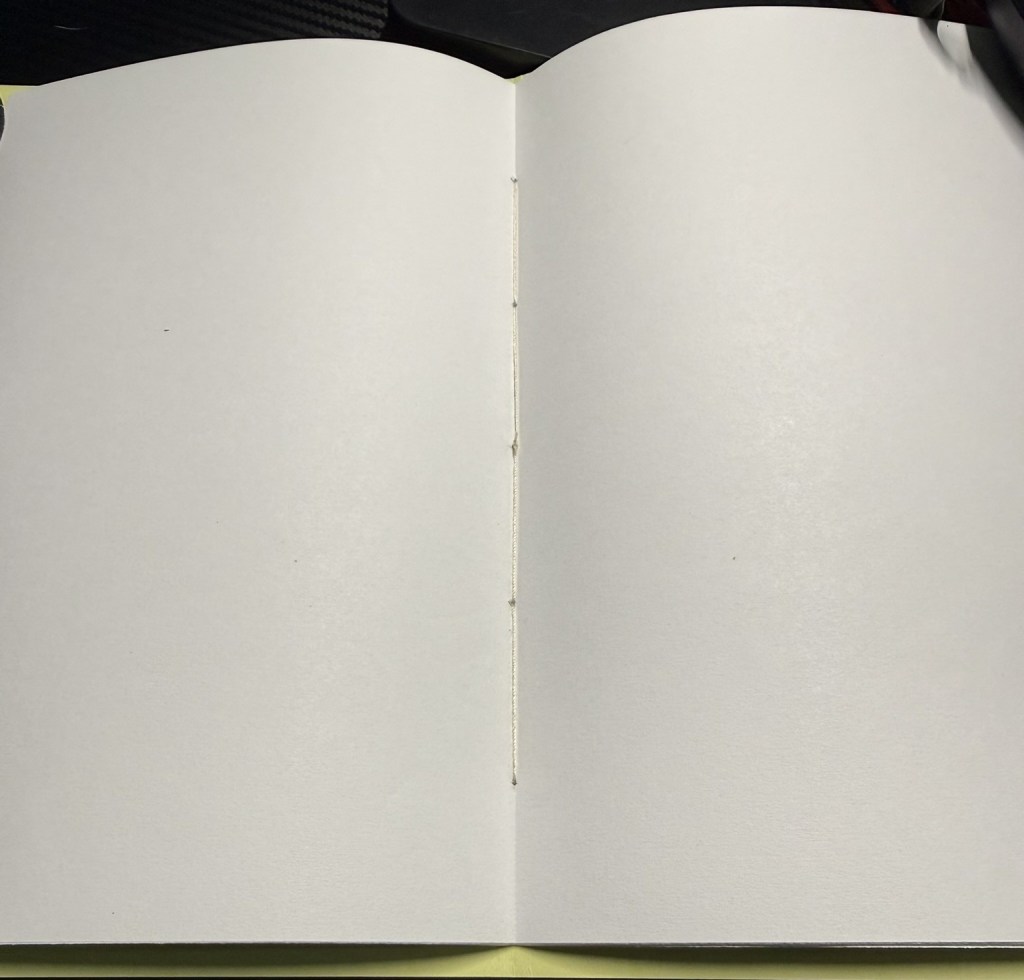
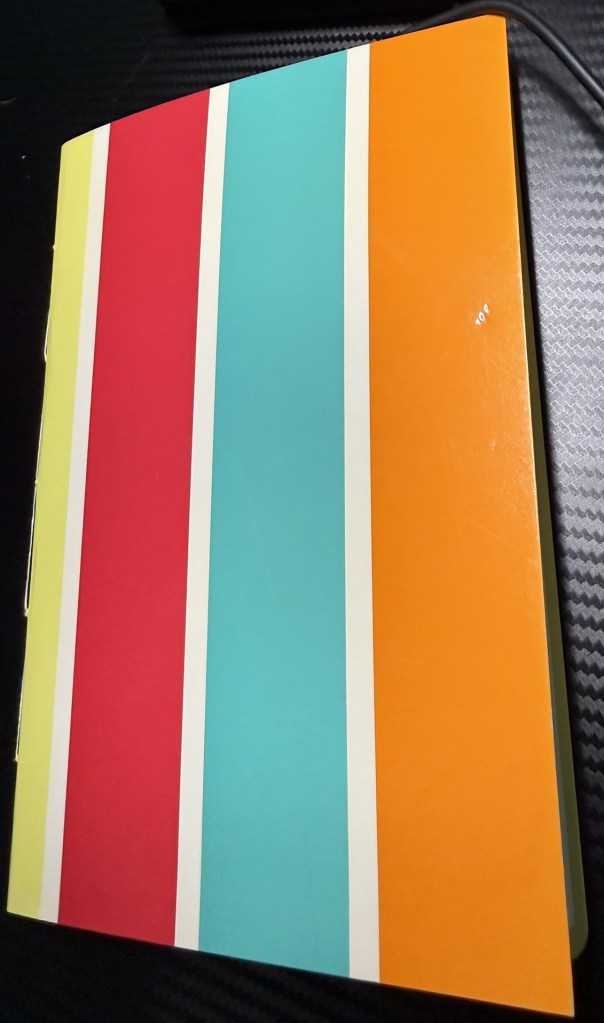
    I also have a hankering to make some notebooks, but I am waiting on a Teflon bone folder, which should arrive tomorrow. Given the current state of my desk, what I clearly need is more notebooks.

    In the meantime, my paladin has work to do.

    Photo by Stephen Hardy on Pexels.com
  • Why Did I Start Making Study Guides?

    When I was working on my master’s degree, I also had to learn how to use Chicago/Turabian citations. Before that, I’d had classes that required MLA and APA, but Chicago/Turabian turned out to be a whole different beast. No matter how hard I tried, I always seemed to lose a point or two because I’d gotten something wrong.

    When it came time to write my thesis, I decided I wasn’t dealing with that anymore. Every time I accessed a source, I wrote down everything about it: title, author(s), publication date, publisher, and anything else I might need. Then I wrote down the correct format for the first footnote, subsequent footnotes, and the bibliography.

    That meant that when I was actually writing, I could just write. I didn’t have to stop every few minutes to figure out how I was supposed to cite something and potentially lose my train of thought. And when the paper itself was finished, dealing with the citations was a whole lot easier.

    A few months ago, I found myself thinking, “I wish I’d had something like this way back when…” And then the lightbulb went off. Why not make it? If it made my life easier, maybe I could save someone else from suffering through the same thing.

    As it turns out, making the templates took more time than learning Chicago/Turabian in the first place.

    I had to jump straight into the deep end with Scribus, the open-source design tool I’d found. I have to admit, I said some fairly offensive words to Scribus during the process, but luckily it’s not a person I’d have to apologize to later.

    I can’t say that I’ve beaten Scribus, mastered it, or even reached anything resembling ease of use, but I at least remembered to save my completed pages as templates so I don’t continue to tear out my hair.

    Photo by Eli Sommer on Pexels.com
  • Binding Pamphlets Like the Pamphlet Binding Pioneers

    Some days just don’t go very well. Some days seem like every attempt at anything at all just doesn’t work. Then you need a win.

    This doesn’t mean it has to be perfect…just something that sort of works.

    I needed a “brain break” (for lack of a better term) but I still wanted to practice something. I decided to find a bookbinding technique that was easier than Coptic or Japanese stab binding, but I didn’t want to do accordion binding, which is basically folding paper like an accordion and sticking a cover on each end.

    Pamphlet binding it is! I found a tutorial for five-hole and got to work. I wanted to keep it simple, so I got 8 sheets of printer paper and a piece of my 250gsm cardstock. Plus, of course, my bookbinding tools.

    I took the sheets of paper and folded them in half all together, the same way I did for my Coptic attempts. I used the handle of the knife to really crease the folds and keep paper creep at a minimum (I am terrible at trimming, as seen later). Note: I used the knife because it works just as well (IMO) as a bone folder and it is something I already have on hand.

    I scored the cover separately and I am not sure why, so I will probably try everything together next time and hopefully not have to trim.

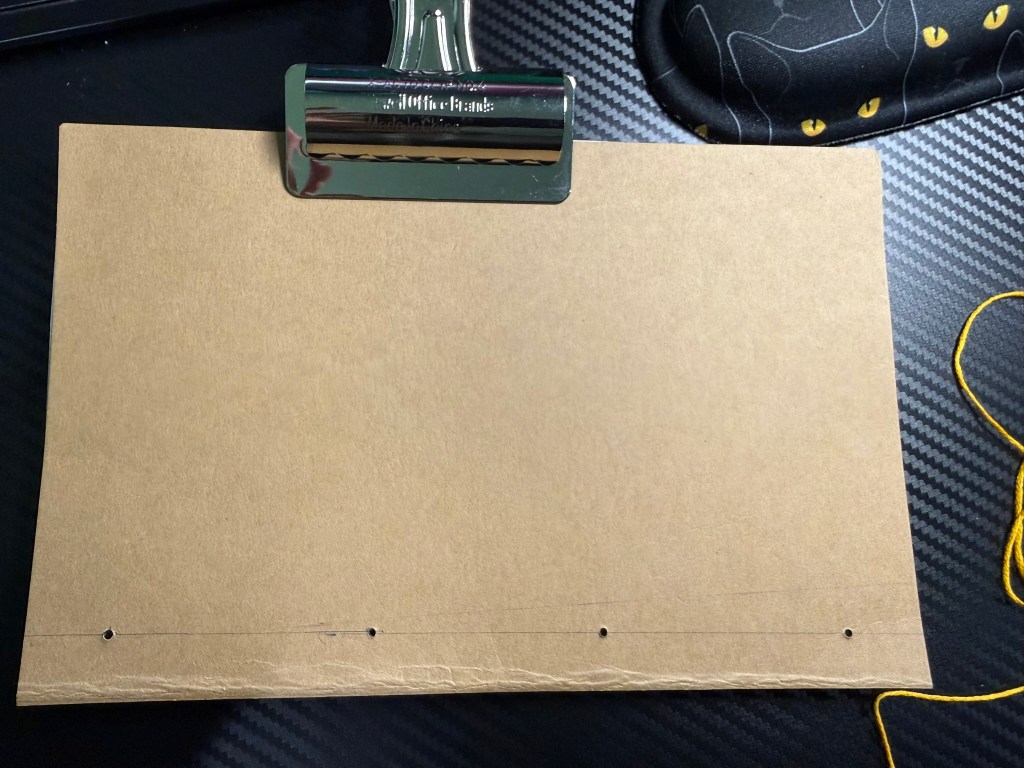
    Scored pamphlet with obvious need of trimming.

    I decided to sew, then trim. Which wasn’t the best option, but hey, it was my first time.

    So…first I marked where the holes should be for sewing. Then I used my awl to poke holes through. Pretty straightforward.

    Here is the inside of the pamphlet after the first stitch:

    I do have trouble with the waxed string I am using – it is hard to pull it tightly without ripping the paper, so in the future, I need to find something in between this and the regular sewing thread I have at home.

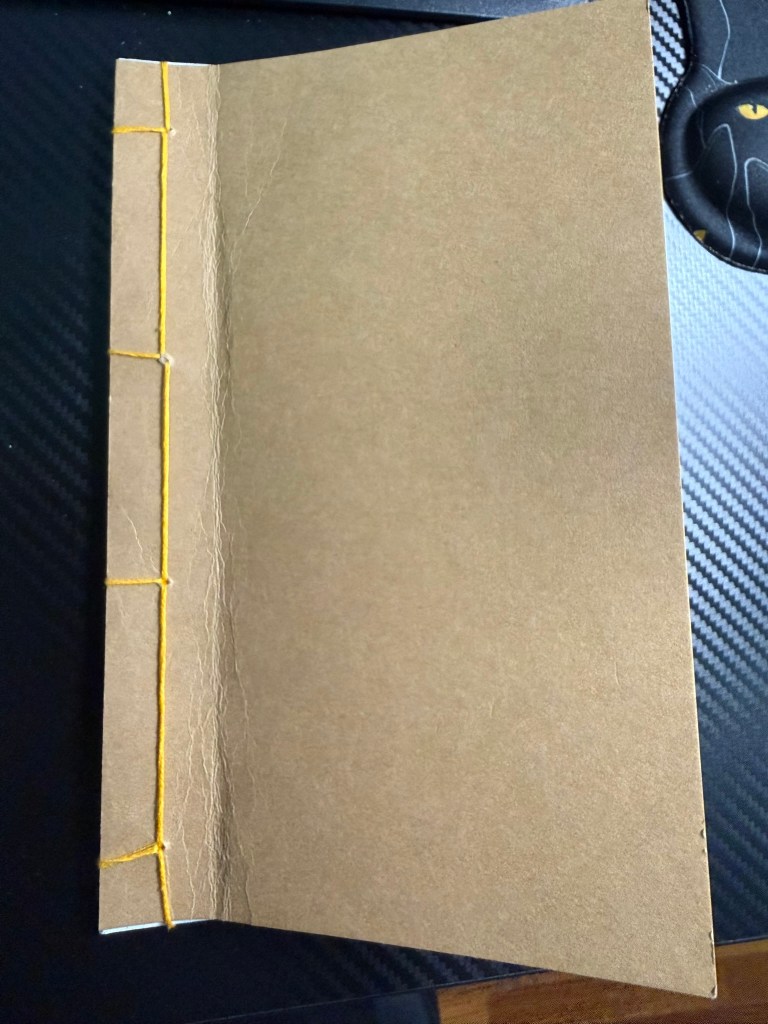
    A few minutes later, I finished the stitching:

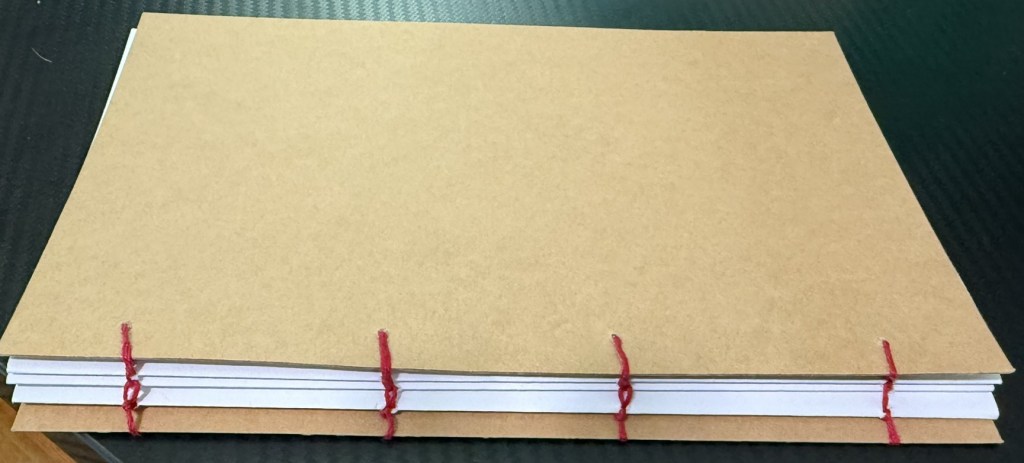
    I think it looks cool! Simple, but cool and useful.

    Okay, I promised to talk about trimming…as shown above, the paper was sticking out of the side of the cover quite noticeably. And if you’ve read my other posts, you know this is unacceptable.

    So I got out the cutting mat and an x-acto knife. I had to set something heavy on the pamphlet so the pamphlet wouldn’t suddenly shift, the knife wouldn’t launch into my finger/hand, and give me yet another (!) X-Acto knife scar. Don’t ask how I got the first one because it was just me doing something too quickly and without thinking through the issue.

    I was trying to be soooooo careful here. And then I sliced through the edges of the cover multiple times. Which caused a lot of not-so-nice words to flow out of my mouth.

    Hence…I need a better trimming method. Trimming a finished pamphlet with an X-Acto knife and hoping I wouldn’t hit the cover was apparently not it.

    Anyway, if you don’t look too closely, it turned out mostly fine. And once I practice a bit more, I feel confident I can resize future notebooks and use them in the traveler’s notebook-style cover I made a few months ago. Which means I could eventually make my own refills instead of ordering more.

  • You Don’t Need to Know How to Crochet to Learn Tunisian Crochet—but the Instructions May Think You Do

    I have had the worst time trying to learn how to crochet and/or knit. I can “cast on” (knitting), which goes on the needle in the dominant hand (in my case, the right). Then when you start the knit stitch, somehow I have to swap hands so the cast on needle is in my left hand, then stick the right needle in there and make some kind of magic that results in knitting. So obviously the cast on stitches fell right off, and obviously again, I threw the needles across the room.

    Now for crochet…this one was a tad easier for me but I had to work in stages. The first two times I tried, I could get a chain but then no magic. The third time, I was able to get one row. The fourth time, I was able to get two rows. I have not tried again, because to get to those results required unraveling my chain at least four times.

    Then…I found something called Tunisian crochet. Supposedly it is easier than both knitting and regular crochet, and results in material that resembles knitting more than crochet, and potentially uses less yarn. I do like things that use less resources…

    I got my Tunisian crochet hooks yesterday (because of course I had to order them immediately). I got out the yarn from my “easy” learn to crochet kit.

    So here is where the frustration starts…my initial learning resource was a 1970s Reader’s Digest The Complete Guide to Needlework. I had always enjoyed looking at this as a child, but for actual learning, vague drawings and pictures of a finished stitch just aren’t enough for me. Moreover, this book assumes one already knows regular crochet before a 1/8 page dip into Tunisian.

    Thus, I headed to Google to find a tutorial. I found one that looked promising, but again, it seemed to assume I already knew how to crochet…or at least the lingo. I had instructions such as “YO [yarn over for those who also don’t know the lingo] and draw up a loop.” What? The result of this was a stranglehold on my needle and nowhere to go.

    I had to ask ChatGPT to translate these instructions for me, and it happily complied. Thank goodness! So in less than an hour, I now have a few forward and return passes. Once I was able to figure out what everything meant, it turned out to be fairly easy. Other than the tension issues of course. And perhaps…actually counting my stitches correctly.

    But I feel like this is going to grow into something I can actually use to make things! And not enrage me to the point I am throwing needles across the room.

    Please excuse the obvious tension and miscounting issues here. And when I say this is somewhat “easy,” I don’t mean I’ll master it anytime soon. I mean that, unlike my previous attempts at knitting and crochet, I can actually imagine making something with it.

    There is now a reasonable possibility of a scarf within the next six months.

    small swatch of Tunisian crochet with brown yarn
    I lost count of forward and return passes…perhaps four?
  • Valar Dohaeris: What Three High Valyrian Lessons Taught Me About Duolingo

    A while ago, I wrote about why I think people misunderstand what Duolingo is actually good for. Apparently, I needed to start learning a fictional language to prove my own point.

    Three High Valyrian lessons in, Duolingo has already taught me two grammar rules without ever explicitly teaching me either of them.

    I wasn’t going to try learning this fictional language, since I am already learning two that don’t have a lot of native speakers (especially Gàidhlig). But I also don’t like to rely on captions to give me the correct translation. Hence the original reason for learning Gàidhlig: not trusting Outlander to tell me what that sneaky Dougal was communicating.

    Last night, we were watching House of the Dragon when the characters started speaking High Valyrian.

    My spouse asked, “How much of that did you understand?”

    “I’ve only had two lessons.”

    “Yeah, I know.”

    Fair.

    But two lessons had already been enough for me to start noticing patterns. I figured out that vala (man) becomes valar (men) when it changes from singular to plural. Then today, I encountered vali. Same noun, different ending—and this time, the change wasn’t about how many men there were. It was about the noun’s role in the sentence.

    Duolingo hadn’t stopped to explain either change to me. I figured them out by seeing the words used in context.

    I’ve never truly studied Latin. After taking years of French, the addition of declensions made my brain hurt, and I really should have learned Latin first so that French was easier. Lesson learned, I guess.

    High Valyrian seems to have a lot of declensions as well. So I will be writing down everything I can about word order, noun and verb endings, and whatever other patterns I start to notice.

    This whole endeavor reminds me of taking the DLAB (Defense Language Aptitude Battery) when I served. I only needed to score 100 to be able to study one of the more difficult languages, like Arabic or Mandarin. I ended up scoring a 137, but unfortunately, the recruiter I spoke with said I could reenlist “open contract” instead of promising me a job as an interpreter or translator.

    Nope.

    So I opted out.

    At any rate, the DLAB was a super fun test. It had two parts. In the first, you basically filled in words in a comic book using context clues from a made-up language. After that came a listening section, where you were given one grammar rule at a time, then listened to something and had to figure out the correct translation.

    There were seven total grammar rules, and they were cumulative. By the time you got to number seven, you’d best remember the six that came before it.

    Thus, learning a fictional language like High Valyrian isn’t entirely new to me.

    As I was gardening this morning, I finally made the connection between what I’m doing with High Valyrian and how much I loved taking the DLAB (nerd alert). I’m being given unfamiliar words, seeing and hearing them in different contexts, and figuring out the rules from the patterns.

    Which brings me right back to Duolingo.

    One of the complaints I see about Duolingo is that it doesn’t explicitly teach enough grammar. And that’s true: it often doesn’t sit you down, explain the rule, and then ask you to practice it.

    But that doesn’t mean you aren’t learning grammar.

    Sometimes it gives you enough examples that your brain starts asking, “Wait. Why did that word change?”

    And then you see it again.

    And eventually: Oh.

    There’s the rule.

    Three lessons into High Valyrian, I’ve already had that happen twice.

    Apparently, give me a made-up language and some context clues, and my brain is perfectly happy to do the rest.

  • Mid-Season Garden Mistakes Have Shown Themselves

    This garden experiment/hobby/passion has shown me that the research never stops.

    I thought I had enough information to have a flourishing garden, with a dozen tinctures, infused oils, and teas in the making.

    But no.

    Right now, I have one oil and about half an ounce of tea. I do have some other herbs drying, and I’ve had much better luck with the culinary herbs, but a lot of my medicinal herbs are looking kind of done for the year.

    I planted 16 corn seeds, but I messed up the timing. When I measured the soil temperature, it was warm enough, but I failed to wait until after the last frost date. So I have a few small stalks that have produced ears, but the ears are tiny and I probably won’t be able to do anything with them except save the seeds.

    stunted corn stalks

    I did plant some other corn later as an experiment, and those plants seem to be doing better. There are no ears yet—which is probably a good thing, because the stalks are still pretty short.

    The jury is still out on the tomatillos. I have dozens of husks, but so far, no fruit inside. I need to do more research to figure out whether they’re still going to fruit or if I’m just getting a magnificent crop of empty husks this year.

    However!

    The tomatoes are looking pretty good. I have, I think, 12 plants, and only a couple of them don’t have fruit. The tomatoes are getting pretty big, and about seven of them are starting to turn orange.

    So I think that in a week or two, I’ll be asking myself what the heck I am going to do with two dozen tomatoes that ripened at the same time.

    And I will not complain about that!

    And now it is time for me to log off and continue planning next year’s garden.

  • First Attempt at Making Paper

    One of the things I am most excited about is making paper to add to my shop. For now, I am using scraps straight from the paper shredder until I get better at this.

    First, I bought a cheap papermaking kit online. It is A4 size and came with a mold, a deckle, couch sheets, a couple of loose screens, and a small sponge.

    The mold has a fine mesh that catches the paper fibers from the water slurry. The deckle is a frame without a screen that helps define the size and edges of the paper. The loose screen can be placed between the mold and deckle to support the wet pulp and allow water to drain. The couch sheets are used to transfer the wet paper and absorb moisture, while the little sponge helps remove even more water before the paper is laid out to dry.

    The first thing you need to do is soak your scraps. Having a paper shredder is very handy here; otherwise, you have to tear everything up by hand. Put however much paper you want to use into a container, then add enough water to completely cover it.

    Let the scraps soak for a few hours to make sure they are soft. I soaked mine overnight so I wouldn’t have to worry about whether they were ready.

    paper scraps soaking in a plastic bin
    Small amount of scraps that I soaked overnight.

    Once you feel the paper has soaked enough, it is time to turn it into pulp. I had a blender we weren’t using anymore, and using a blender is by far the easiest way to do this. Other suggestions I came across included using a potato masher or even a mallet.

    Put a small amount of the soaked paper into your blender and add water until the blender is about three-quarters full. I recommend using a small amount of paper at a time so you don’t gum up the blades.

    paper scraps in a blender

    I set the blender at its lowest speed and pulsed it for about 30 seconds. You want the finished pulp to look kind of like oatmeal.

    blended paper pulp in a blender

    I had an empty dish bin that I decided to use as my papermaking vat. This turned out to be a little too small, but I made it work. As I blended each batch of pulp, I dumped it into the bin. Once all the scraps had been turned into pulp, I was finally ready to try making an actual sheet of paper.

    paper pulp in a dish bin

    The ChatGPT instructions had me put the deckle over the mold, then scoop the whole thing through the slurry. This leaves what will eventually become a piece of paper sitting on the mold. You can shake it gently from side to side, almost like you’re mining for gold, to distribute the pulp evenly.

    I was a bit too heavy-handed with this part and had to do it multiple times before I managed to get the pulp to cover the entire mold.

    Once I finally had a decent sheet, I set the mold on the edge of the bin until the water slowed from flowing to dripping. Then I laid a couch sheet on top and flipped the whole thing over so the couch sheet was against the counter. I gently used the sponge to remove as much additional water as I could.

    These instructions had me put one of the loose screens between the mold and deckle, but otherwise the scooping process was basically the same.

    As you can see, that attempt left a bubble in the middle.

    Silly me, I decided I could fix it with my finger.

    I could not.

    Instead of a bubble, I now had a hole.

    I grabbed some pulp that was stuck to the frame, filled the hole back in, and pressed it down. You’ll see the results of that little repair later…

    I took both sheets, still attached to their couch sheets, outside to dry. Unfortunately, it was a bit windy. Once everything started drying, I heard, “Hey, something just flew away outside.”

    Luckily, I had set up a wind block, so the paper didn’t get far.

    It was, however, definitely not flat anymore.

    I brought both sheets back inside and laid them under some books to finish flattening.

    So…here is the final result:

    Overall, I am really pleased with how this turned out—especially for my first attempt. Neither sheet is perfect, but that’s part of why I wanted to start with shredded scrap paper instead of anything special.

    Now that I know I can actually make paper, I can’t wait to try again with some of the other paper I have lying around!

  • Making Cashew Cheese

    Making Cashew Cheese

    I bought cashews months ago because I wanted to make cheese. My favorite cheesemaker was ousted from her own company and they’ve decided just to stick to basic cheese spreads and butter.

    Just here for the recipe? Scroll down to “The Recipe.”

    So why not make my own?

    I took a basic recipe I found and added my own little twists along the way. First, I boiled the cashews for 20 minutes because I was too impatient to soak overnight.

    Then I got out the trusty Vitamix and got to work. The cashews went in, then some nutritional yeast, garlic powder, and onion powder. I blended it until it was smooth and then added the insides of two probiotic pills (I don’t recommend putting the whole pill in there…I feel like it wouldn’t end well).

    After adding the probiotics, I blended just a little. For a reason I don’t know yet, you don’t want to blend those in too much.

    It took forever to scrape out the cheese mix, but I finally got it into a cheesecloth-lined strainer, which was then laid over a bowl. Since I have cats, I put the bowl into a cabinet and set a reminder to check it in 20 hours, since my house tends to be pretty warm.

    Twenty hours later, I tasted it. It still tasted a lot like nutritional yeast, so I left it for a few more hours. It could have fermented longer but again, since my house is warm, I decided my first attempt could be a milder cheese.

    I divided the cheese in half so I could make one regular and one with an herb crust. I rolled both into a log (it was so sticky…), then rolled one through a layer of dill (unfortunately not dill I grew myself, but hey, I can’t do everything). Finally, I laid the logs on a piece of parchment paper laying on a plate and stuck it in the back of the fridge.

    Five days later…

    I was nervous.

    It smelled amazing, but until I actually took a bite, I wasn’t convinced I’d made anything that tasted remotely like cheese…or even anything edible. I’d also somehow managed to shape the logs into something that looked like my very first Play-Doh project from kindergarten.

    But it was good.

    Really good.

    Final Thoughts

    The household approved both versions, but the dill-coated cheese won. Next time: longer fermentation, white miso, and significantly better-looking logs.

    The dill-coated cheese was my favorite. And even better…the household liked both.

    Ready to make your own?

    The Recipe

    This is the recipe I used for my first successful batch. I already have a few ideas for improving it, but it turned out well enough that I’m writing it down before I inevitably start tinkering.

    Cultured Cashew Cheese (no miso)

    Ingredients:

    • 2 cups raw cashews
    • water for soaking
    • 2-4 tbsp fresh water (for blending)
    • 2 tbsp nutritional yeast
    • 1 tbsp fresh lemon juice
    • 1 tsp salt
    • 2 probiotic capsules (or 1/2 tsp probiotic powder)
    • 1 tsp garlic powder (optional)
    • 1/2 tsp onion powder (optional)

    Optional coatings:

    • thyme, rosemary, oregano, chives, dill

    Equipment:

    • high-speed blender or food processor
    • cheesecloth or clean tea towel
    • fine-mesh strainer or colander
    • bowl
    • parchment paper
    • small plate or wire rack

    Instructions:

    • Soak: soak cashers 4-8 hours or boil 20 minutes. Drain and rinse.
    • Blend: Blend cashews with nutritional yeast, lemon juice, salt, optional garlic and onion powders, and 2 tbsp water until very smooth and thick. Add a little more water only if needed.
    • Add probiotics: Open capsules and stir or briefly pulse into the mixture. Do not blend for long after adding them.
    • Ferment: Line a strainer with cheesecloth over a bowl. Transfer mixture, cover loosely, and leave at room temperature for 24-48 hours. Taste after 24 hours; ferment longer for more tang.
    • Shape: Form into a wheel or log and roll in herbs or spices if desired.
    • Age: Refrigerate uncovered or loosely covered on parchment or a rack. Flip daily. 3 days = soft and sliceable; 5-7 days = firmer; 10-14 days = tangier and more aged.

    Storage:

    • Refrigerate in an airtight container after aging. Best within 1-2 weeks. Freeze up to 3 months.

    Serving Ideas:

    • Crackers, toasted sourdough, sandwiches, wraps, salads, stuffed mushrooms or peppers, bagels, or a vegan charcuterie board.

    Lessons Learned

    The next time I make it, I’ll let it ferment a little longer for a tangier flavor and figure out a better way to shape the logs (the preferred shape in this house). I’d also like to pick up some white miso, which is a common ingredient in cultured cashew cheese and should add even more depth. Eventually, I’m going to try recreating the volcanic ash cheese the household misses.

    For a first attempt, though, I’m calling this one a success. Homemade vegan cheese has officially joined the list of things I never expected to make…right alongside growing my own herbs, saving seeds, and making infused oils.

    I have a feeling this won’t be my last batch.

    I need some kind of mold…
  • Millions of Peaches (Okay…4 Peaches)

    Millions of Peaches (Okay…4 Peaches)

    I won’t do the thing where you have to scroll past three pages about how my family has used this recipe for six generations and built an empire from it.

    But I still have to explain how I got here, so bear with me…

    I had four peaches that were getting way too soft, and I wasn’t about to let them go to waste. So I tossed them in the freezer and decided to make peach nice cream in my Vitamix.

    It turned out so much better than I expected. It’s creamy, refreshing, ridiculously easy, and perfect for using up fruit that’s on its last leg.

    Ingredients

    • 3-4 ripe peaches, peeled (if you want), sliced, and frozen
    • 1/4-1/2 cup plant milk (I used almond milk)
    • 1-2 tbsp maple syrup, sugar, or agave (I used agave, but the sweetener is optional)
    • 1 tsp vanilla extract
    • Tiny pinch of salt

    Instructions

    1. Add the plant milk to the Vitamix first.
    2. Add the frozen peaches.
    3. Add the vanilla, sweetener, and salt.
    4. Insert the tamper (using the lid, of course!).
    5. Start on Variable 1, quickly increase to Variable 10, then switch to High. If your Vitamix has an Ice Cream program, you can use that instead.
    6. Use the tamper continuously to push the peaches into the blades while blending.
    7. Blend for 30-60 seconds until the mixture resembles soft serve. If it’s too thick, add more plant milk one tablespoon at a time.

    Note: I actually blended mine for several 30-60 second cycles because I wanted it extra thick.

    Transfer the nice cream to a freezer-safe container and freeze for 2-3 hours before serving.

    Enjoy!

    And if you happen to have millions of peaches instead of four, I suppose you could just make a bigger batch.

    Yeah, I ate some before I took this pic.
  • Overflowing with Herbs

    Overflowing with Herbs

    I am two days late with my usual blog post.

    Right now, I’m drying several kinds of herbs—some for cooking and others for future tinctures and infused oils. The problem is that I’ve officially run out of space.

    One thing I’m especially excited about is that I was finally able to harvest calendula seeds. This is my second year growing them, and it’s the first time I’ve managed to collect seeds from my own plants. There’s something incredibly satisfying about knowing next year’s flowers can come from this year’s garden.

    The top of the bookshelf in my office is covered with plates and coffee filters full of drying herbs. As one batch finishes, I jar it up and replace it with another. There’s even a bundle of lavender hanging from a wall-mounted desk organizer.

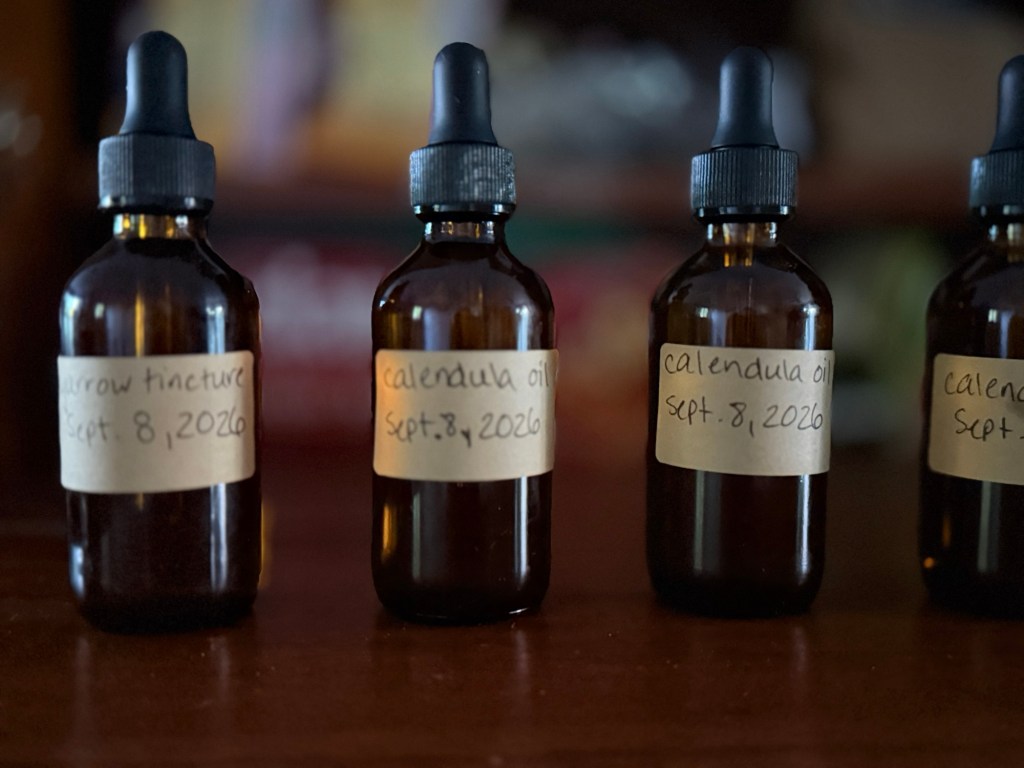
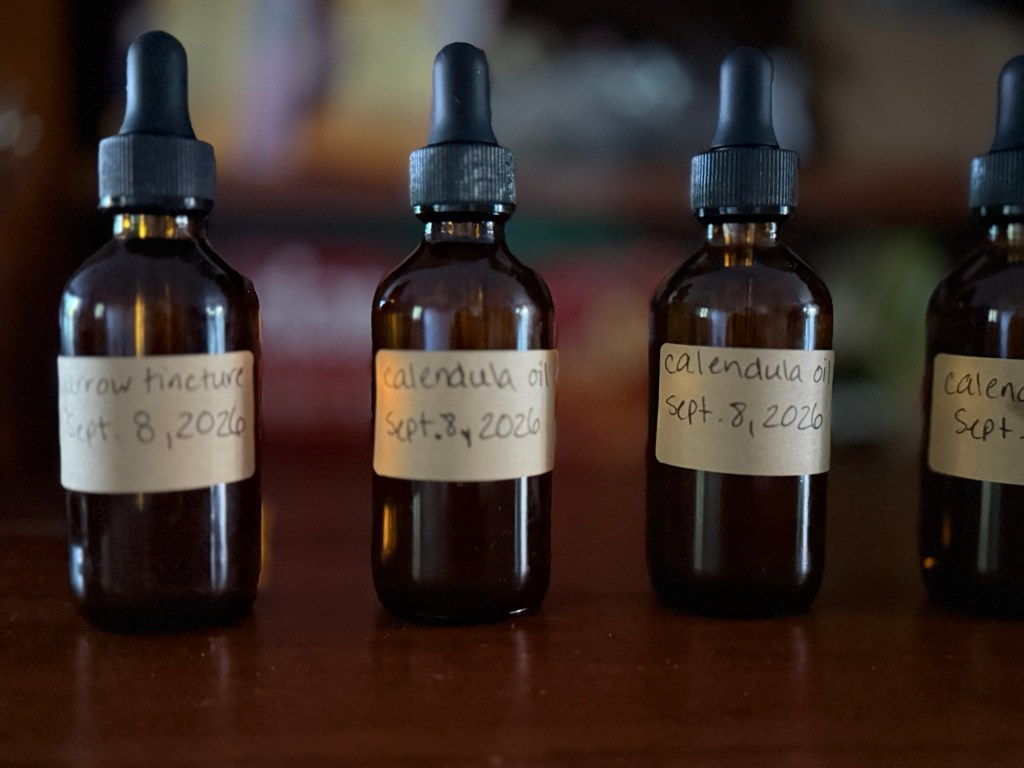
    Storage has become its own project. My herb cabinet is such a disaster that I don’t want to mix the new harvest with the old, so the culinary herbs have taken over a different cabinet. The calendula-infused oil lives there too, and once I bottle it, those bottles will need a home as well.

    I’m also pressing flowers. Since I don’t own a flower press, I’m improvising with paper, a storage container, and a very heavy book balanced on top. That setup currently lives on another bookshelf.

    Eventually, I’d like my Etsy shop to carry physical products, which means I’ll have to rethink the entire room. So far, my best idea is turning an old slatted bookshelf support into a drying rack for herb bundles. Beyond that, I’m still figuring it out.

    And don’t even get me started on next year’s seedlings. Apparently my cat decided this year’s starts made an excellent lunch, so I’ll need to find a much safer location.

    I’m certainly not complaining—having more herbs than I know where to put is a pretty good problem to have, especially while I wait for the tomatoes to ripen. But wow…everything needs a permanent home.

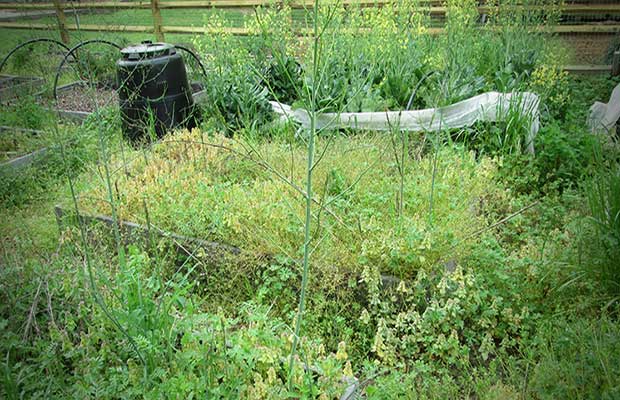
    overgrown garden
    How my bookshelf appears to me.